How to Make Chamomile Soap | Cold Process Recipe + Benefits
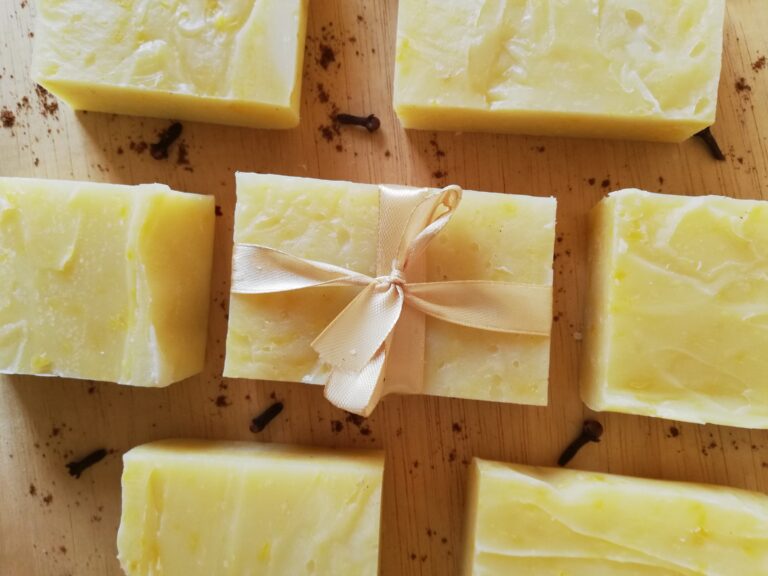
Chamomile is one of my favorite herbs, both for natural remedies and skincare. Its calming scent is soothing, it’s gentle on the skin, and it’s easy to find in the tea aisle of most grocery stores. This soap combines simple, fats and oils—coconut, tallow, and olive—infused with chamomile tea to create a gentle, nourishing bar that’s as pretty as it is practical, making it a lovely gift.
What Is Cold Process Soap?
Cold process is a method of soap making where no heat is applied—except to melt the fats—and where oils and lye are combined to create soap through a process called saponification. It’s not the only way to make soap: there’s also hot process, where after emulsifying the oils and lye, you gently heat the mixture (in a slow cooker) until it turns into soap. I’ve worked with both methods, and each has its pros and cons.
Cold process soap has a smoother texture, offers the greatest customization, and is ideal for decorative techniques like swirls or embossing. The main downside is the 4–6 week curing time before it’s ready to use. Hot process soap, on the other hand, is ready within a day once it cools and hardens in the molds. Its texture is rougher on top, and it can be trickier to achieve strong scents. The heat during saponification can diminish essential oils, often requiring extra fragrance.
There’s also melt-and-pour soap, which isn’t truly “from scratch” since it uses a pre-made base to which you add colors and scents.
So, which method is best? In my opinion, cold process is ideal if you want full control over your soap. This is especially important if you want to use any decorative techniques in your soap. If you’re short on time, hot process is a great option. When it comes to the finished product, I honestly don’t see much difference between the two. Both methods produce high-quality soap. Whether a bar is more nourishing or more cleansing depends on the ingredients you choose, not the method you use.
Is Cold Process Soap Good for Skin?
Cold process soap that you make yourself contains only fats, oils, lye, and water—though you can also use milk or other liquids if you prefer. You have complete control over the ingredients and their quality. Depending on the oils you choose and the amount of lye you use (known as the lye discount), your soap can be either more cleansing or more nourishing. If you have sensitive skin, you can select oils suited to your skin type and reduce the lye slightly to make the soap extra gentle. In this chamomile soap recipe, I’ve used a 10% lye discount to ensure it’s mild and soothing for the skin.
Why Chamomile Is Perfect for Soap
Chamomile is a gentle, healing herb that’s loved in both herbal medicine and natural skincare. Rosemary Gladstar, a well-known American herbalist, notes in Medicinal Herbs that chamomile is calming and anti-inflammatory when applied to the skin (p.118). She even includes recipes for chamomile eye packs and soothing herbal baths—proof of just how versatile this little flower can be. That’s why it’s perfect for soap! Chamomile adds a gentle, calming touch to your bars, making them ideal for everyday use. If you plan to use this soap on small children, it’s safest to leave the soap unscented.
Ingredients
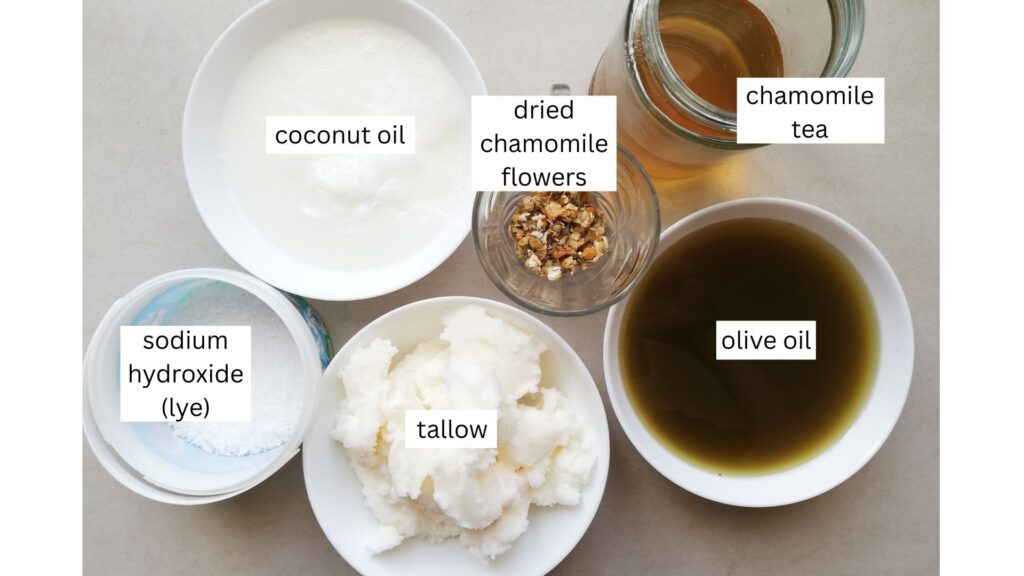
Coconut oil makes a bar of soap which is hard, bubbly and cleansing.
Olive oil is very gentle and conditioning.
Tallow adds hardness and is both conditioning and cleansing.
Lye is combined with oils and fats to create soap through the process of saponification.
Chamomile tea is used here instead of water to make this soap gentle and soothing on the skin.
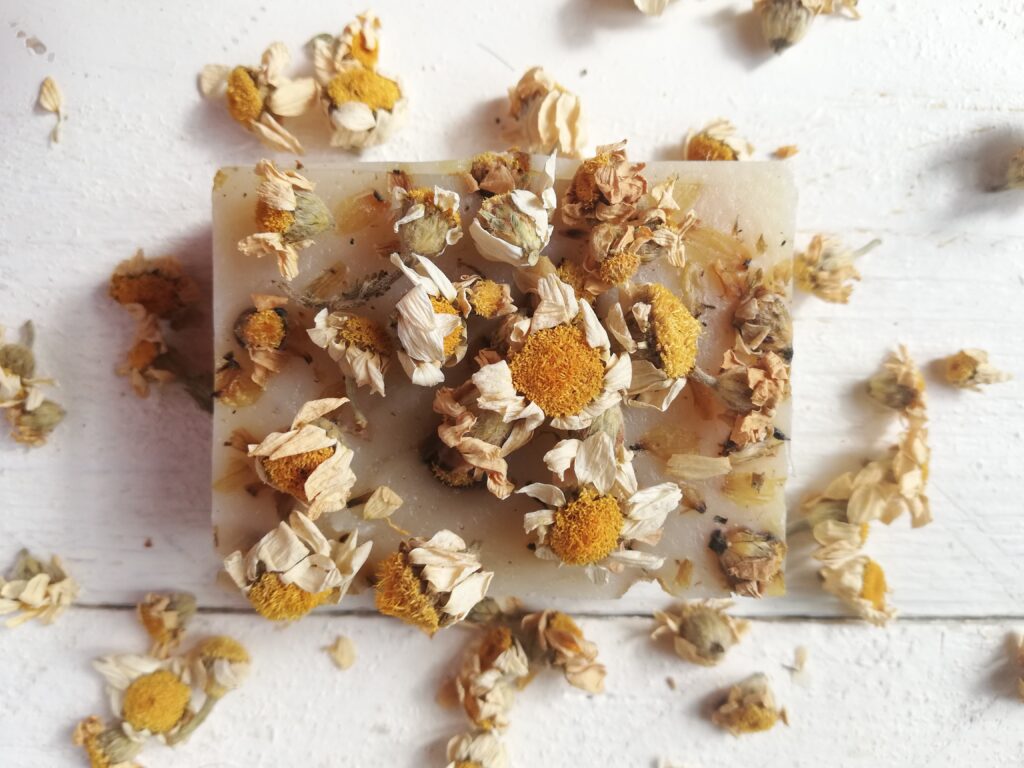
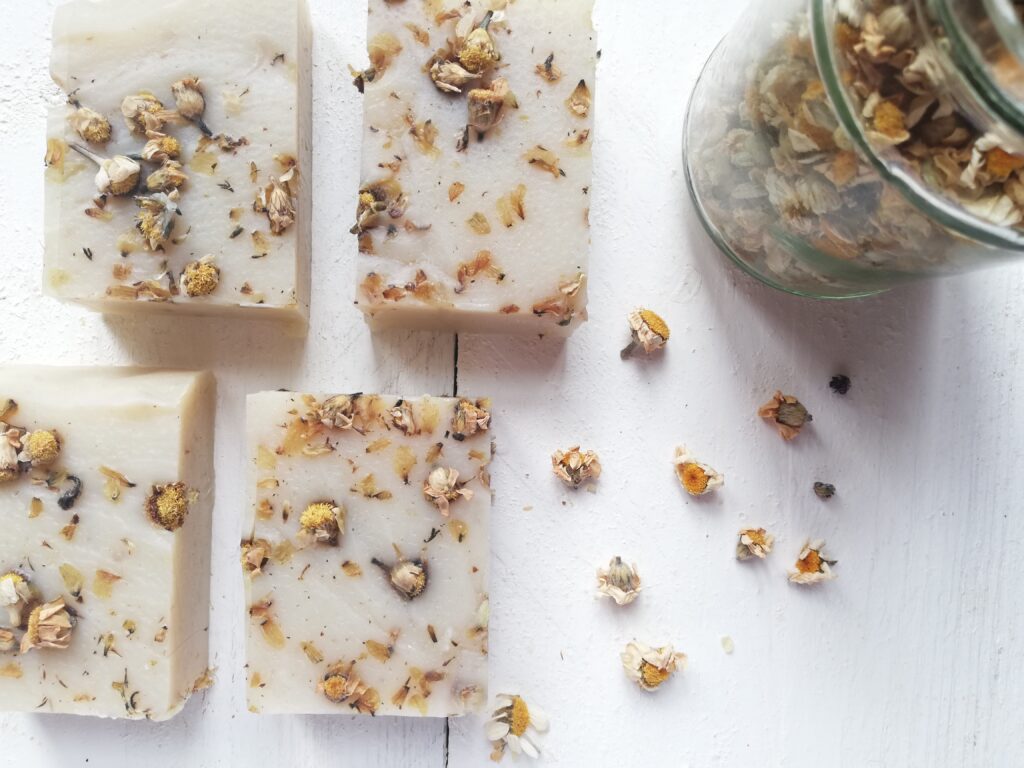
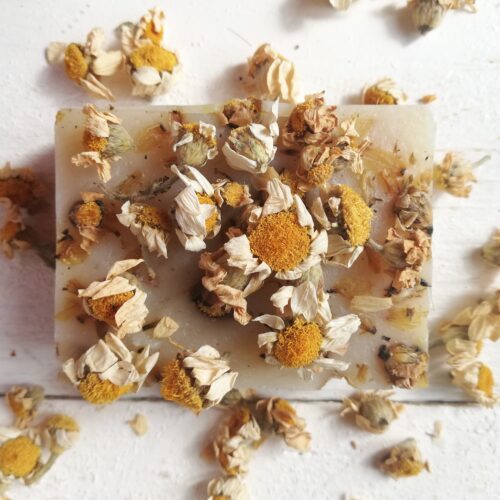
Dried chamomile flowers will be sprinkled on top for decoration. They make the soap look beautiful and gift-worthy.
Tips for a Perfect Chamomile Soap Every Time
- You can make the chamomile tea up to 2 days in advance and keep it in the fridge. Also be sure to keep the spent flowers for mixing into the soap at trace.
- If either the oils or the lye solution is cooling faster, use a warm or cold bath to slow down or speed up the cooling. For example if your pot of oils is cooling faster than the lye solution, place the pot in a sink filled with very warm water. You want both the lye and the oils to come to the right temperature at about the same time. They should be within 10 degrees of each other when you combine them.
- Give your soap at least 4 weeks of curing time (6 weeks is best). This way it will be milder and longer-lasting.
- Weigh out all the ingredients before you start to make the soap so everything is ready. I usually do it the day before.
- Always add the lye into the liquid, never the other way around.
- Make sure that someone else is watching your kids or pets while you make the soap. You want to be undisturbed while you make this soap.
Step-by-Step: How to Make Cold Process Chamomile Soap
Step 1
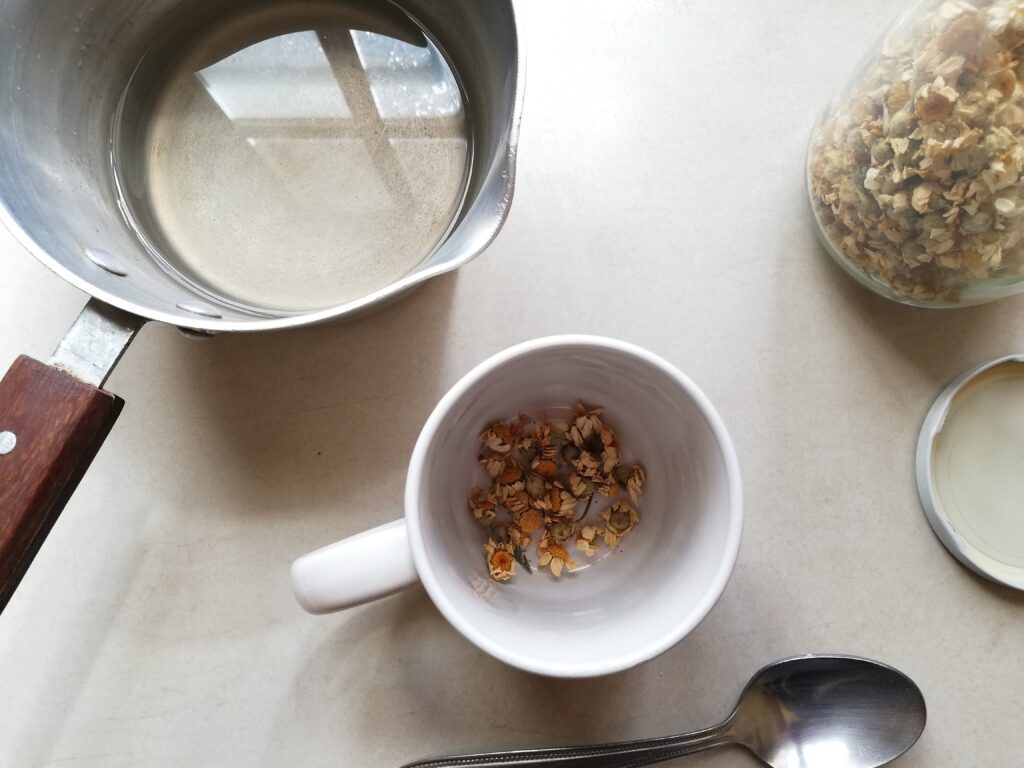
Put 1 tablespoon dried chamomile flowers in a heatproof mug and pour just-boiled water over them. Cover and let the tea steep for about 10–15 minutes, then strain it into a measuring jug. Press the spent flowers gently to get every drop — save those well-squeezed flowers, you’ll stir them into the soap at trace for a soft, pretty flecked effect. Top the strained tea with filtered water until you have 12 ounces total. Make sure the tea is completely cool (room temperature or colder) before you mix it with lye. You can make the tea up to 48 hours ahead and keep it covered in the fridge until you’re ready.
Step 2
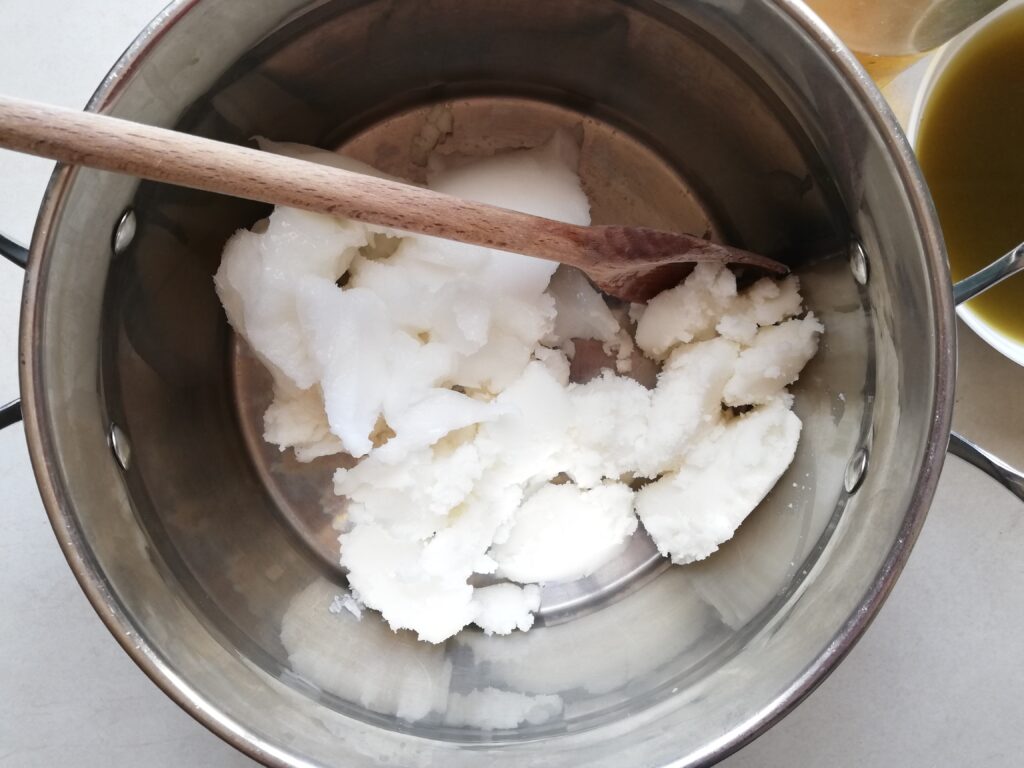
Add the coconut oil and tallow to a medium stainless steel pot and melt them slowly over gentle heat. Stir every so often until they’re completely liquid and clear, but don’t let them get too hot — just warm enough to melt.
Step 3
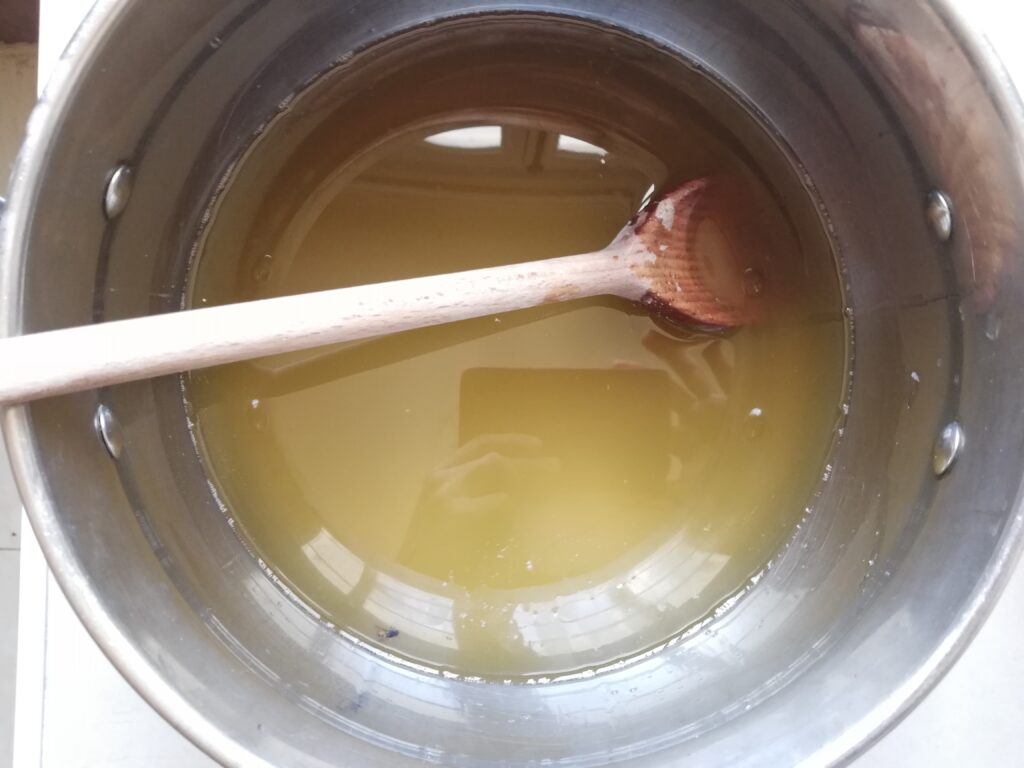
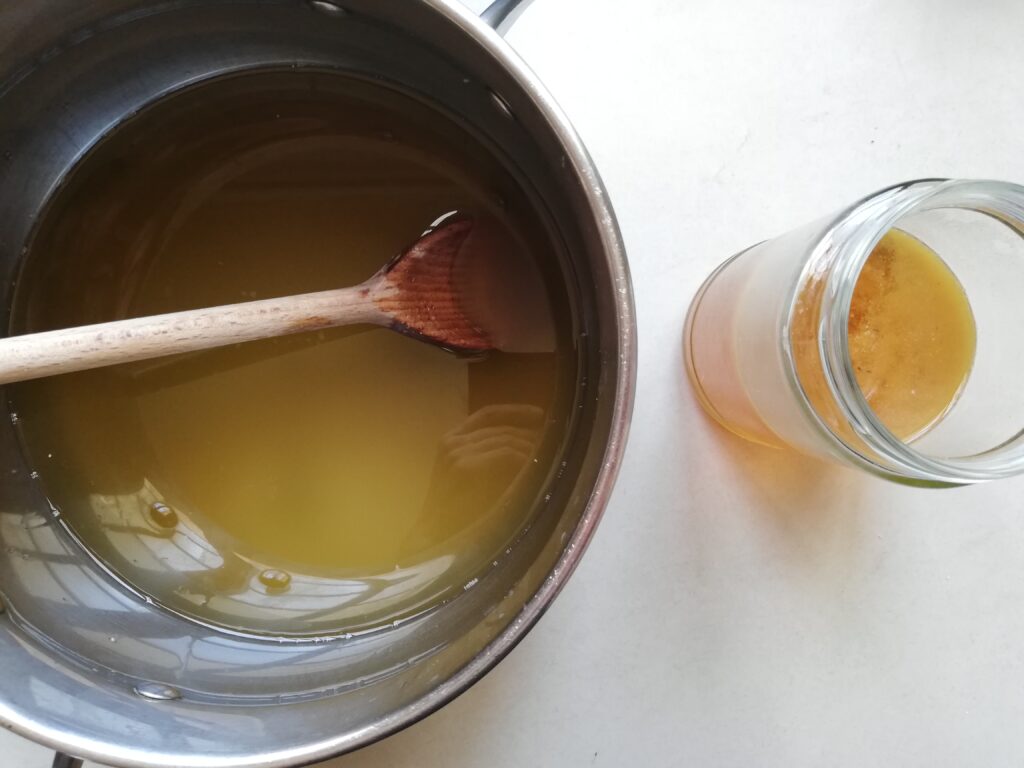
Once the coconut oil and tallow are fully melted, pour in the olive oil and give everything a good stir. The mixture should look clear and golden, with no solid bits left.
Step 4
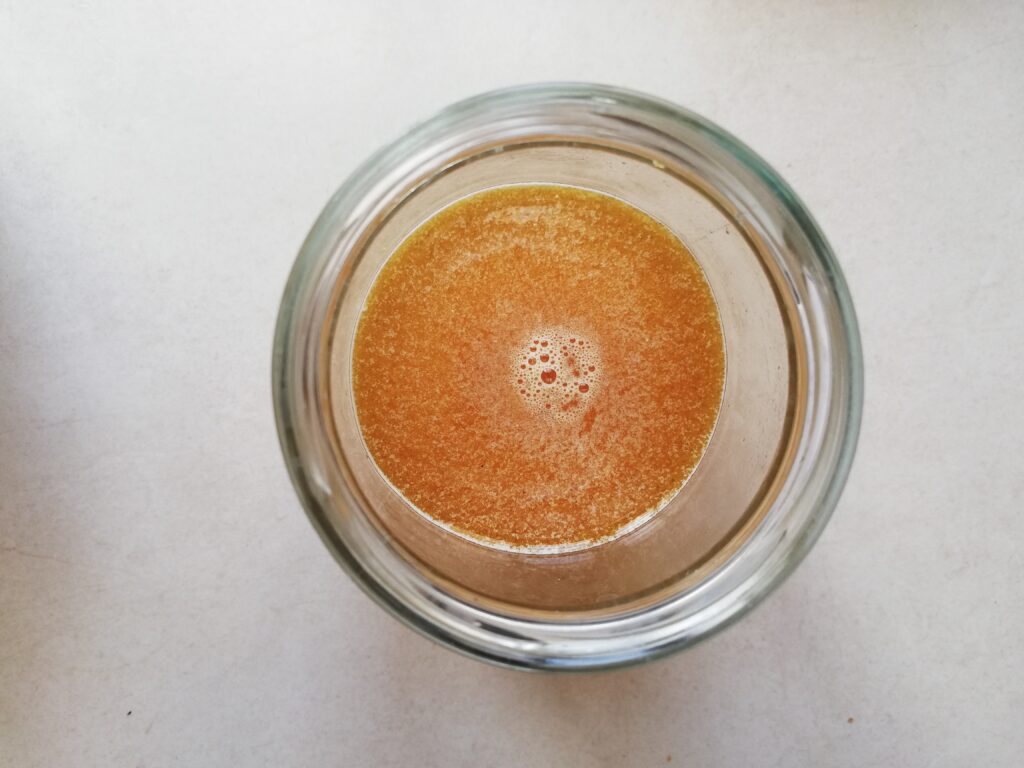
Head outdoors or stand by an open window for good ventilation. Put on your safety gear — sturdy mask, gloves, and goggles. Slowly pour the lye into the cooled chamomile tea (never the other way around) and stir until it’s fully dissolved. The liquid may heat up and change color slightly — that’s normal (mine turned electric orange!). Once the lye is completely dissolved and clear, you can bring it back inside.
Step 5
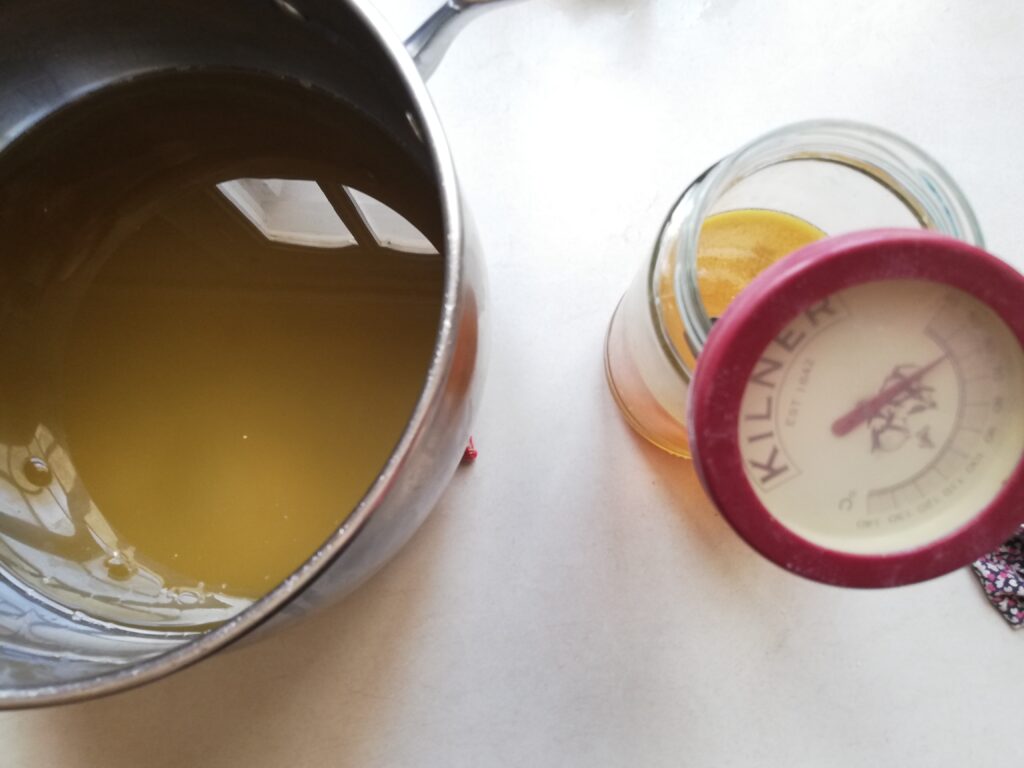
Let both the melted oils and the lye solution cool down to about 100–110°F (37–43°C). You might find one cools faster than the other — that’s totally normal. If needed, set the pot of oils or the lye container in a warm or cold water bath to help them reach the same temperature at roughly the same time.
Step 6
When both the oils and lye solution have cooled to the right temperature (they don’t have to be both exactly the same temp, just in the right range), slowly pour the lye mixture into the pot of oils. Stir gently at first to bring them together — you’ll see the mixture start to turn creamy and opaque.
Step 7
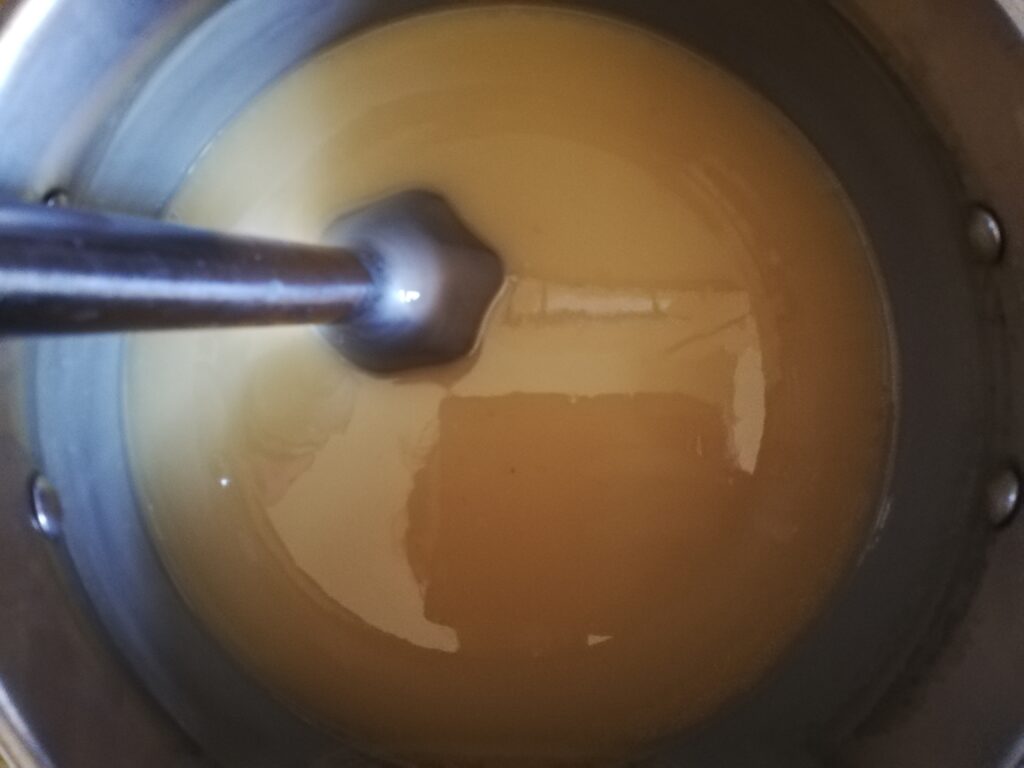
Use your immersion blender to start blending the soap mixture. There’s no need to blend constantly — alternate between short bursts of blending and gentle stirring.
Step 8
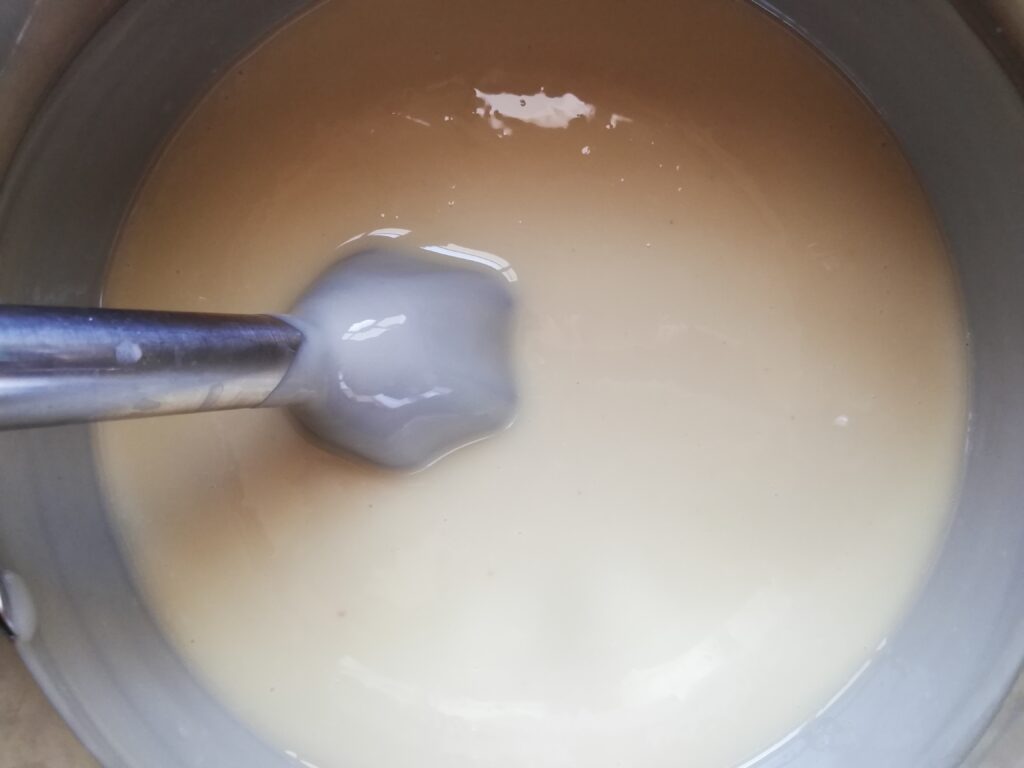
Every soap recipe behaves a little differently, so don’t worry if yours takes more or less time to reach trace. This chamomile soap came together quite quickly — about 15 minutes of blending and stirring brought it to a light trace. You’ll know it’s ready when the mixture thickens slightly and you can see a faint trail stay on the surface when you drizzle a bit of soap over the top. That light ribbon means your soap is perfectly at trace and ready for the next step.
Step 9
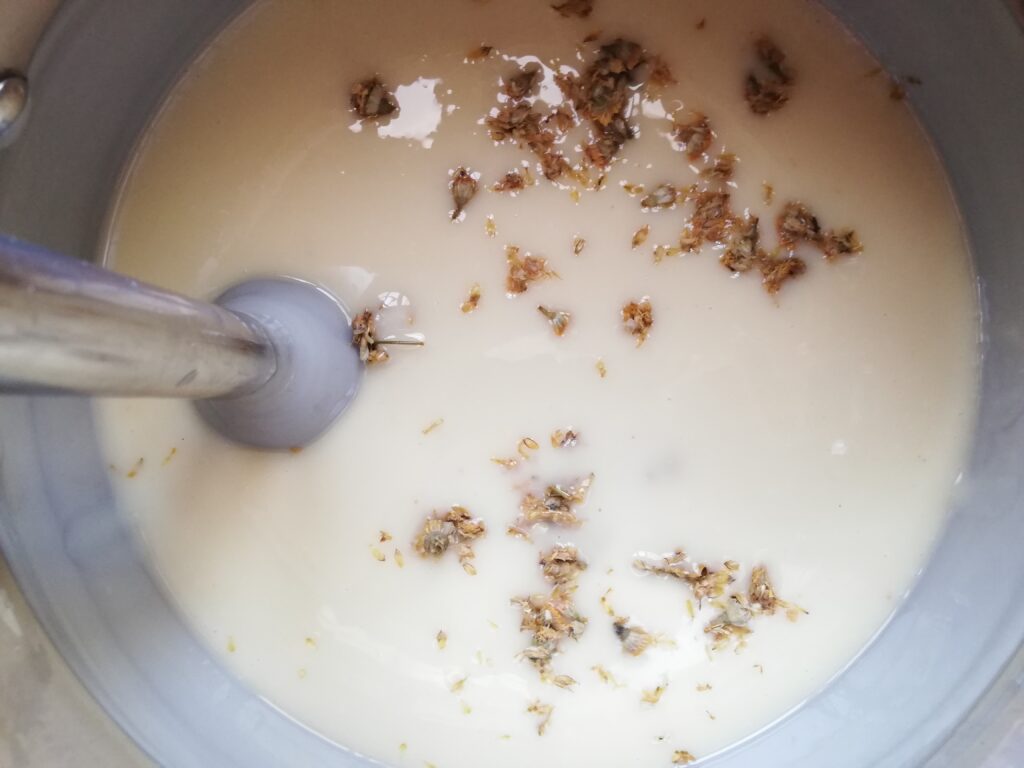
Once your soap reaches light trace, stir in the well-squeezed chamomile flowers and the chamomile essential oil. Give everything a quick blend — about 30 seconds— just until the flowers are evenly dispersed and the scent is mixed through (if you blend too long, your soap may thicken too much). The soap should still be pourable and smooth.
Step 10
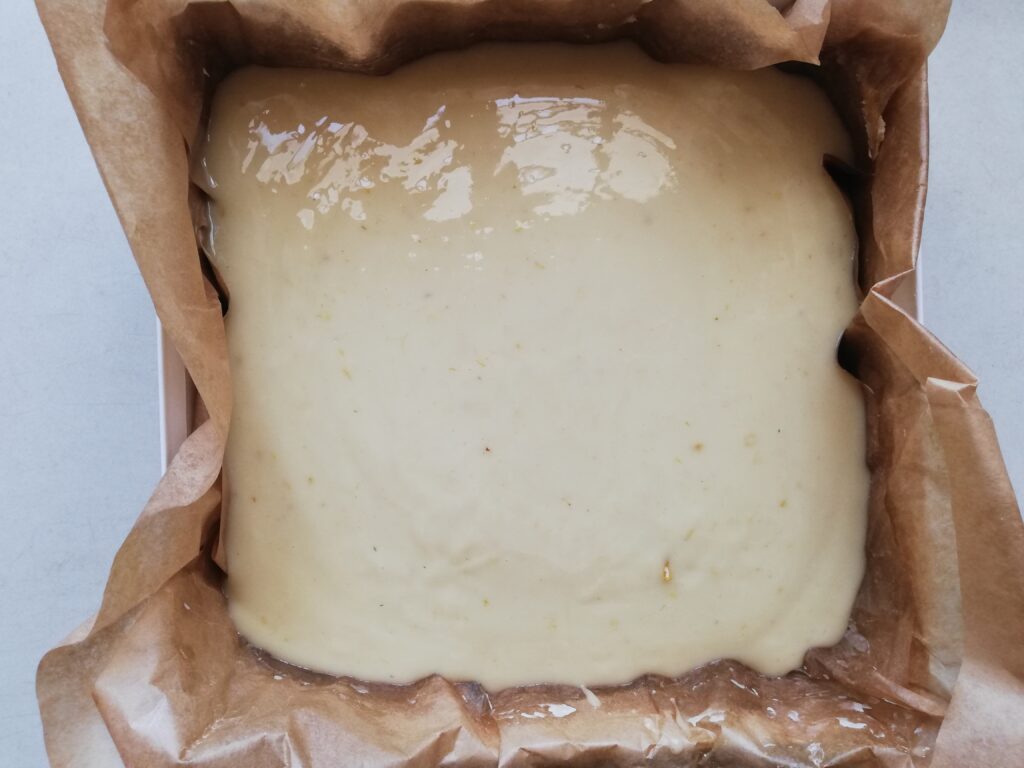
Carefully pour the soap batter into your mold — I used a simple box lined with baking paper, but any lined loaf mold will do. Scrape the pot with a spatula to get every last bit in. Give the mold a gentle tap on the counter to release any air bubbles.
Step 11
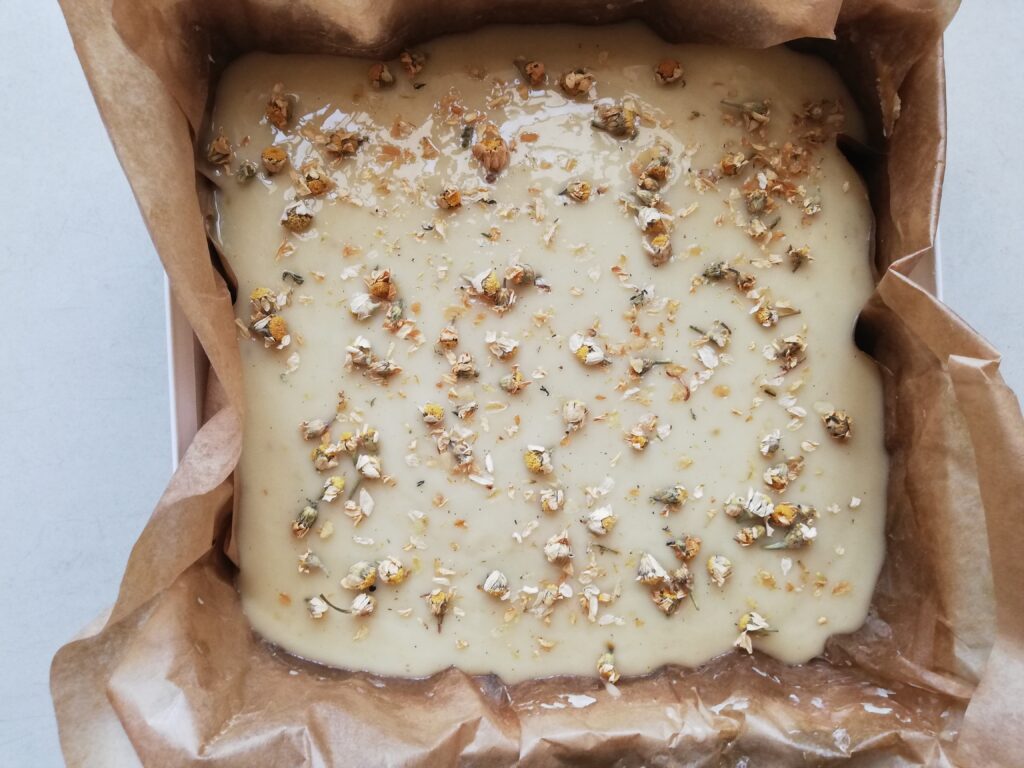
Sprinkle the dried chamomile flowers over the top of your poured soap. Press them in gently with the back of a spoon or your gloved hand so they stick and won’t fall off once the soap is cut. The flowers give this soap a pretty finish and make it gift-worthy.
Step 12
Cover the mold with cling film or with a plastic bag to protect the surface. Then cover it snugly with a couple of towels or a light blanket to keep the heat in while the soap finishes saponifying. Leave it undisturbed for 24–48 hours, until it feels firm to the touch (and your finger cannot make a mark on it any longer) and easy to remove from the mold.
Step 13
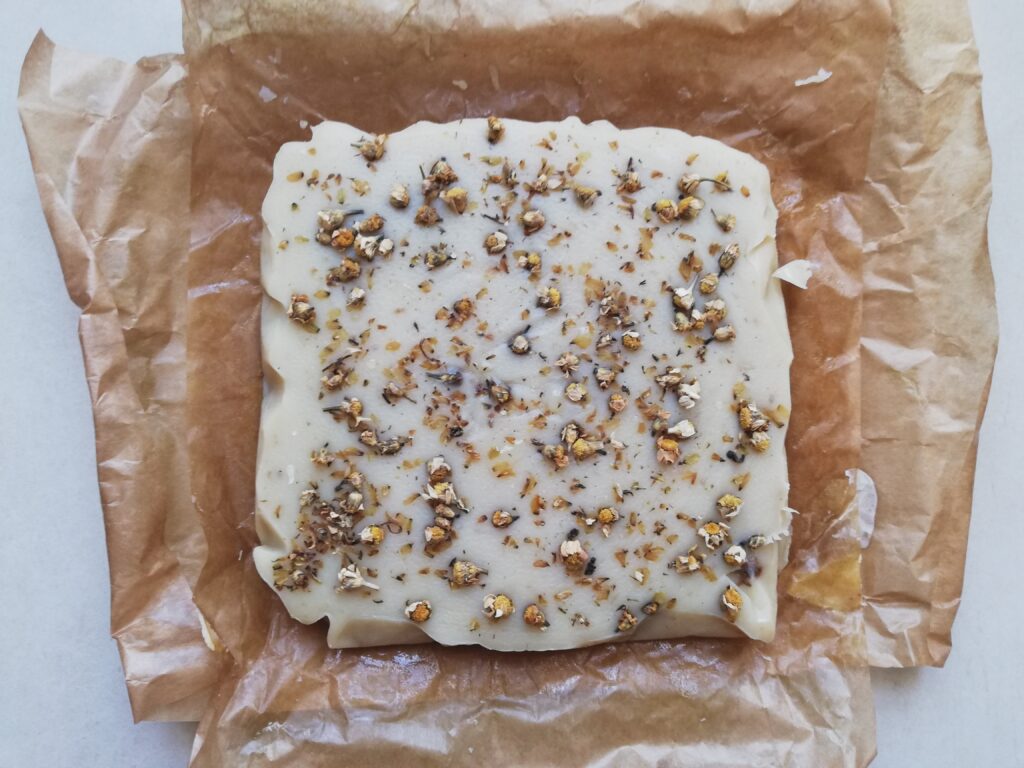
Once your soap has firmed up enough to handle, gently lift it out of the mold and peel away the baking paper. This can take anywhere from 1 to 3 days. My batch was ready after about 48 hours.
Step 14

Slice the loaf into about 12 bars using a sharp knife. The soap should feel firm but still a little soft under the blade — that’s the perfect texture for cutting. You might notice some uneven edges or ripples from the baking paper, and that’s completely fine. You can trim them if you like, but I usually leave mine just as they are — those little imperfections give each bar its own handmade, artisanal look.
Step 15
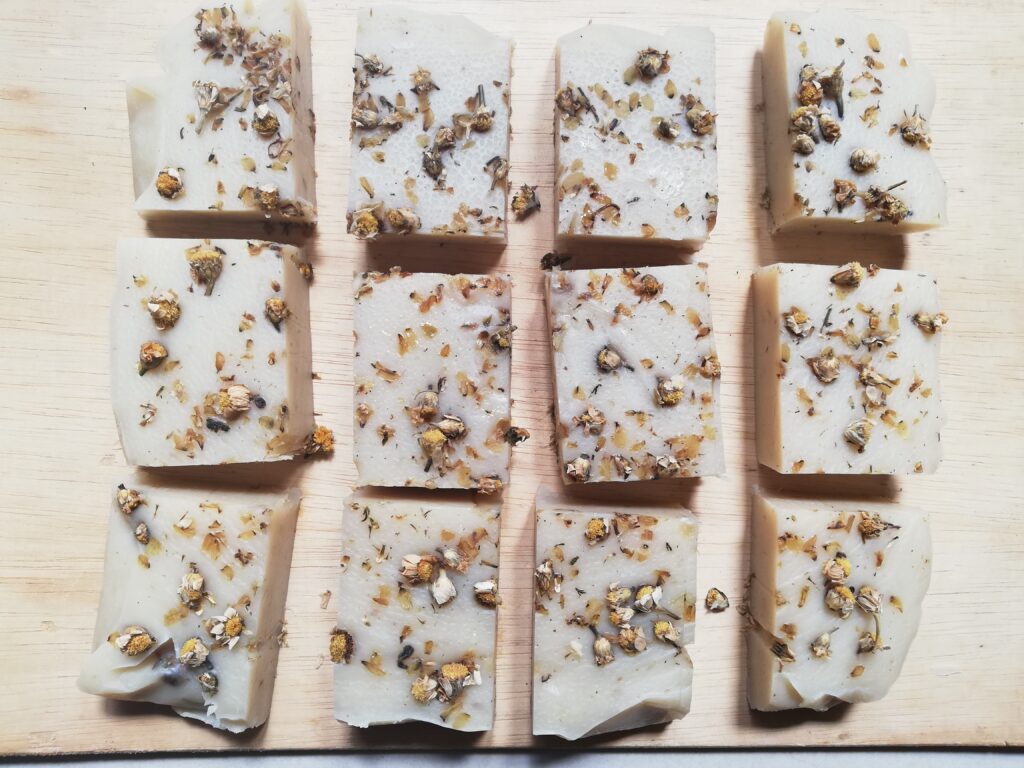
Lay your freshly cut bars on a wooden board, a piece of thick cardboard, or a cookie rack — anything that allows air to circulate around them (avoid plastic trays). Keep them in a dry, well-ventilated spot, out of direct sunlight. Let the soap cure for at least 4 weeks, though 6 weeks will give you an even harder, longer-lasting bar. Once cured, your chamomile soap is ready to use — gentle, creamy, and full of that soft, floral scent.
Troubleshooting Common Problems
If you follow this recipe to the letter, you are unlikely to experience any issues, so don’t read this troubleshooting section before making it and start worrying about all the things that could possibly go wrong! That said, I answer here some of the common questions people ask so you have this info in the (unlikely) case that you need it.
How to Store & Use Your Soap
- Store it in a dry, airy space while curing.
- Once cured, store in a cool, dry place, like an old shoe box on your pantry shelf.
- Soap has a really long shelf life but the natural color of the soap may fade a little over time.
- Because of nourishing oils I have used in this recipe and because of its 10% lye discount, this soap is gentle enough to be used as both hand soap and bath soap.
Final Thoughts
I hope you enjoy making this soap! If you’re new to soap making, I encourage you to give this recipe a try. I was initially terrified—mostly because of the lye and its caustic power! However, after making a couple of batches, I was hooked. There are so many fun techniques to explore: milk soaps, embossed designs, swirls, stripes…the list goes on. Handmade soap also makes such beautiful gifts—gifts that people truly love to receive.
If there are any specific soap recipes you would love to see here, let me know in the comments below!
Chamomile Soap (Cold Process)
Equipment
- digital kitchen scale
- stainless steel pot
- wooden or metal spoons
- rubber gloves
- digital thermometer
- immersion blender
- soap molds OR shoe box lined with parchment paper
Ingredients
- 12 oz olive oil
- 11 oz tallow
- 10 oz coconut oil
- 4.51 oz sodium hydroxide (lye)
- 12 oz chamomile tea + water
- 1 oz chamomile essential oil (optional)
- 2 tbsps dried chamomile flowers
For the chamomile tea
- 1 tbsp dried chamomile flowers
- 1 cup filtered water
Instructions
- Steep 1 tbsp dried chamomile flowers in just-boiled water for 10–15 minutes. Strain, squeeze out the flowers, and save them. Top up the tea with cool water to make 12 oz total of liquid. Let cool completely.
- Gently melt coconut oil and tallow in a stainless steel pot.
- Pour in olive oil and stir to combine.
- Outdoors or by an open window, slowly add lye to the cooled chamomile tea. Stir until fully dissolved, then bring back inside.
- Let the melted oils and the lye solution to cool to 100–110°F (37–43°C).
- Pour lye solution into oils and stir gently.
- Using your immersion blender alternate blending and stirring until the mixture thickens slightly, like thin custard. When you drizzle some of the mixture on top, you should see a faint trail on the surface – this means your soap is at light trace, so proceed to the next step.
- Stir in the squeezed chamomile flowers (left over from making the tea) and essential oil. Blend briefly to combine.
- Pour soap into a lined mold, smooth the top, and sprinkle dried chamomile flowers. Press lightly to stick.
- Cover with plastic and wrap in towels or a blanket. Leave 24–48 hours to harden.
- Unmold and slice into 12 bars when firm but still a little soft. Trim if desired.
- Place bars on a rack or board with good airflow. Cure 4–6 weeks before using.
Notes
- This soap contains 10% lye discount, making it gentle enough to be used as hand soap or bath soap.
- If you plan to use this soap for babies or very young children, leave it unscented.