Chicken Bone Broth 101: Health Benefits, Ingredients & How to Make
Every traditional kitchen needs a good chicken bone broth. It’s the easiest type of broth to make and the most versatile. With its rich, savory flavor, it creates a nourishing base for soups, stews, and sauces—and even makes a soothing, hydrating drink when you’re under the weather.
Packed with collagen and minerals, chicken bone broth supports healthy skin, joints, and digestion while adding depth and flavor to everything it touches.
In this easy chicken bone broth recipe, I’ll share everything I’ve learned from making broth every week for the past 15 years: which bones make it gel beautifully, how long to simmer it for the best flavor and nutrition, and the best way to store it so it lasts in the fridge as long as possible.
What Is Chicken Bone Broth?
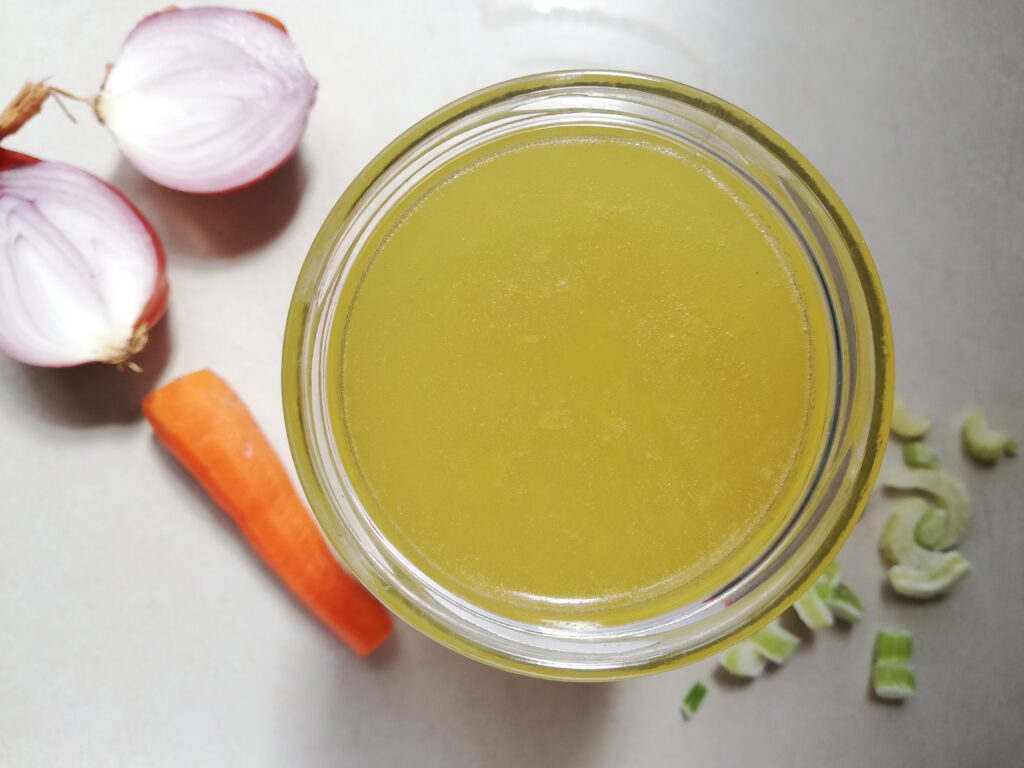
Chicken bone broth is made by slowly simmering chicken bones—often with aromatic vegetables and herbs—in water for an extended period, typically 6 to 24 hours. This long, gentle cooking process allows the bones to release valuable minerals, collagen, and nutrients into the water, creating a rich, deeply flavorful broth.
The main difference between chicken broth and chicken bone broth lies in both ingredients and cooking time. Regular chicken broth is usually made with meat and vegetables and cooked for just a few hours, while chicken bone broth relies primarily on bones and requires a much longer simmer to extract its gelatin and nutrition.
Health Benefits of Chicken Bone Broth
Chicken bone broth is rich in nutrients such as collagen, protein, and minerals (especially magnesium and calcium), which makes it a nutrient-dense, healing food. Some of the benefits of bone broth are:
- Supports joint health – Naturally rich in collagen, it helps maintain strong, flexible joints.
- Promotes healthy skin and hair – Collagen and amino acids nourish skin from within, helping it stay firm and hydrated.
- Soothes and heals the gut – The gelatin and amino acids in the broth support a healthy intestinal lining and may help reduce inflammation.
- Boosts the immune system – Minerals like calcium, potassium, and magnesium strengthen immune function and support recovery.
- Deeply hydrating – Perfect for replenishing fluids and electrolytes, especially during a stomach bug or after illness.
Why You’ll Love This Recipe
- It’s simple and hands-off: With just a few basic ingredients, this broth practically cooks itself — no fancy equipment or constant stirring needed.
- Deeply nourishing: Every cup is full of minerals, amino acids, and natural collagen that support strong joints, a healthy gut, and glowing skin. Sipping hot broth is as nourishing (or more) as sipping herbal tea!
- Budget-friendly: You can turn leftover chicken bones and veggie scraps into a rich, golden broth. I always save all the bones left over after roasting chicken in a large freezer bag and use them to make broth.
- Family-approved flavor: The long, gentle simmer draws out savory depth and sweetness — perfect for soups, gravies, or sipping straight from a mug. I don’t only use broth in soups and stews, I also use it when cooking rice or making baked beans, to add as much nutrition to my family’s diet as possible.
- Traditional nourishment, modern convenience: Whether you simmer it slowly on the stove or overnight in a slow cooker, this timeless staple fits beautifully into a busy family rhythm. Bone broth is hands down the easiest part of a traditional diet to include in your life.
Ingredients
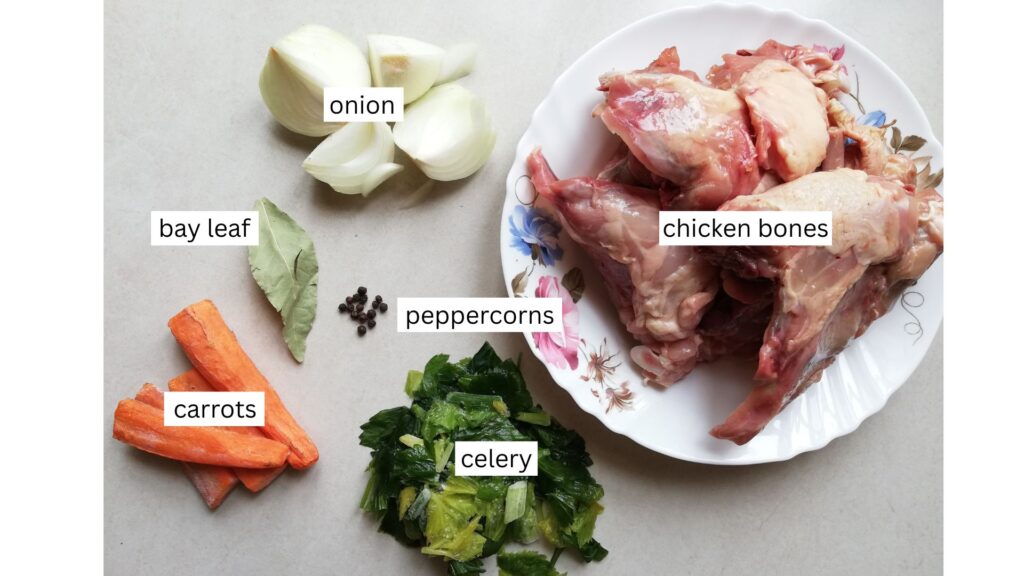
What Not to Put in Bone Broth
- Starchy veggies, for example potatoes, will make your broth cloudy and unappealing. They also don’t add anything to the flavor of your broth.
- Cruciferous veggies like broccoli and cabbage can give the broth an unpleasant, sharp flavor.
- Too many strong herbs when simmered for such a long time may become overpowering and even bitter. The best herbs for bone broth are parsley stems, thyme sprigs and bay leaves. Also, if you will be using your broth as a base for stews or similar dishes, there is no need to use any herbs at all.
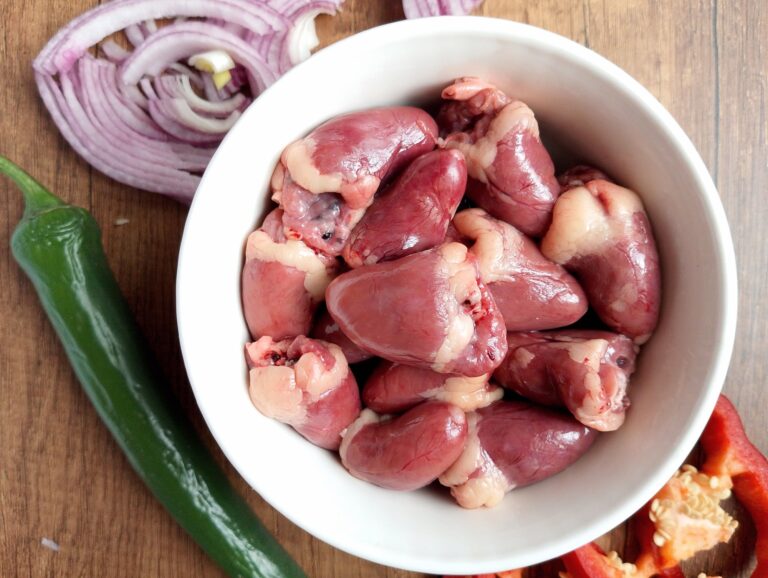
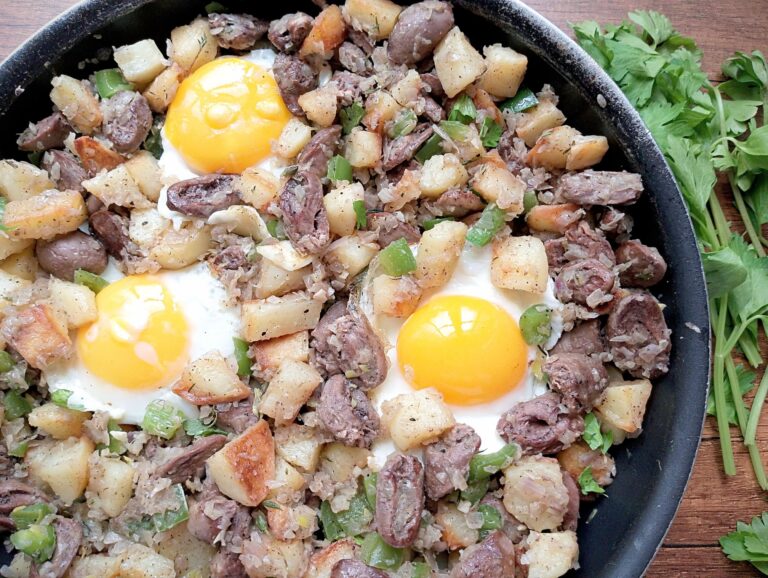
- Chicken organs such as liver or kidneys may make the broth bitter-tasting. The only organs I would consider adding would be gizzards – remove them after 2 hours of cooking time and use in recipes (otherwise they become overcooked and mushy).
Step-by-Step: How to Make Chicken Bone Broth
Step 1
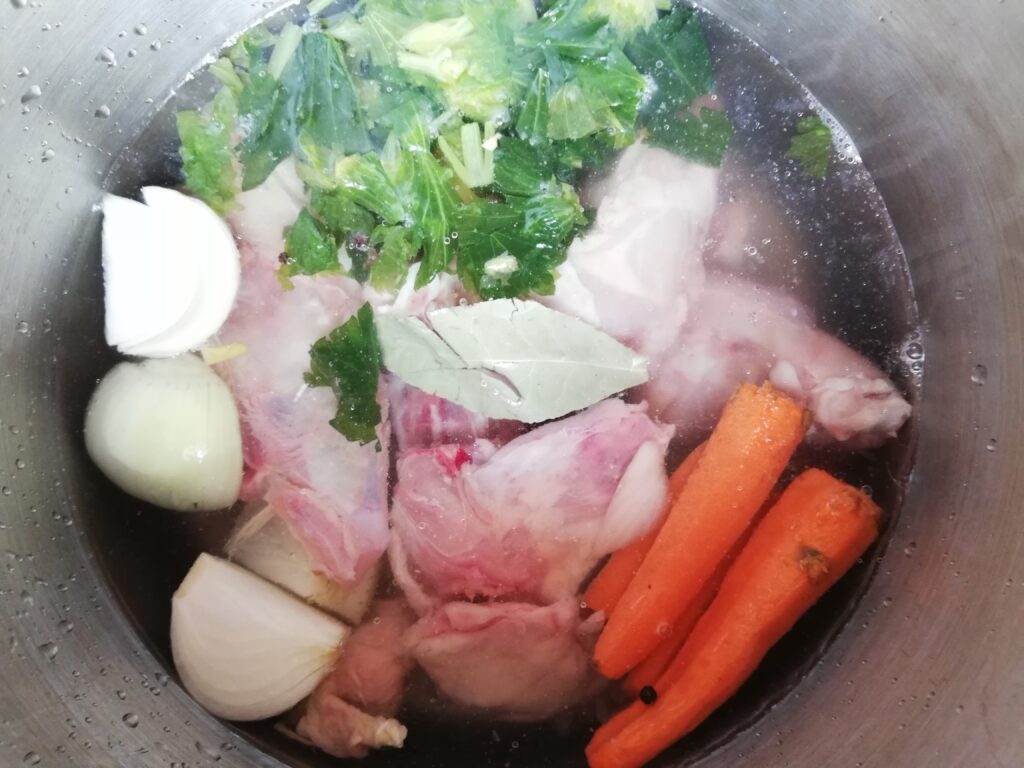
Add the chicken bones, carrots, onion, celery, bay leaf, and peppercorns to a large stockpot. Pour in enough filtered water to cover everything by about an inch. Place the pot over medium-high heat and slowly bring it to a gentle boil.
Step 2
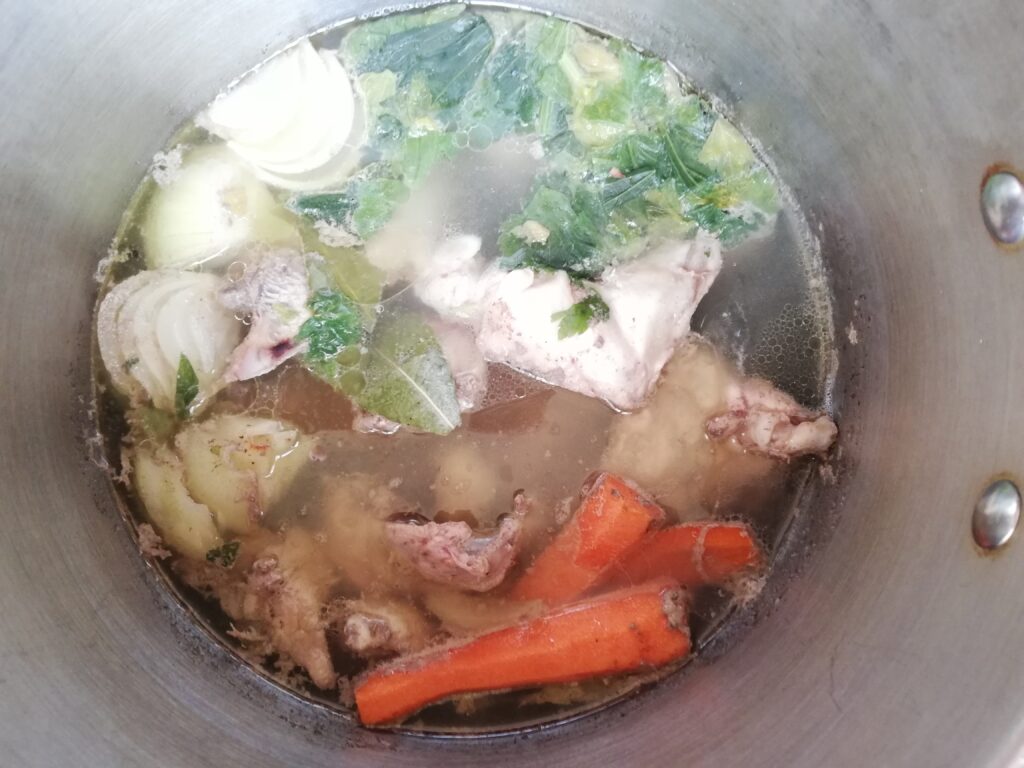
When the broth comes to a gentle boil, use a spoon to skim off any foam or scum that rises to the surface—this helps keep your broth clear and clean-tasting. Once the surface looks clear, reduce the heat to very low and let it simmer gently for 6 to 24 hours. The longer it cooks, the richer the flavor and the more collagen you’ll extract from the bones.
Step 3
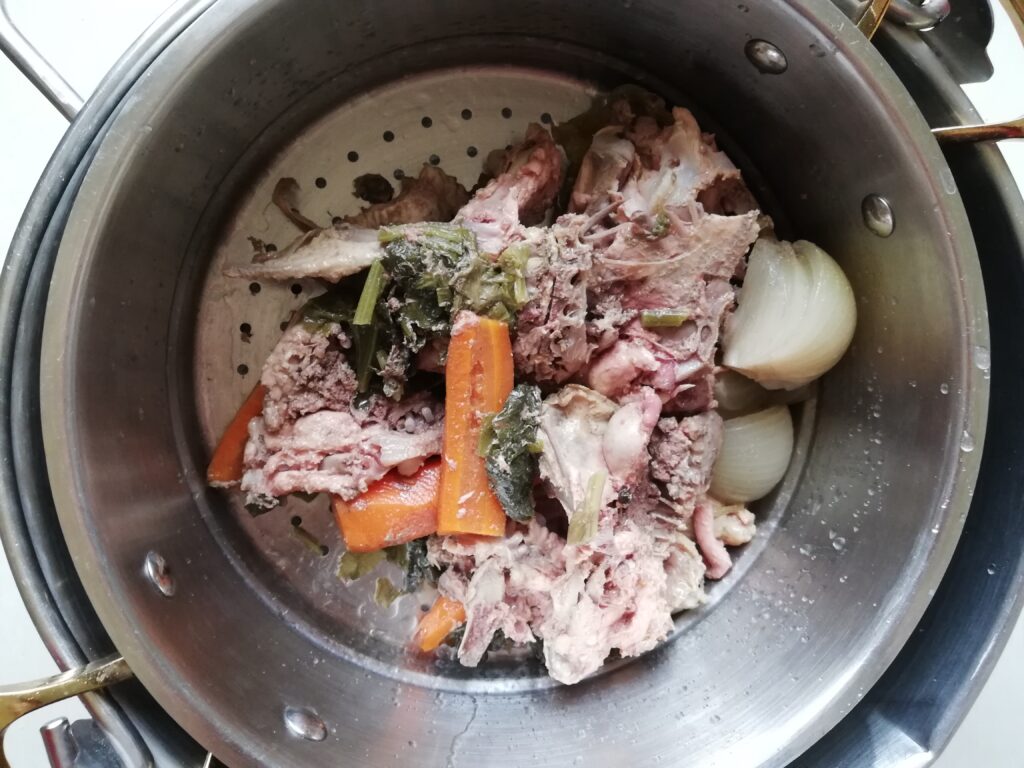
When the simmering time is up, remove the pot from the heat and carefully pour the broth through a large colander or fine-mesh sieve set over another pot or large bowl. This will strain out the bones and vegetables, leaving you with a clear, golden broth. Discard or compost the solids, as all their flavor and nutrients have already been released into the liquid.
Step 4
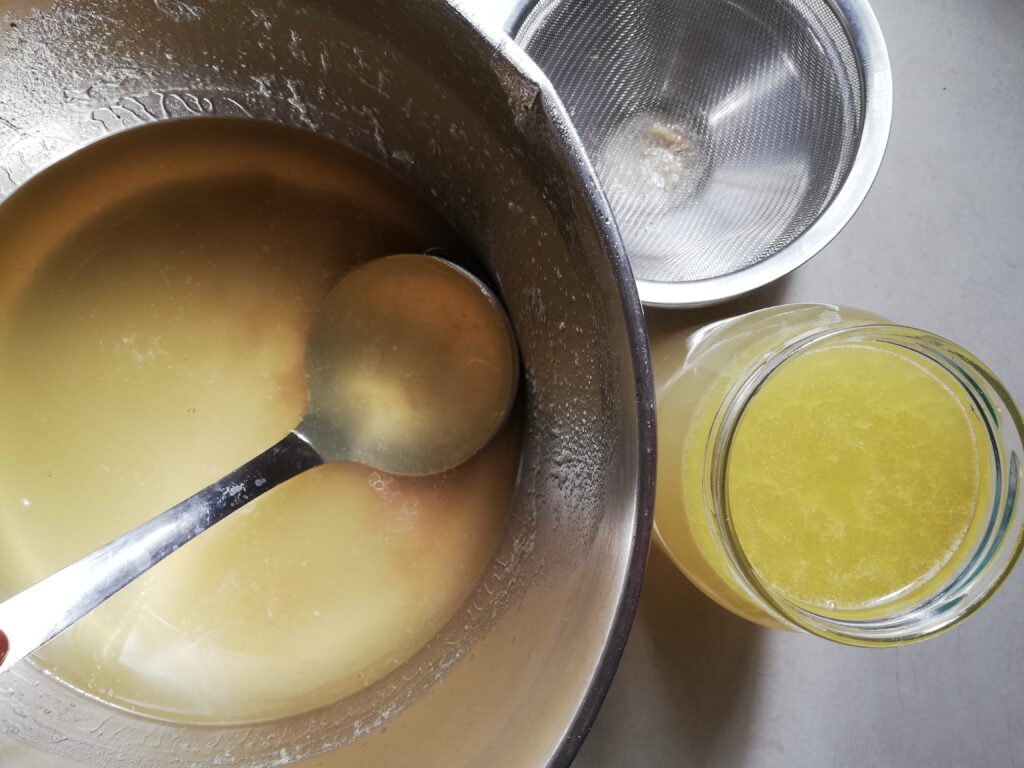
Pour the broth into clean glass jars or containers. If you like a very clear broth, place a fine-mesh sieve or small strainer over the funnel as you pour to catch any remaining bits the colander might have missed.
Step 5

Let the jars of broth cool at room temperature. As they cool, you’ll notice a thin layer of fat forming on top. Don’t skim it off — this natural fat cap will create a gentle seal once the broth is chilled, helping it stay fresh longer in the fridge.
When the broth has cooled completely, screw on the lids and place the jars in the refrigerator.
Crock Pot Option
1. Add the chicken bones, chopped vegetables, bay leaf, peppercorns, and vinegar to your crock pot.
2. Pour in enough filtered water to nearly fill the pot, leaving about 1 inch at the top to prevent overflow.
3. Cover and cook on LOW for 12–24 hours. For a lighter broth, 12 hours is plenty; for richer flavor and collagen, go the full 24. Alternatively, you can simmer it for 12 hours, strain, place the bones and veggies in the pot again, add water and cook on low for another 12 hours to make a second (weaker) batch.
4. If foam rises in the first hour, you can gently skim it off, though it’s optional with slow cooking.
5.Turn off the slow cooker, remove the lid and let it rest for about 20 minutes, then strain broth through a fine mesh sieve into jars or a large bowl.
6. Stir in sea salt to taste once the broth is finished (adding it early can make the flavor dull). This step is optional – I only add the salt at this point if I want to use the broth as it is. If I plan to use it in stews and soups, I skip the salt.
7. Let your broth cool completely, then refrigerate up to 5 days or freeze for several months.
How to Get the Most Collagen Out of Bones
- Add vinegar to the broth – it helps to draw out minerals from the bones.
- Use a high bones to water ratio. Fill your stockpot with bones and add only enough water to cover the bones.
- Simmer the broth for 12-24 hours. It takes a long time for the bones to soften and release their nutrients into the broth.
- Use collagen-rich bones when making broth. Some of the richest sources of collagen are chicken wings, feet, and necks.
How to Serve & When to Drink Bone Broth
- The best time to drink bone broth is as a morning tonic with a pinch of salt.
- It is also a great healing food for anyone going through a bout of flu or stomach bug.
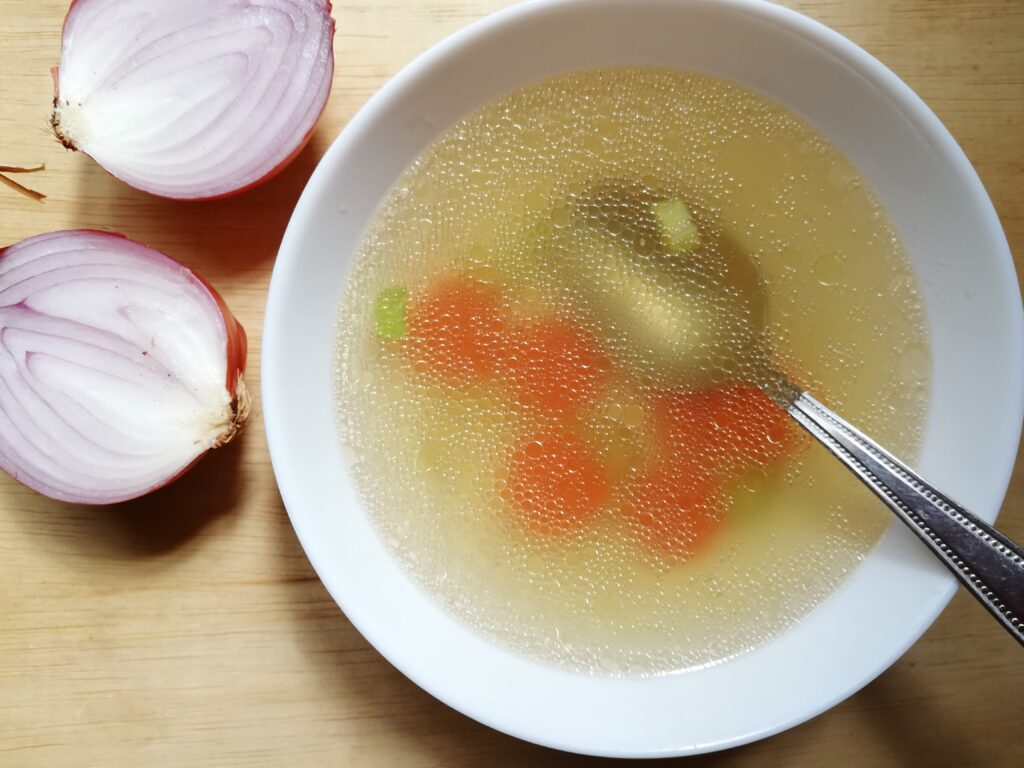
- I use it most often in soups, sauces, and gravies. If a recipe calls for broth or stock, you can use bone broth in it instead.
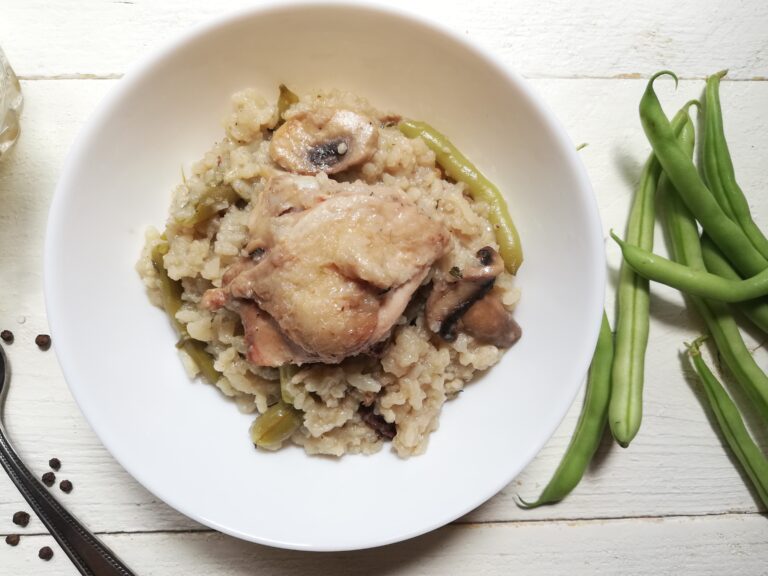
- I also use bone broth in some recipes that usually call for water, for example in my stovetop baked beans recipe and when boiling rice. No one in my family likes brown rice, so I cook white rice in broth instead of water to infuse some nutrients into it.
Storage Tips
- As the broth cools, a layer of fat will form on the top. Don’t remove it. This layer of fat is like a natural seal that will make your broth keep longer in the fridge. You can remove it when you are ready to use the broth. I rarely do unless it’s a really thick layer that would make my dish overly greasy. I also often use this fat to saute veggies – it has a mild, pleasantly chicken-y flavor.
- This broth will keep in the fridge for up to 5 days and is also freezer-friendly. I like to freeze it in silicone molds – it’s neatly portioned out this way.
- If you have a pressure canner (you lucky girl, I wish I could have one shipped here!), you can also can the broth. Before canning, skim off the fat layer from the top (it’s easiest to remove once it has completely solidified in the fridge) as it might prevent the jars from sealing properly.
Recipe FAQs
From My Kitchen to Yours
I hope this post has given you the confidence and inspiration to make chicken bone broth a regular part of your kitchen rhythm. Make a big pot this week and freeze a few jars—you’ll love having nourishing, homemade broth ready for soups, stews, and sauces anytime you need it.
I’m a huge fan of chicken bone broth and truly believe it’s the most flavorful and versatile of all broths. The ease of preparation and the nourishment it offers simply can’t be overstated.
If you enjoyed this recipe and want to get more traditional cooking inspiration, be sure to subscribe to my weekly newsletter so you never miss a new recipe or homestead tip.
Chicken Bone Broth
Equipment
- large stockpot or a slow cooker
Ingredients
- 2 lbs chicken bones carcass, wings, necks, or backs — include feet if you have them for extra collagen
- 2 medium carrots roughly chopped
- 2 –3 celery stems roughly chopped
- 1 medium onion quartered (no need to peel)
- 1 large bay leaf
- 1 –2 tablespoons apple cider vinegar to help draw minerals from the bones
- 10 –12 cups filtered water enough to cover bones by about 2 inches
- Optional: a few peppercorns fresh thyme, or parsley stems for extra flavor
- Sea salt to taste add at the end
Instructions
- Place the bones, vegetables, bay leaf, and vinegar in a large stockpot or slow cooker.
- Pour in enough water to cover the bones and veggies by about 2 inches.
- Bring to a gentle boil, then reduce to simmer. Skim off any foam that rises to the top during the first 30 minutes.
- If using the stove keep at a gentle simmer for 6–24 hours, if using the slow cooker set to low for 12–24 hours with the lid on.
- Pour through a fine mesh sieve into a bowl or jar. Cool before refrigerating or freezing.
- Add sea salt just before serving or using in recipes.
Notes
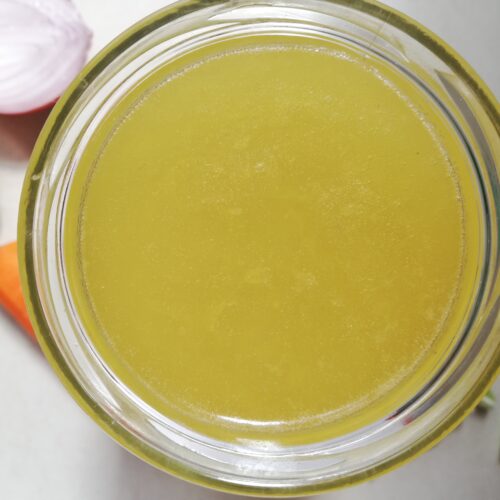
- The broth will gel when cooled — a good sign it’s rich in collagen.
- I often simmer the broth for about 8 hours, then pour it into jars, put the bones+veggies back in the stockpot, cover with more water and simmer again for 12 hours or so to make the second batch of broth. It will be weaker than the first batch, but still good for cooking rice or adding into stews.
- Store in the fridge up to 5 days, or freeze in jars or silicone molds for easy use.
- Use as a base for soups, sauces, gravies, or sip warm with a pinch of salt.