Easy Fermented Curtido Recipe (Step-by-Step Latin American Sauerkraut)
Curtido is a beautifully simple Salvadoran fermented cabbage condiment — full of flavor and probiotics. My take on this traditional recipe is just a touch spicy and wonderfully aromatic, pairing perfectly with tacos, Mexican rice, or a hearty roast. In this step-by-step guide, I’ll show you how to make curtido the traditional way, using wholesome, real-food ingredients from your kitchen.

Health Benefits of Fermented Curtido
Because curtido is a type of spicy sauerkraut, it offers many of the same benefits. Fermentation increases the availability of certain vitamins and makes others easier for the body to absorb, boosting overall nutrient value. It also supports gut health and digestion through the beneficial probiotics it contains. Unlike other preservation methods such as canning or drying, fermentation doesn’t cause nutrient loss — in fact, it enhances it. Fermented foods are often richer in vitamins and enzymes than their raw counterparts.
What Is the Difference Between Curtido, Kimchi, and Sauerkraut?
All three — sauerkraut, curtido, and kimchi — are types of fermented cabbage slaw. Sauerkraut is often made simply with cabbage and salt, though in parts of Eastern Europe it’s common to add caraway seeds for flavor. Curtido, on the other hand, comes from Latin America and is typically herbal and lightly spicy, seasoned with oregano and chili flakes. Kimchi is a Korean version of fermented cabbage that differs from both sauerkraut and curtido — it’s made with Napa cabbage and flavored with ingredients like chili paste and fish sauce for a deeper, more pungent taste.
Is Curtido Fermented or Pickled?
Curtido is fermented, not vinegar-pickled. During the natural process of lacto-fermentation, lactic acid bacteria transform the vegetables into a tangy, living food that’s rich in probiotics. This makes curtido not only delicious but also deeply supportive of gut health — and by extension, the immune system too, since around 70% of our immune cells reside in the gut.
Ingredients

How to Make Fermented Curtido (Step by Step)
Step 1
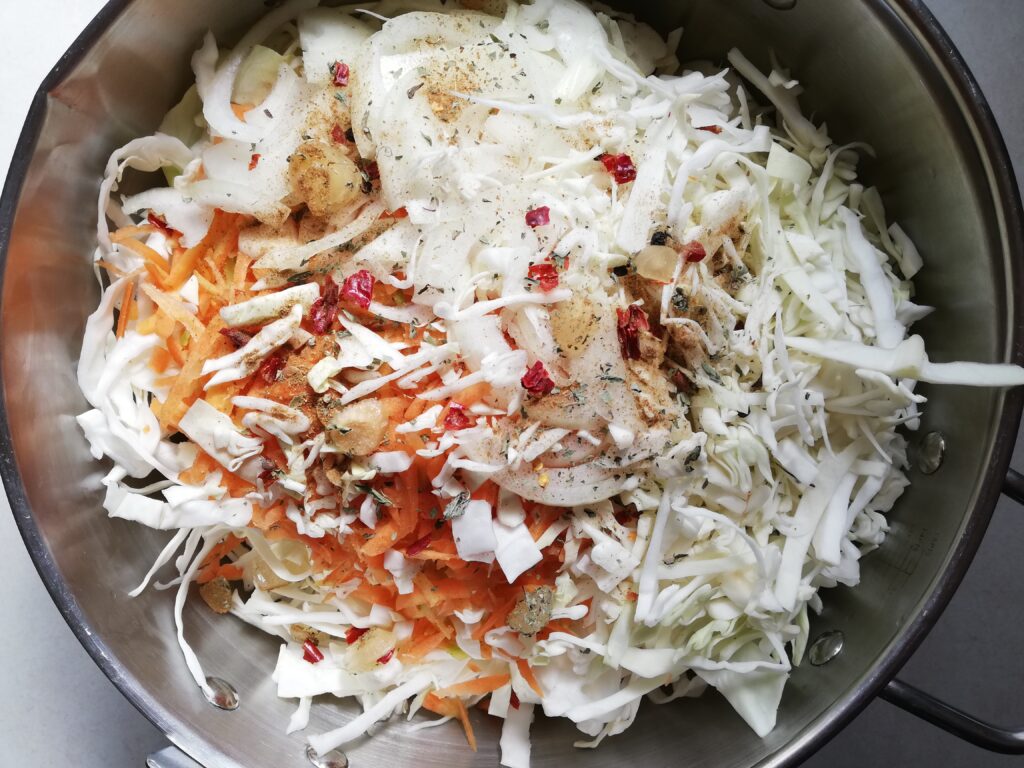
Add all the curtido ingredients to a large mixing bowl or pot. I like to use my jam pot for this step — it’s roomy enough to toss everything well without spilling cabbage everywhere.
Step 2

Using your hands, massage the vegetables thoroughly until they begin to release their juices, about 10 minutes. Wash your hands well afterward — the chili can linger! Let the mixture rest for about 30 minutes to allow the salt to draw out more liquid.
Step 3
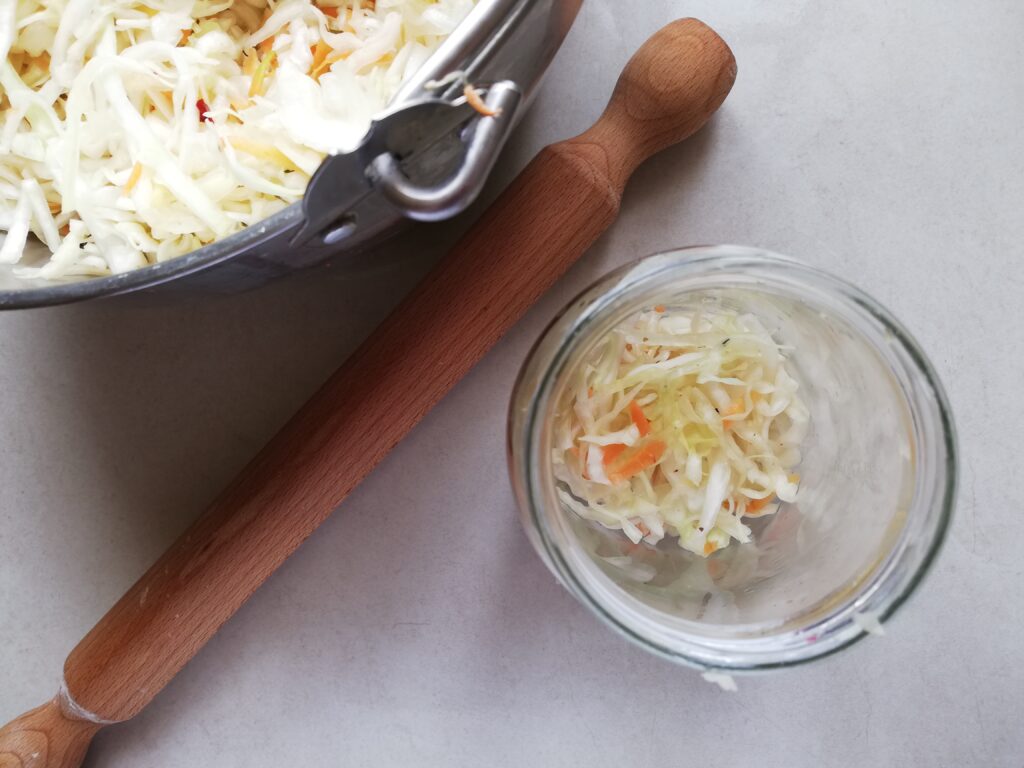
After the curtido has rested for 30 minutes, pack it tightly into clean jars. Use a kraut pounder or the flat end of a rolling pin to press it down firmly and release more brine.
Step 4
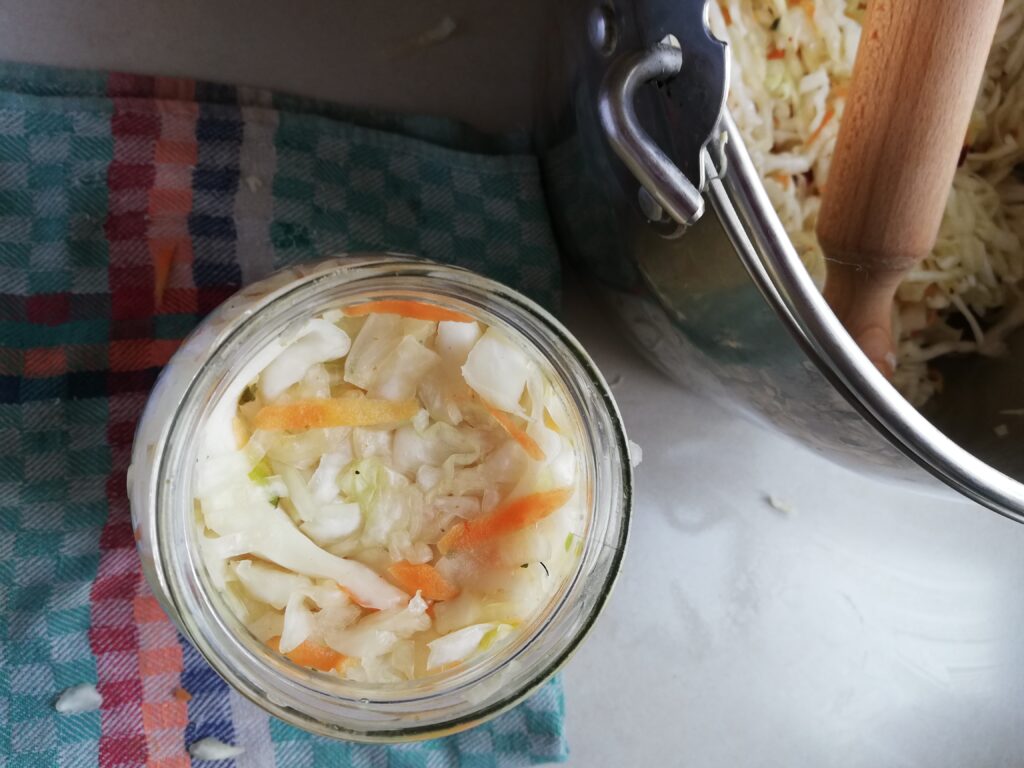
Fill each jar until the curtido reaches the neck or just below. Leave a bit of space at the top — this helps prevent overflow during fermentation and gives room for your weight. You can place a folded cabbage leaf over the top to keep the vegetables submerged, or use a glass fermentation weight if you have one.
Step 5
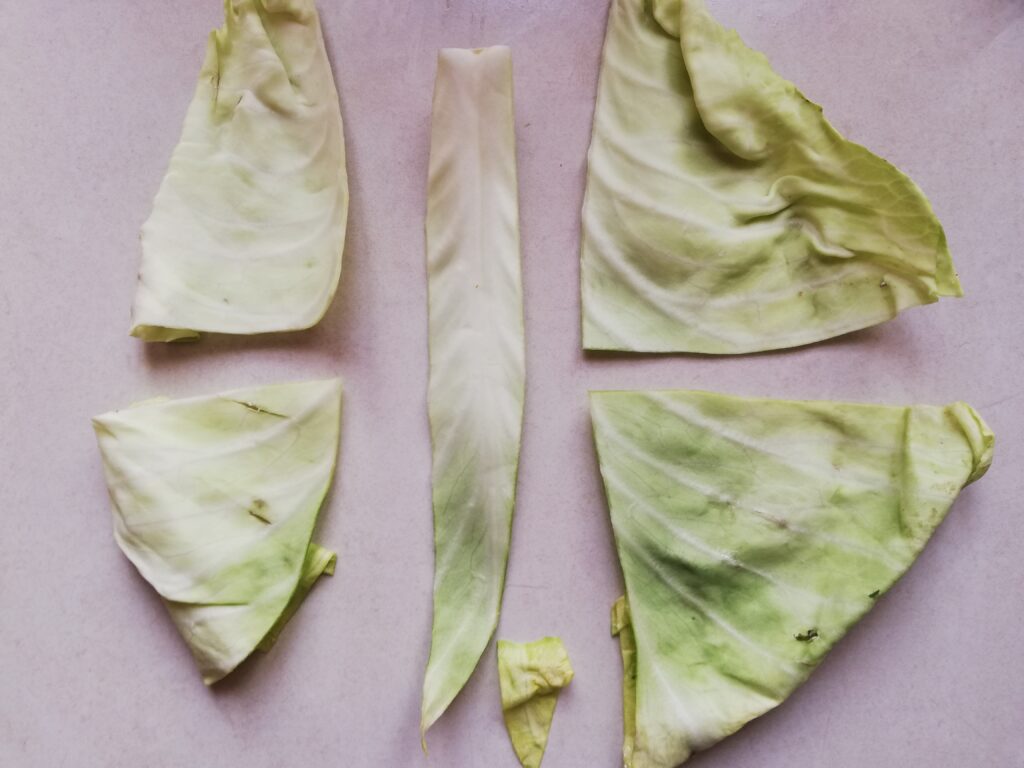
I like to use one of the large outer cabbage leaves to keep the curtido submerged under the brine. First, cut out the thick center vein so the leaf folds easily, then trim it into smaller sections that will fit snugly inside the neck of your jar. This simple step helps everything stay neatly packed and submerged during fermentation.
Step 6
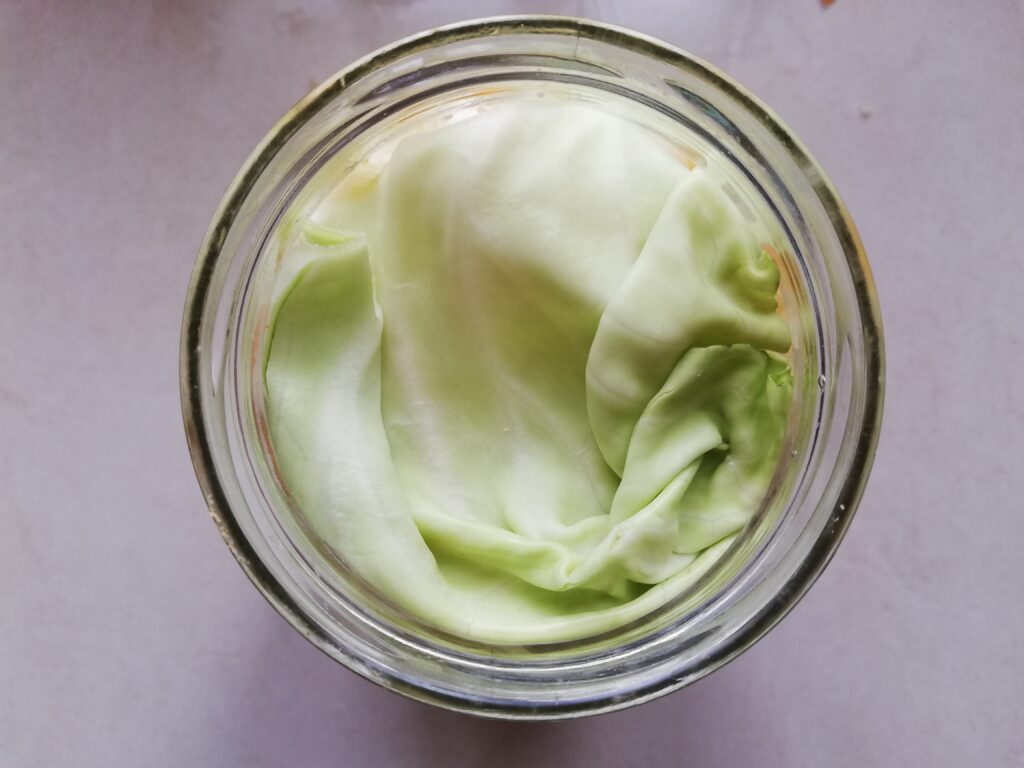
Lay a piece of the prepared cabbage leaf over the packed curtido, gently tucking in the ends around the sides. It should sit nice and flat, creating a tidy layer that helps keep all the vegetables submerged beneath the brine.
Step 7

During massaging, the vegetables release quite a bit of their own liquid, so you’ll likely only need a little extra brine to fill the jars completely. If you do need more, mix up a simple brine by dissolving 10 grams of unrefined salt in 2 cups of filtered water.
Step 8
In my batch, I only needed about 1 cup of extra water, so I dissolved 5 grams of salt into it to make a small amount of brine. Pour in just enough to bring the liquid right up to the top of the jar — there shouldn’t be any air pockets left. This helps create the ideal environment for safe fermentation.
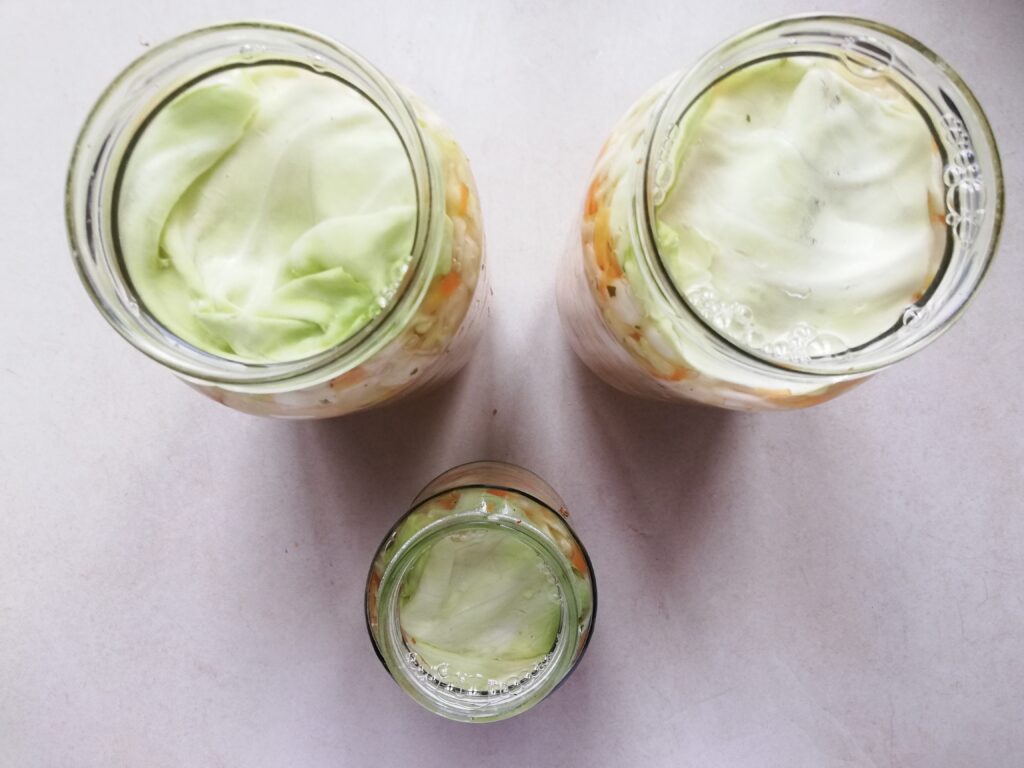
Step 9
This batch usually fills about 2 quart jars, with possibly a bit left over — perfect for a smaller jar if you have one on hand. Once packed, screw the lids on finger-tight and place the jars in a warm, dry spot away from direct sunlight. As the curtido begins to ferment, it may bubble and release some brine (this is called “siphoning off”), so it’s a good idea to set the jars in a large bowl or tray to catch any overflow and keep your counter clean.
How Long Does It Take to Ferment Curtido?
It usually takes about 10–14 days for curtido to fully ferment, depending on the temperature of your kitchen. If your kitchen is quite warm, start checking it after just a few days — it may be ready sooner. When it’s done, the curtido should be pleasantly tangy, lightly spicy, and full of flavor. It shouldn’t taste overly salty.
What Do You Eat with Curtido?
Curtido is a wonderfully versatile condiment — we enjoy it with just about anything we’re having for dinner. Thanks to its Latin roots, it pairs especially well with tacos, beans, rice, and other traditional Mexican or Latin American dishes. It also adds a delicious tang to sourdough sandwiches. Don’t forget the brine — a spoonful stirred into warm soups gives a gentle probiotic boost.
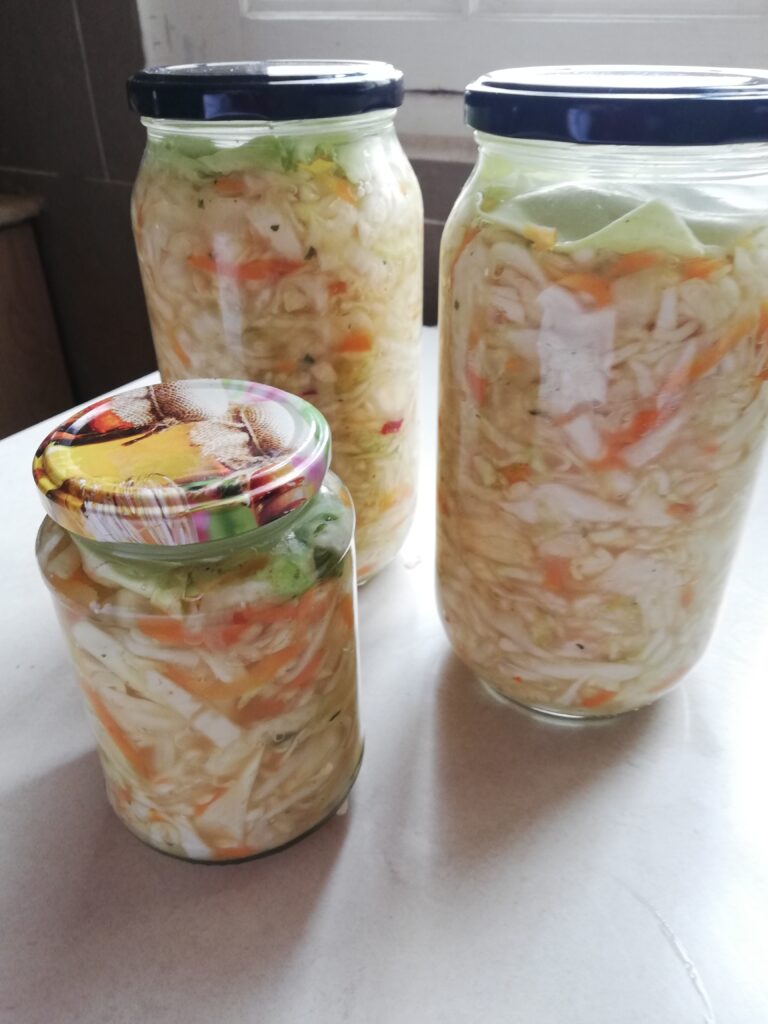
Storage and Shelf Life
Once the initial fermentation is complete, transfer your jars of curtido to the refrigerator. It will keep well for up to 6 months. After that, the flavors may begin to fade and the cabbage can become too soft, so it’s best enjoyed within that timeframe.
Final Thoughts
Curtido is a healthy, flavorful alternative to sauerkraut — and if you love Latin American flavors, you’re sure to love this too. I like to keep jars of sauerkraut, curtido, and fermented carrot sticks in my fridge so I always have quick, probiotic-rich veggie sides ready for any meal. Give this curtido recipe a try and let me know how you like it! For more old-fashioned, homey recipes like this one, be sure to subscribe to my newsletter — you’ll get updates whenever I share something new.
More Fermented Food Recipes
Fermented Carrots with Garlic and Dill
Lacto Fermented Ginger Carrots
Fermented Turmeric and Ginger Honey
Fermented Curtido
Equipment
- 2 x 1 quart jars with lids
- cabbage pounder, a large wooden spoon, or a rolling pin with a flat end
Ingredients
- 1 large cabbage, core removed and finely sliced (keep the outer leaves aside to use as fermenting weights)
- 2 medium carrots, grated
- 1 medium onion, thinly sliced
- 3-4 garlic cloves, grated
- 1 tsp dried or fresh oregano
- ½ tsp cumin (or use toasted cumin seeds)
- 1 tsp chili flakes
- ¼ tsp black peppercorns, crushed
- 1 tbsp fine unrefined salt (not table salt)
Instructions
- Place all the curtido ingredients in a large mixing bowl or pot (a jam pot works perfectly).
- With your hands, massage the vegetables for about 10 minutes until they begin to release their juices. Wash your hands well afterward — the chili can linger. Let the mixture rest for 30 minutes to allow the salt to draw out more liquid.
- After resting, pack the curtido tightly into clean jars. Use a kraut pounder or the flat end of a rolling pin to press it down firmly and release more brine.
- Fill the jars to the neck or just below. Don’t overfill — you’ll need space to add a cabbage leaf or glass weight.
- Use one of the large outer cabbage leaves to hold the curtido under the brine. Remove the tough center vein and cut the leaf into pieces that fit inside the jar. Lay a piece on top of the packed veggies, tucking in the edges so it sits flat.
- The vegetables should release enough liquid, but if needed, make extra brine by dissolving 10 g unrefined salt in 2 cups filtered water. I used about 1 cup of water with 5 g of salt. Pour in just enough to cover the cabbage leaf and fill the jar, leaving no air gaps.
- This recipe makes about 2 quart jars of curtido, plus possibly a bit extra for a small jar. Screw the lids on finger-tight and place the jars somewhere warm and dry, out of direct sunlight.
- During the first few days, the curtido may bubble and leak some brine (“siphoning off”). Place the jars in a bowl or tray to catch any overflow.
- Leave the jars at room temperature to ferment for 10–14 days, depending on how warm your kitchen is. If your kitchen is very warm, start checking after a few days — it may be ready sooner.
- When the curtido is done, it should be pleasantly tangy, lightly spicy, and full of flavor. It shouldn’t taste overly salty.
- Once you’re happy with the flavor, transfer the jars to the refrigerator. The curtido will keep well for up to 6 months.
- Enjoy curtido as a side with tacos, beans, rice, or roasted meats. It also makes a great addition to sourdough sandwiches, and the brine can be added to warm soups for a probiotic boost.


