Instant Pot Applesauce
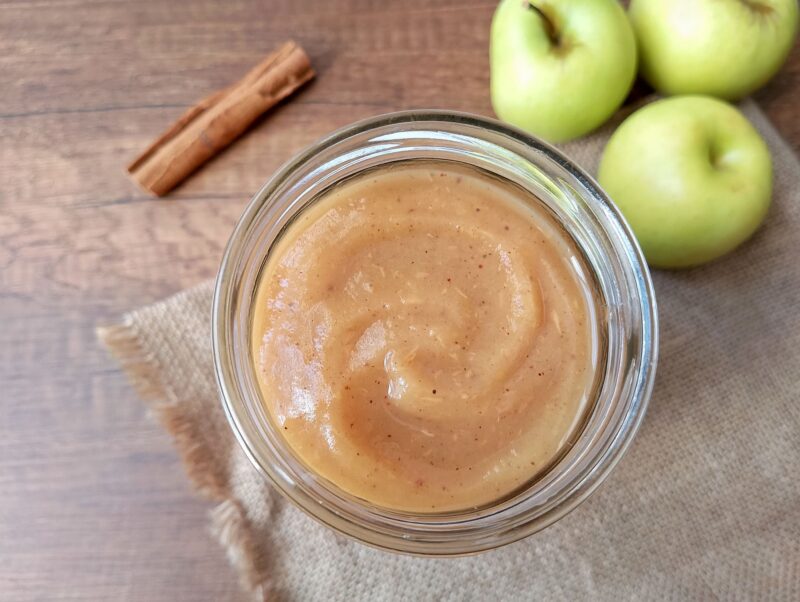
Applesauce is one of my favorite staples to make at home. We eat it as a snack with yogurt and granola, use it as a pancake topping instead of sugary syrup, and add it to muffins, baked oatmeal, and baked French toast.
Making applesauce is also a great way to make the most of apple season when apples are cheap and plentiful. I usually make a big batch and freeze or can it so we can enjoy homemade applesauce throughout the year.
And my Instant Pot makes the whole process so much easier and faster. Once I started making Instant Pot applesauce, I never went back to the stovetop method! Let me show you how to make it with this simple, easy-to-follow tutorial.
Why Make Applesauce in the Instant Pot?
When I make a batch of applesauce on the stovetop, it takes about 30 minutes to cook, depending on how much I’m making. In the Instant Pot, it takes just 5 minutes of pressure cooking, plus about 10 minutes for the natural pressure release.
So yes, Instant Pot applesauce saves you time, but in my opinion, the biggest benefit is how perfectly the apple skins soften and blend into the sauce.
I don’t peel my apples at all. I simply chop them roughly, cook them in the Instant Pot, and blend them until smooth. The skins become so soft that they blend right into the applesauce, leaving you with a perfectly smooth sauce without any pieces of skin.
Another thing I love about making applesauce in the Instant Pot is that it doesn’t scorch, as long as you add the 1 cup of water called for in this recipe. That isn’t always the case with stovetop applesauce, especially if I forget to stir it or accidentally turn the heat up a little too high.
For me, that combination of less prep, less stirring, and faster cooking makes the Instant Pot my favorite way to make homemade applesauce.
Ingredients
- Apples: For the most interesting flavor, use a mix of sweet and tart apple varieties. I usually just use whatever apples I can find cheaply at the market!
- Cinnamon: If you plan to eat your applesauce plain, cinnamon adds a lovely flavor. If you mainly use the applesauce for baking, you can reduce the cinnamon or leave it out altogether.
- Lemon juice: A little lemon juice adds brightness, especially when using sweet apples. If you’re using mostly tart apples, you can leave it out.
- Water: Add 1 cup of water to a large batch of applesauce. This helps prevent the bottom from scorching and triggering the Instant Pot’s Burn warning.
How to Make Instant Pot Applesauce
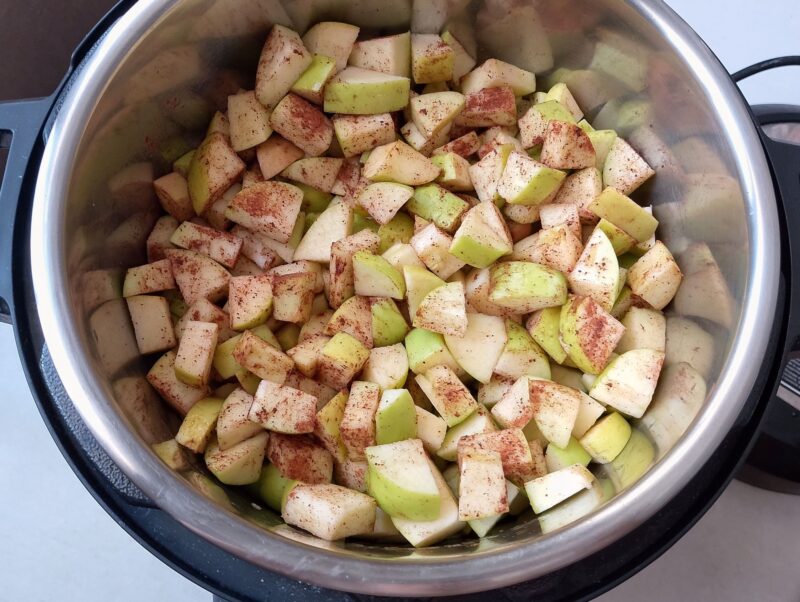
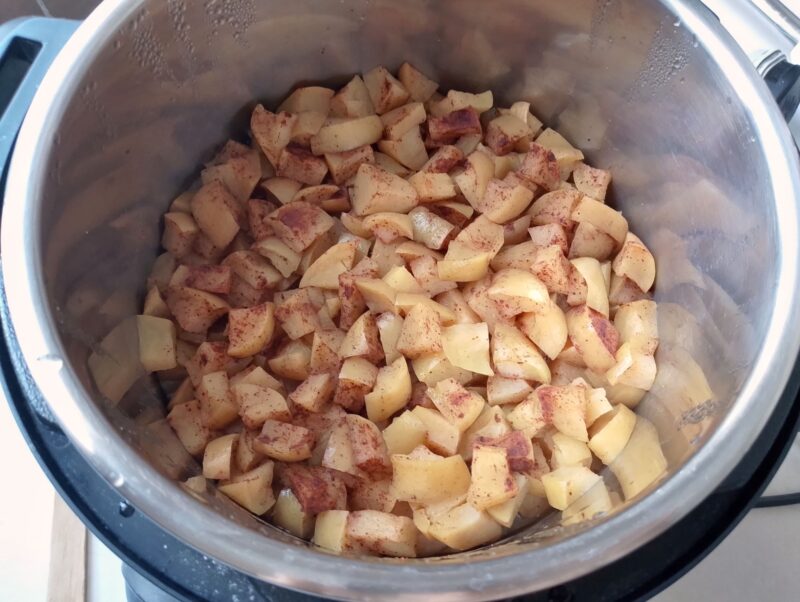
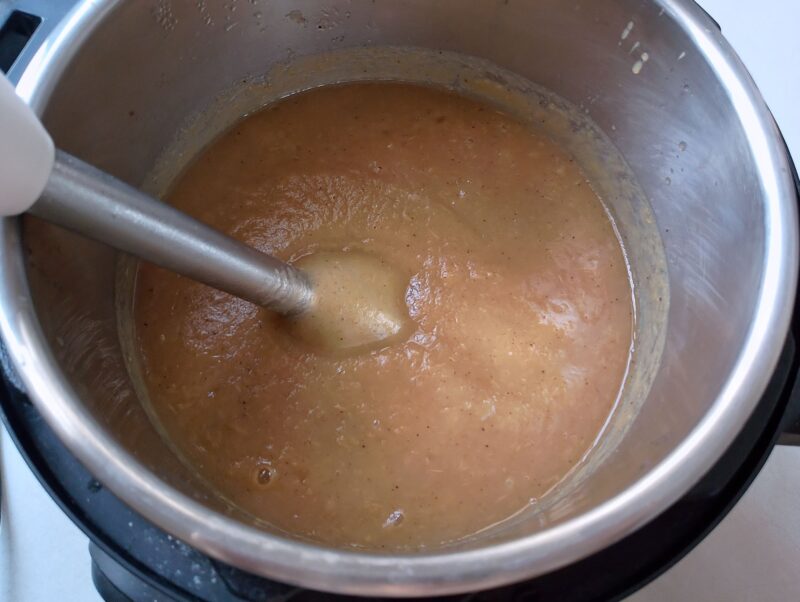
Step 3: Open the lid and give the apples a stir. They should be very soft. For smooth applesauce, use an immersion blender directly in the pot and blend until completely smooth.
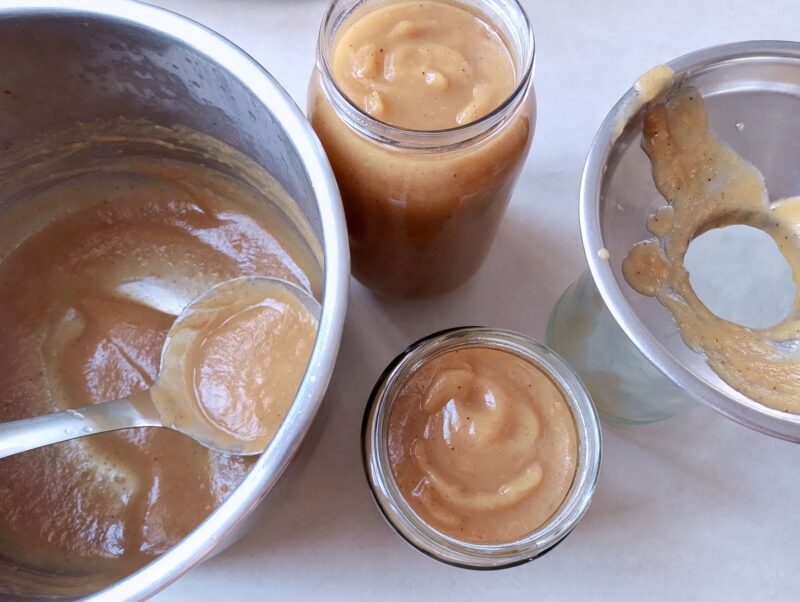
Step 4: Let the applesauce cool, then ladle it into jars for storing in the refrigerator. You can also freeze it flat in Ziploc bags or, even better, divide it between silicone muffin cups so it’s already portioned and quicker to thaw. I usually keep some frozen and some home canned applesauce for use throughout the year.
Tips For the Best Applesauce
- Use a mix of apples. If you have a choice, combine sweet and tart apple varieties for a more interesting flavor.
- Don’t add too much water. One cup is enough for a large batch of applesauce. Adding much more can leave you with watery applesauce that needs to be simmered down, which takes extra time.
- Adjust the cinnamon to how you’ll use the applesauce. A little cinnamon is lovely if you plan to eat it on its own. If you’re using it in muffins, cakes, or other baked goods, use just a little or leave it out entirely.
- Wait before adding sweetener. Don’t add sugar or honey until the applesauce is cooked and blended. Cooking concentrates the natural sweetness, so taste it first. If you use sweeter apples, you may find that you don’t need any added sweetener at all.
- Use lemon juice with sweet apples. A little lemon juice brightens the flavor of sweet apples, but I usually skip it when using tart apple varieties.
- Thicken it if needed. If your applesauce is thinner than you like after blending, turn the Instant Pot to Sauté – Low and let it simmer uncovered for about 30 minutes. Stir it occasionally until it reaches the consistency you like.
The Best Apples for Applesauce
A mixture of sweet and tart apples makes especially flavorful applesauce. Some good sweet varieties to use are Golden Delicious, Gala, and Fuji, while McIntosh and Granny Smith are good tart options.
That said, I like to make applesauce in large batches, so I usually just use whatever apples I can find cheaply at the market. If the apples are very sweet, I add a little lemon juice for contrast. If they’re tart, I usually don’t add anything except cinnamon for flavor. You can always sweeten the applesauce after cooking if you prefer it sweeter.
Storage Tips
- Refrigerator: Let the applesauce cool, then transfer it to clean jars or airtight containers and store it in the refrigerator for up to 1 week.
- Freezer: Applesauce freezes very well. I like to divide it into 1–2 cup portions so I can thaw just what I need, whether I’m serving it as a snack or using it in a recipe. For the best quality, use frozen applesauce within about 6 months.
- Water-bath canning: You can also can applesauce in pint or quart jars using a tested water-bath canning method, adjusting the processing time for your elevation and jar size. You don’t need a dedicated water-bath canner—I simply use a large stockpot with a folded tea towel that keeps the jars off the bottom.
Ways to Use Homemade Applesauce
I use applesauce for breakfast, snacks, and baking—it’s such a versatile staple to have on hand.
For breakfast, spoon it over waffles or pancakes as a simple alternative to syrup, stir it into yogurt, or mix it into baked oatmeal. One of my kids’ favorite snacks is applesauce layered in glasses with yogurt and homemade granola. It’s simple, but they love it!
For baking, I mostly use applesauce in muffins and cakes, but it also works well in breakfast bars and pancake batter. Thick, unsweetened applesauce is best for baking, especially when you’re using it as a substitute for some of the moisture or fat in a recipe.
Recipe FAQ
A Simple Homemade Staple
I hope you enjoyed making this super simple Instant Pot applesauce! It’s one of my favorite staples to make in bulk, and I always make plenty to freeze and can in the fall so I have homemade applesauce on hand for baking and snacks throughout the year.
If you enjoy traditional cooking and homemaking, subscribe to my newsletter! I write it personally, in real time, usually on Sundays, and fill it with recipes, practical tips, and old-fashioned homemaking wisdom for real food moms.
Recipes to Make With Homemade Applesauce
High Protein Breakfast Bake with Applesauce
Sourdough Discard Applesauce Muffins
Instant Pot Applesauce
Equipment
- Instant Pot
- immersion blender
Ingredients
- 2 kg (4.4lb) apples, peeled, cored, and roughly chopped
- 1 cup water
- 2 tsp cinnamon (optional)
- 1–2 Tbsp lemon juice (optional)
- 1 –2 Tbsp brown sugar or honey (optional — depending on how sweet your apples are)
Instructions
- Add the water, chopped apples, cinnamon, and lemon juice (if using) to the Instant Pot. Give everything a quick stir.
- Lock the lid and cook on High Pressure for 5 minutes. Let the pressure naturally release for 10–15 minutes, then carefully release any remaining pressure.
- Open the lid and give the apples a stir. They should be very soft. For smooth applesauce, use an immersion blender directly in the pot and blend until completely smooth.
- Let the applesauce cool, then ladle it into jars for storing in the refrigerator. You can also freeze it flat in Ziploc bags or divide it between silicone muffin cups for convenient, ready-to-thaw portions.
Notes
- Sweetener: I never add sugar to applesauce because I prefer it unsweetened—it makes it more versatile (and healthier, too!). However, you can add sugar or honey after cooking if your apples are very tart and you prefer a sweeter sauce.
- Lemon juice: I only add lemon juice when I’m using sweet apples. If I’m using tart apples, I leave it out.
- Water: Add 1 cup of water to the Instant Pot. This helps it come to pressure properly and prevents the apples from scorching on the bottom and triggering the Burn warning.