How to Make Yogurt in Instant Pot
Making your own probiotic foods and drinks at home is a little bit like magic—and a lot of fun. Yogurt is no different. With just some milk and a little plain store-bought yogurt as a starter, you can make rich, creamy homemade yogurt with very little hands-on effort.
An Instant Pot makes the process even simpler. It can heat the milk to the right temperature, then gently incubate it until the yogurt is set and thick, ready to be refrigerated.
In this tutorial, I’ll show you how to make yogurt in an Instant Pot step by step, including which kind of milk works best, how long to incubate it, and what to do if you run into any issues.
Once you’ve made it a few times, homemade yogurt will become one of your favorite from-scratch staples—something you’ll always want to have on hand for snacks, breakfasts, and meals throughout the week.
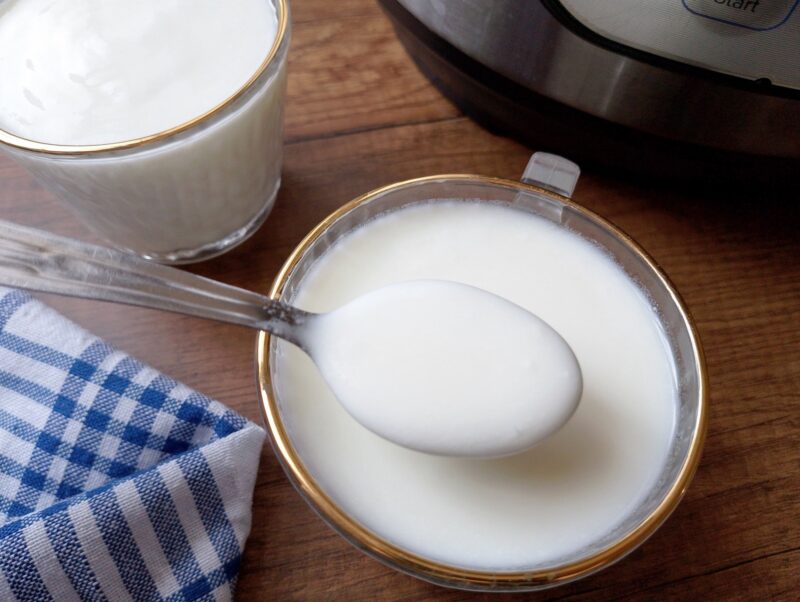
Why Make Yogurt in an Instant Pot?
I made yogurt in an electric yogurt maker for many years before I bought my Instant Pot. But now, my favorite way to make yogurt is in the Instant Pot—and here’s why:
- Easy and hands-off: The Instant Pot can heat the milk to the right temperature which means I don’t have to heat it on the stove. It also maintains a warm, consistent temperature while the yogurt cultures.
- No special equipment needed: If you already own an Instant Pot, there’s no need for a separate yogurt maker.
- Large batches: This is the main reason why I moved from making yogurt in my yogurt maker to making it in Instant Pot. In my electric yogurt maker, I could only do 1 quart of yogurt at a time. In my Instant Pot I can do 3-4 quarts, enough to last us for a whole week.
- Customizable: You control the type and quality of milk, the starter, and how long you ferment it.
- More affordable: Homemade yogurt can be much cheaper than buying good-quality yogurt, especially when making larger batches.
- Deliciously fresh: Homemade yogurt has a fresh, creamy flavor and can be made as mild or tangy as you like. You can even strain it and have Greek style yogurt freshly made at home.
- Great for meal prep: Make a large batch and keep it refrigerated for breakfasts, snacks, smoothies, sauces, and baking. Yogurt is one of my favorite real food staples to have on hand. I will usually make about 3 quarts at a time and serve it throughout the week, either as a snack with some granola and homemade jam, or in dishes like meat marinades and curries.
Best Types of Milk For Creamy Homemade Yogurt
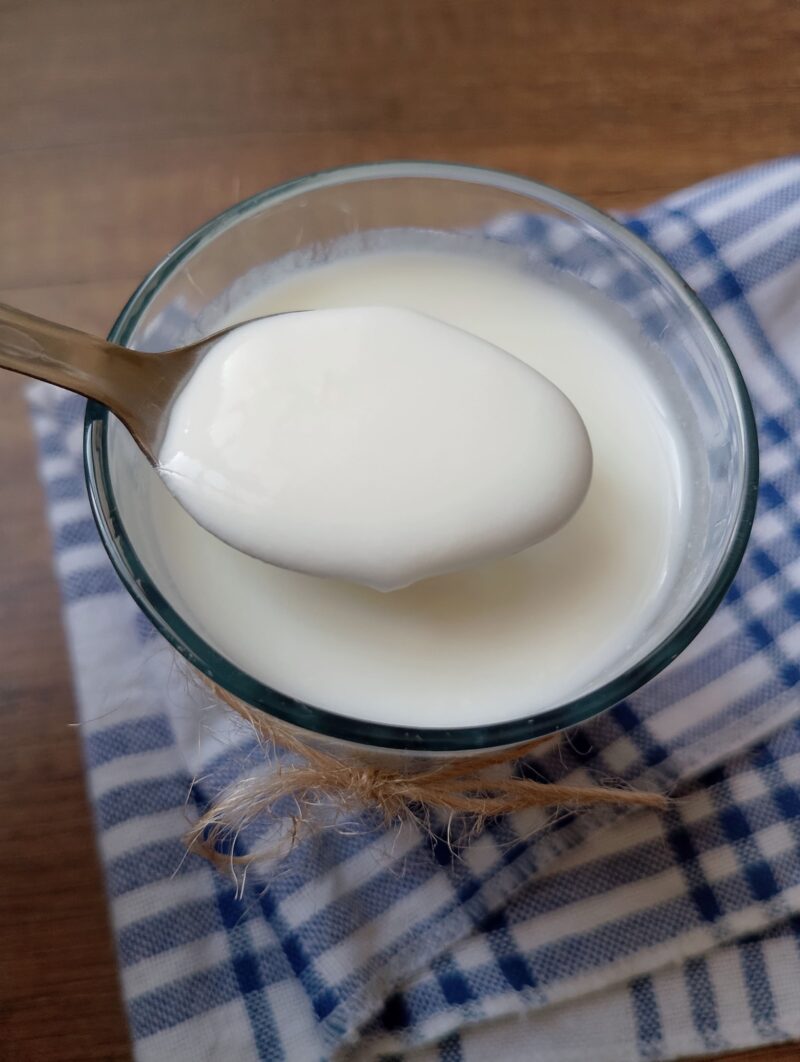
If your goal is really creamy, thick yogurt, use whole milk with 3–4% milk fat. You can make yogurt with low-fat or skim milk, but the finished yogurt will generally be thinner and less rich.
Non-homogenized whole milk is especially good for yogurt making. The layer of cream that rises to the top can help produce exceptionally thick, creamy yogurt. Jersey milk is another excellent choice because it typically has a higher milk fat and protein content than ordinary milk. Yogurt made with Jersey milk is wonderfully rich and creamy, and it’s my top recommendation if you can get it where you live.
You can also make yogurt with raw milk, but for the most reliable set, you’ll need to heat it to 82–85°C (180–185°F) first, using the Instant Pot’s ‘Boil’ function. Raw milk that hasn’t been heated first will usually produce a thinner yogurt. Keep in mind that once you heat the milk to this temperature, it is no longer a true raw-milk yogurt.
UHT milk can also be used to make yogurt, although I personally avoid it, as I do most highly processed foods.
Ingredients
- Whole milk: For the most consistent results, use 1–3 liters (quarts) of milk. I can make up to about 4 liters (4 quarts) of yogurt in my 6-quart Instant Pot Duo. Whichever model you have, never fill the inner pot above the MAX line.
- Plain store-bought yogurt: You’ll need about 1 tablespoon of plain yogurt per liter (quart) of milk as your starter. Make sure the yogurt contains live active cultures and is plain and unsweetened.
How to Make Yogurt in Instant Pot Step By Step
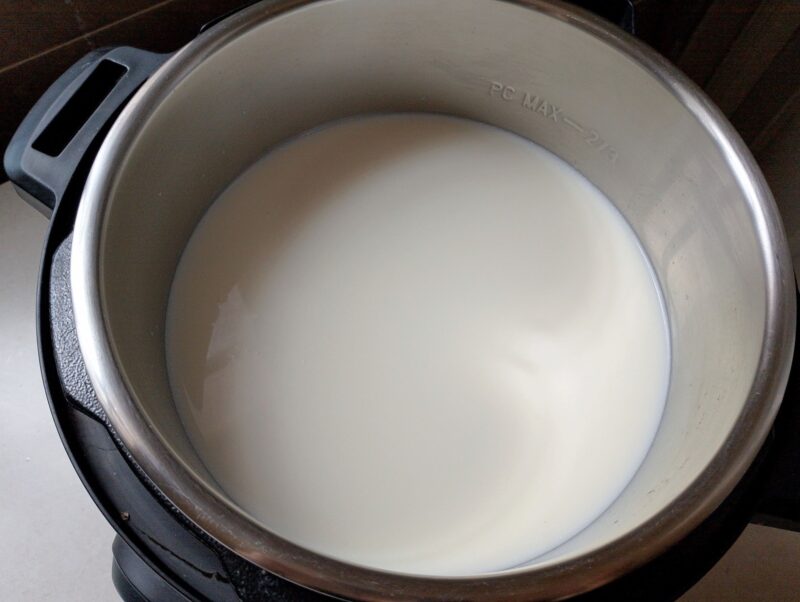
Step 1: Pour the milk into the Instant Pot inner pot. You can use as much milk as will fit below the MAX line—I used 3 liters of milk.
Press the Yogurt button until the display shows Boil. The Instant Pot will heat the milk to the required temperature, which usually takes about 30–45 minutes, depending on how much milk you’re using.
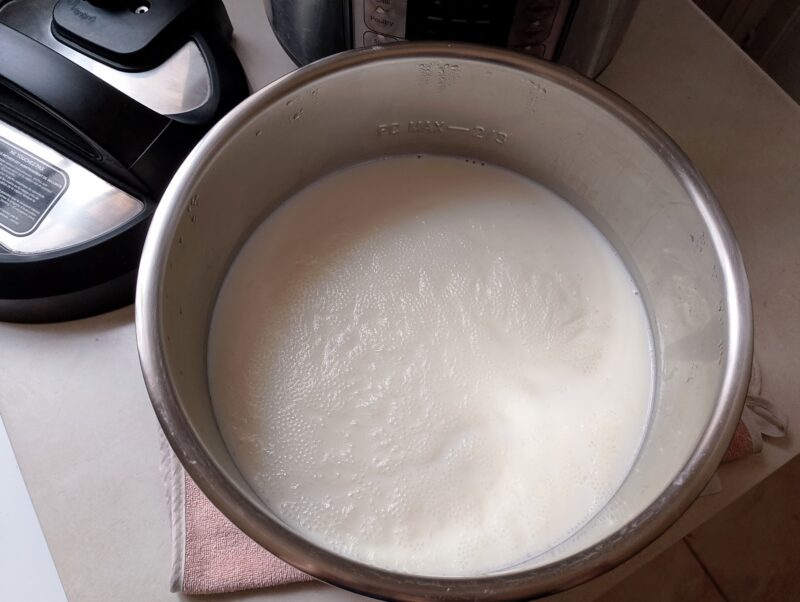
Step 2: When the milk has finished heating, the Instant Pot will beep several times and the display will show End. Remove the inner pot and let the milk cool to 43–46°C (110–115°F) before adding your starter.
You don’t need a thermometer to judge the temperature. Simply insert a clean finger into the milk. If you can comfortably keep your finger in it for 10 seconds without it feeling too hot, it should be ready for the starter.
Depending on the temperature of your kitchen and the amount of milk you’re using, this usually takes about 1 hour.
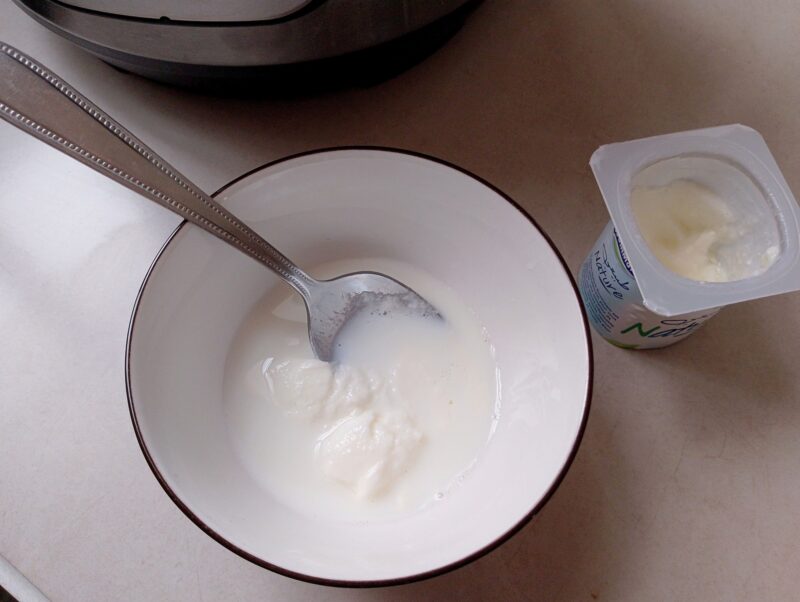
Step 3: Once the milk has cooled, place the inner pot back into the Instant Pot.
Measure your starter yogurt—about 1 tablespoon of plain yogurt per quart/liter of milk—and mix it with a few tablespoons of the cooled milk in a small bowl until smooth. This helps distribute the starter evenly through the milk.
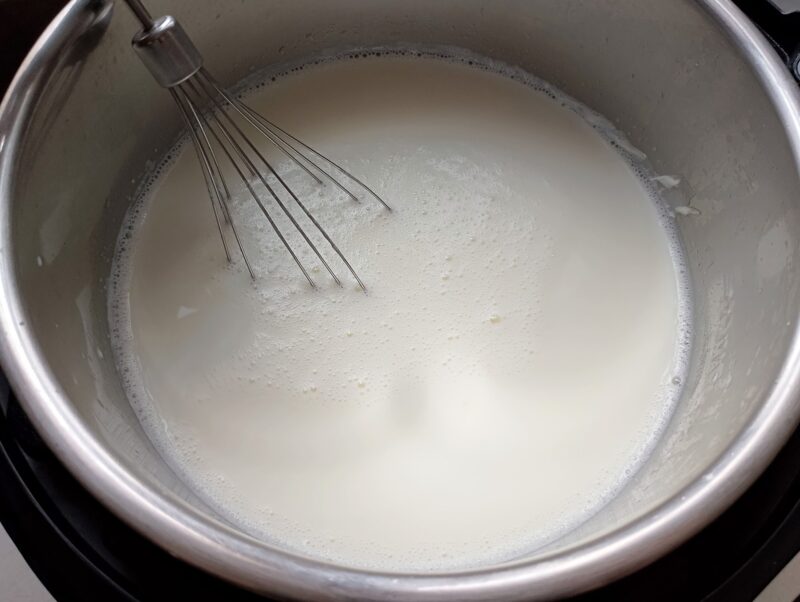
Step 4: Stir or whisk the starter mixture back into the milk until well combined. Close the Instant Pot lid—you don’t need to seal it. Press Yogurt and set the incubation time for 8 hours for a mild yogurt or 10 hours for a tangier yogurt.
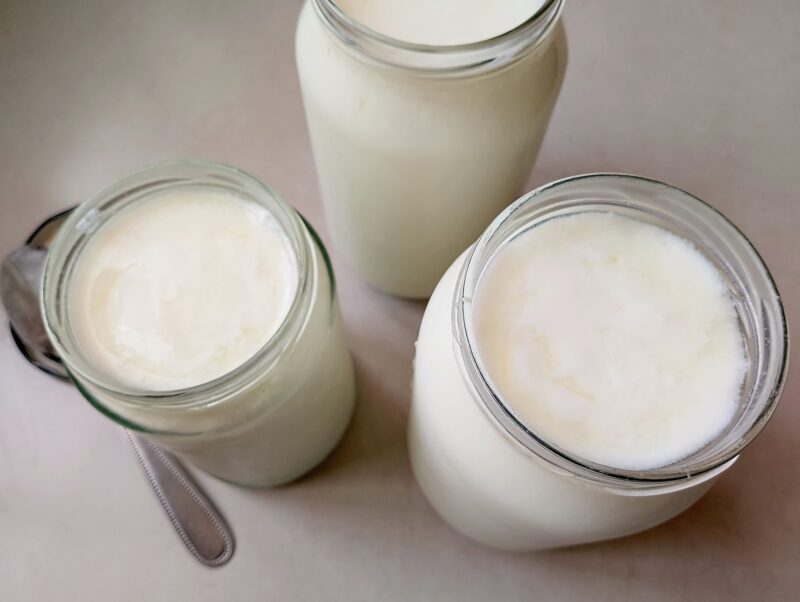
Step 5: Once the incubation time is up and the yogurt has set, gently ladle it into clean jars. Don’t stir the yogurt—this can break up the set and make it thinner.
Refrigerate for at least 6 hours, or preferably overnight. The yogurt will continue to firm up as it chills.
How Long Does It Take to Make Yogurt in an Instant Pot?
The total time depends on how much milk you’re using. A larger quantity of milk will take longer to heat and then cool before you can add the starter.
For example, when I make 3 quarts (2 liters) of milk, it takes about 30–45 minutes to heat on the Boil function, followed by about 1 hour to cool. The yogurt then needs to incubate for about 8 hours, or up to 10 hours if you prefer a thicker, more tangy yogurt. After incubation, you’ll transfer the yogurt to jars and refrigerate it for at least a few hours, or preferably overnight, to fully chill and thicken.
So, from heating the milk to finished yogurt ready for the refrigerator, expect about 9–12 hours, not including chilling time.
In other words, choose a day when you won’t need your Instant Pot for cooking—it’ll be busy making yogurt!
The chart below shows approximately how long each step takes when I make 3 quarts (3 liters) of yogurt in my 6-quart Instant Pot Duo.
| Step | Approx. time |
|---|---|
| Yogurt → Boil | 30–45 min |
| Cool milk to starter temperature | 30–60 min |
| Mix in starter | 2–5 min |
| Incubate | 8–10 hours |
| Transfer to jars | 5–10 min |
| Total | ~9.5–12 hours |
How Long Should You Incubate Yogurt?
For most homemade yogurt, 8–10 hours is a good incubation time in the Instant Pot. A shorter incubation will produce a milder yogurt, while a longer incubation generally makes it more tangy and can result in a firmer set. However, if you ferment it for too long, the yogurt can become overly sour.
I usually let my yogurt incubate for 8 hours, which I find is enough to give me thick, rich yogurt without making it too tangy.
Occasionally, you may open the Instant Pot after 8 hours and find that your yogurt still looks a little thin. If this happens, simply put the lid back on and continue incubating for another 1–2 hours, giving the yogurt more time to culture and set.
This happened to me once when I used homemade yogurt as my starter. It apparently wasn’t as active as the store-bought yogurt I usually use, so the milk needed a little extra time to culture and thicken.
How to Make Extra Thick Yogurt
If your goal is very thick, rich, and creamy yogurt, here are my best tips for making sure your Instant Pot yogurt sets beautifully every time:
- Use whole milk: For rich, creamy yogurt, whole milk is your best choice. The higher fat content gives the yogurt a richer, creamier texture, while the milk’s protein helps it set firmly.
- Heat the milk properly: Heating the milk to around 82–85°C (180–185°F) changes the milk proteins, allowing them to form a stronger network during fermentation and giving your yogurt a firmer set. Your Instant Pot will heat the milk for you when you use the Boil function. After heating, let the milk cool to warm before adding your starter culture.
- Use a fresh, active starter: Use plain store-bought yogurt that contains live active cultures. You only need about 1 tablespoon of starter per quart/liter of milk. Adding more starter won’t make your yogurt thicker and can actually result in a thinner, more sour yogurt.
- Keep the Instant Pot closed during incubation: Try not to open the lid to check on your yogurt while it’s culturing. Let it incubate for about 8 hours for a thick, mild yogurt, or up to 10 hours for a tangier yogurt. By the end of incubation, it should have set into a soft gel.
- Don’t stir before refrigerating: Once your yogurt has set, gently ladle it into clean jars without stirring it. Refrigerate for at least 6 hours or overnight. The yogurt will continue to thicken as it chills.
- Strain it for Greek-style yogurt: If you want yogurt thick enough to stand a spoon in, line a colander with cheesecloth or a clean tea towel and set it over a bowl. Pour in your chilled yogurt and let it drain in the refrigerator for 1–4 hours, depending on how thick you want it. If you strain it until it is very thick, you can even add a little salt and use it as a spreadable yogurt cheese.
Troubleshooting
Why didn’t my yogurt set? If your yogurt is still very thin or liquid after incubation, the most common causes are weak or inactive starter, milk that wasn’t heated sufficiently, or not enough fermentation time. Make sure you use fresh yogurt with live active cultures, heat the milk properly then let it cool until it’s comfortably warm before adding the starter, and allow the yogurt to incubate for 8–10 hours. If it’s still thin at 8 hours mark but smells and tastes like yogurt, you can continue incubating it for a couple more hours.
Why is my yogurt runny? Runny yogurt can be caused by weak starter cultures, insufficient heating of the milk, or not enough incubation time. Your yogurt may also need more time to chill – after the incubation time is up, transfer your yogurt to jars and refrigerate it overnight. It will noticeably thicken.
Why did my yogurt separate and have whey? A little whey separation is normal. However, if a lot of whey has separated, your yogurt might have incubated for too long, fermented at too high a temperature, or been disturbed before it has fully set. Using too much starter can also contribute to separation. You can either pour off the whey that has separated (if you want a thicker yogurt) or stir it back in once your yogurt has chilled for several hours.
Why is there liquid on top of my yogurt? A small amount of clear or yellowish liquid on top of your yogurt is whey, and it’s completely normal. You can either pour it off or stir it back in.
Why is my yogurt too sour? Yogurt becomes more sour the longer it ferments. With your next batch, try reducing the incubation time to 6–8 hours for a milder flavor. In addition, always use a fresh, active starter and refrigerate your yogurt once it has set to prevent it from becoming too tangy.
How to Store Homemade Yogurt
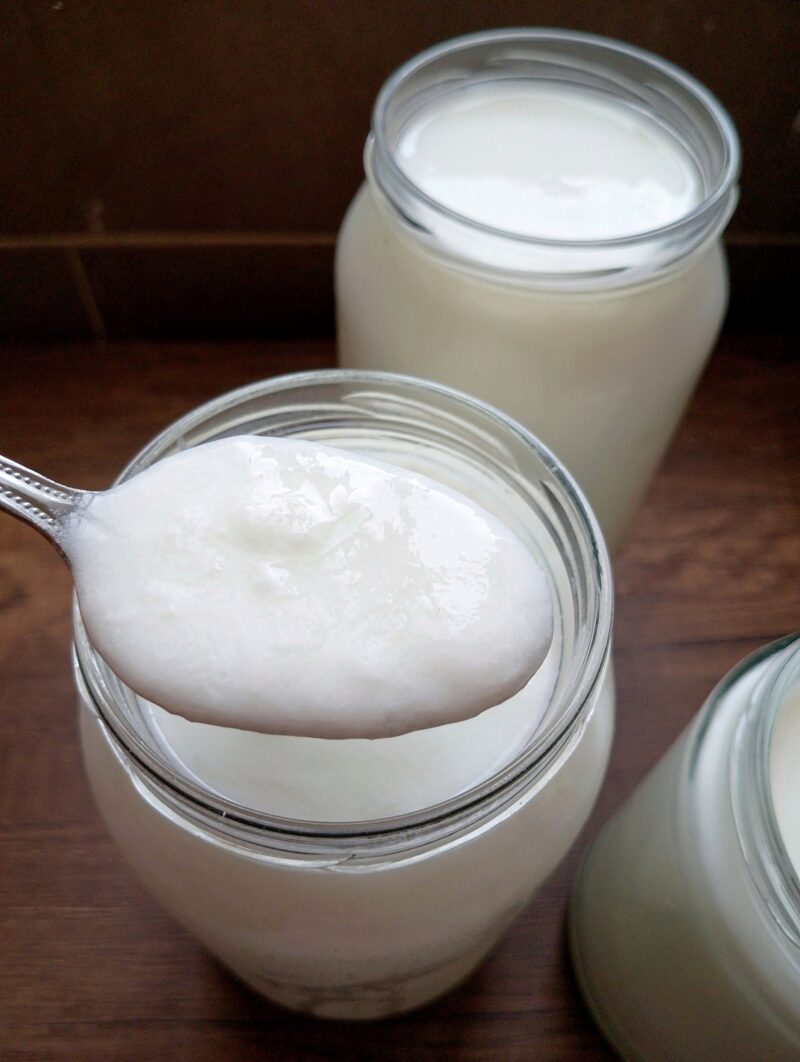
- Use clean glass jars with lids for storing your yogurt. You don’t need to sterilize them like canning jars, but wash them well with hot soapy water and let them dry.
- Let it chill for at least 6 hours, preferably overnight, before eating. This is when the yogurt develops its final thickness.
- It should be used within about 1–2 weeks in the refrigerator. Always use a clean spoon when removing some from the jar.
- Before everyone starts eating it, put 2–3 tablespoons in a clean little jar and label it “starter.” Keep it refrigerated and use it within about a week for your next batch.
- Although you can freeze yogurt, freezing will change its texture – it can become grainy and the whey may separate a little. For this reason, it will still be good for smoothies, cooking, or baking BUT not for eating plain–its lovely, smooth texture will be gone.
How to Use Homemade Yogurt
Yogurt is such a versatile staple to have on hand—it works beautifully in both sweet and savory dishes. Here are some of my favorite ways to use homemade yogurt. These are just the ones I use most often. If I listed them all, we’d be here all day!
- Breakfast: Serve it with fresh or frozen fruit, honey, nuts, or homemade granola.
- Smoothies: Add a spoonful or two for extra creaminess and a little tang.
- Dips and sauces: Use it as a base for garlic yogurt sauce, tzatziki, or a simple herb dip. One of our favorites is a simple garlic sauce made with yogurt and grated garlic—it’s perfect for dipping roasted vegetables, homemade chips, or fried chicken.
- Salad dressings: Thin it with a little olive oil and lemon juice, then add your favorite herbs and seasonings for a simple creamy dressing.
- Baking: Use homemade yogurt in muffins, pancakes, cakes, quick breads, and other baked goods. It also makes a great substitute for buttermilk when thinned with a little milk.
- Marinades: Yogurt makes an excellent tenderizing marinade for chicken and other meats. We use it most often in a shawarma marinade for chicken breast.
- Frozen yogurt: Blend it with fruit, honey, and a little cream for a simple homemade frozen treat. It also works great in popsicles.
- Strain it: Turn your yogurt into thick Greek-style yogurt, labneh, or a spreadable yogurt cheese. It’s similar to cream cheese but lighter and less rich.
- Cooking: Stir yogurt into soups, curries, and sauces for extra richness and a pleasant tang. Add it toward the end of cooking and avoid boiling it, which helps reduce the chance of curdling.

Instant Pot Yogurt FAQ
Why Making Yogurt Is Worth Your Time
Making your own yogurt is one of those simple, foundational skills that can make a homemaker’s kitchen feel a little more self-sufficient. With just milk, a little starter, and your Instant Pot, you can make fresh, creamy yogurt at home while having control over the ingredients and avoiding the cost (and plastic packaging!) of store-bought yogurt.
Once you get the hang of it, you’ll probably find yourself making a batch every week. I use my homemade yogurt all the time. I serve it to my kids as a snack with granola and a little homemade jam, use it to make garlic sauce and marinades, and even mix it with a little milk to make drinkable yogurt—so refreshing during our hot summers!
For me, making homemade yogurt is another small step toward creating a simpler, more self-sufficient kitchen. And once you learn how to make yogurt in an Instant Pot, you’ll always have this versatile, nourishing staple ready to use.
If you love real food and homemaking as much as I do, come join my weekly newsletter! I write every Sunday and fill it with recipes, practical tips, and homemaking inspiration for real-food moms like you.
More Homemade Dairy Recipes
How to Make Cheeses with No Rennet
Instant Pot Yogurt
Equipment
- 6-quart Instant Pot
- Ladle
- Clean glass jar(s) for storage
Ingredients
- Whole milk (1–4 liters/quarts) quarts
- Plain yogurt with live active cultures – 1 tablespoon per liter/quart of milk
Instructions
- Heat the milk: Pour 1–4 liters (quarts) whole milk into the Instant Pot, making sure not to go above the MAX line. Press Yogurt until the display shows Boil. The Instant Pot will heat the milk slowly to the right temperature. This usually takes 30–45 minutes, depending on the amount of milk.
- Cool the milk: When the Instant Pot beeps and displays End, remove the inner pot and let the milk cool to 43–46°C (110–115°F). Test it with a clean finger—it should feel warm but not too hot, and you should be able to comfortably hold your finger in the milk for about 10 seconds.
- Add the starter: Mix 1 tablespoon plain yogurt with live active cultures per liter/quart of milk with a few tablespoons of the cooled milk until smooth. Stir or whisk this mixture back into the milk.
- Incubate: Return the inner pot to the Instant Pot and close the lid (there’s no need to seal it). Press Yogurt and set for 8 hours for a mild yogurt or 10 hours for a tangier yogurt.
- Chill: When the incubation is finished and the yogurt has set, gently ladle it into clean jars without stirring. Refrigerate for at least 6 hours, or overnight. The yogurt will continue to thicken as it chills.