Easy Homemade Raw Milk Cottage Cheese – Probiotic & Delicious
If you’ve ever wanted to try cheesemaking at home, this raw milk cottage cheese recipe is the perfect place to start. With just a few simple ingredients and no heating required, you can turn fresh raw milk into a soft, creamy, protein-rich cheese in just a day or two. It’s a simple, traditional way to use raw milk that fits beautifully into a real food kitchen—nourishing, versatile, and family-friendly.
In this post, I’ll show you how to make this raw milk cottage cheese in simple steps, how to store it for maximum freshness, and how to use it in your meals so your whole family can enjoy it.
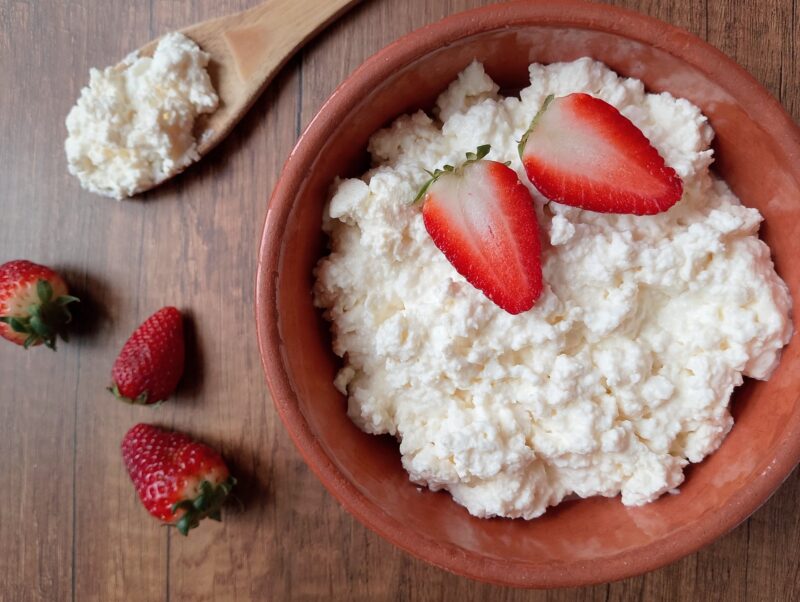
Why You’ll Love This Recipe
- No heating required: Most cottage cheese recipes require heating the milk to help it separate into curds and whey. This raw milk cottage cheese recipe skips the heating step, helping preserve natural probiotics and gut-friendly benefits.
- Simple ingredients: Made simply with just raw milk and (optionally) a pinch of salt.
- Nourishing & protein-rich: Rich in protein and healthy fats, making it a wholesome, traditional food.
- High yield: A small amount of milk goes a long way. For example, 6 cups of milk typically yields about 2 cups of cheese (this may vary slightly depending on the milk).
- Versatile: Enjoy it on its own or use it in a variety of recipes.
- Mild & creamy: Creamy, mild in flavor, and not overly sour—perfect for beginners.
Ingredients
- 1500ml / 6 cups full fat raw milk
- unrefined salt
Tools You’ll Need
The tools you will need for making this raw milk cottage cheese are:
- A large jar, or a large ceramic, glass, or stainless steel mixing bowl
- A colander or large strainer
- Cheesecloth or a clean piece of white cotton
Stick to ceramic, glass, or metal when choosing your tools. Avoid plastic containers if possible, as sour milk is acidic and may react with plastic, which can lead to unwanted chemicals leaching into your milk.
How To Make Raw Milk Cottage Cheese Step By Step
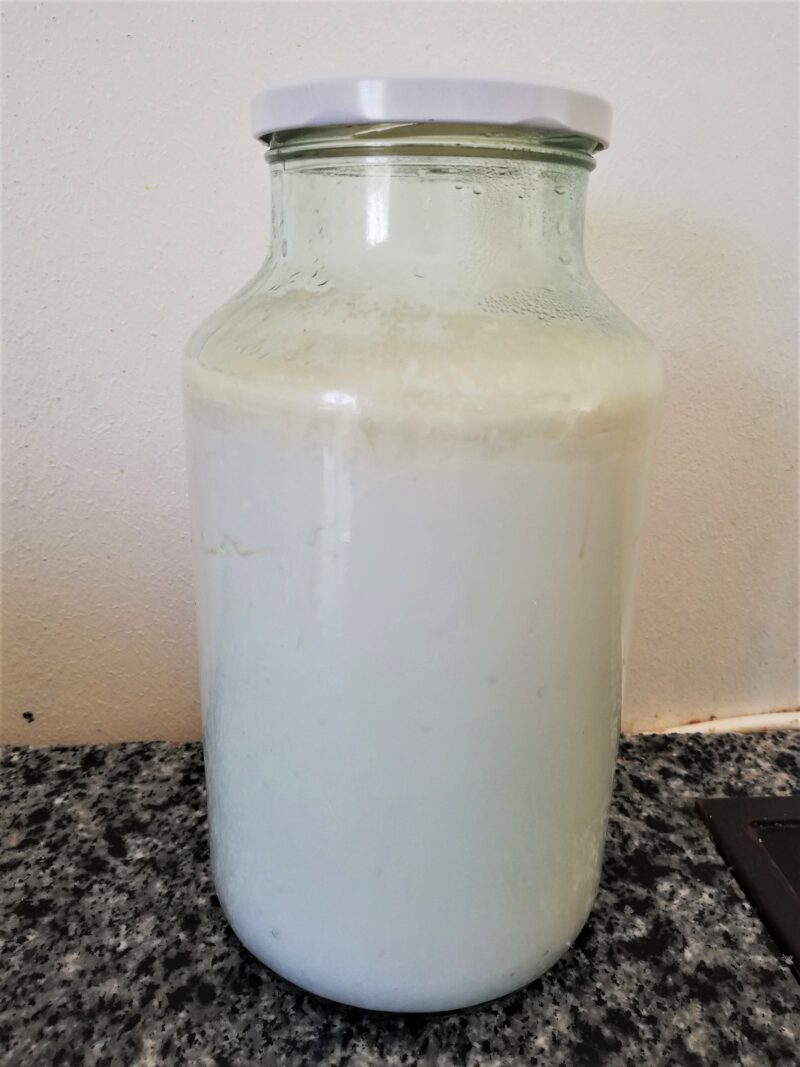
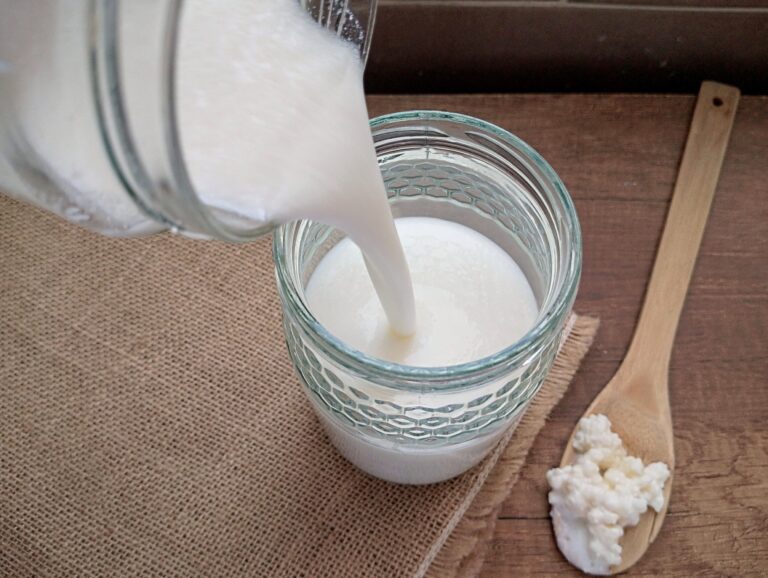
Step 1. Pour the milk into a large jar, leaving some space at the top since it will expand as it sours. Seal the jar and place it in a warm spot, out of direct sunlight.
In a cooler kitchen, this process can take longer—my batch took about 48 hours to thicken and separate.
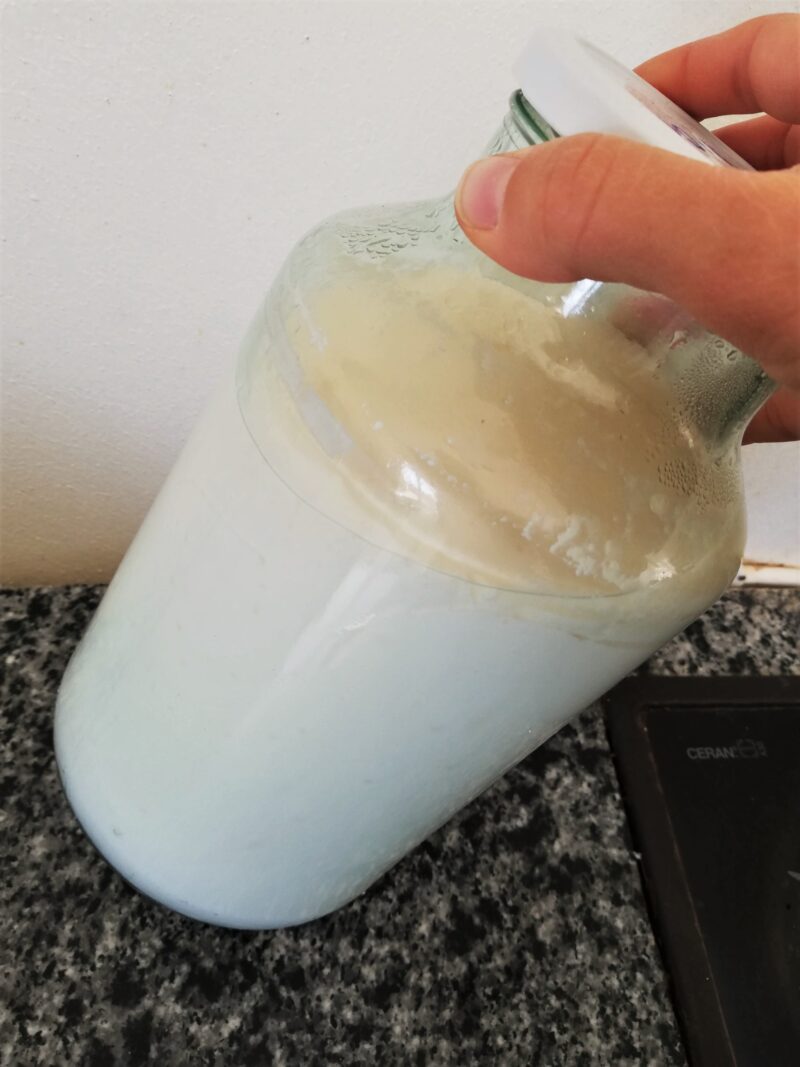
Step 2. The milk should now be thickened with a yogurt-like consistency, and the whey should have separated from the curds, appearing clear and slightly yellow. The cream will naturally rise to the top.
Your soured milk is now ready to become cottage cheese.
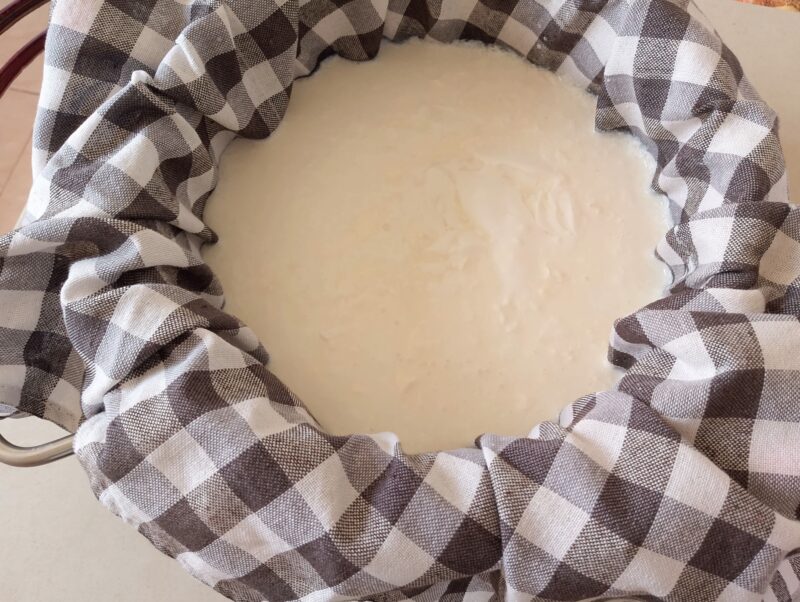
Step 3. Line a colander with cheesecloth and set it over a large stockpot or bowl. Slowly pour the soured milk into the cloth, being gentle to avoid breaking the curds. Keeping the curds large will give you more finished cheese.
Allow the milk to drain for several hours, or overnight if your kitchen is cool. The longer it drains, the drier your cottage cheese will be, so adjust to your preference. Because raw milk is a live product, draining times can vary, and the final texture may not always look exactly the same—but it will always be delicious. That’s the beauty of working with live foods.
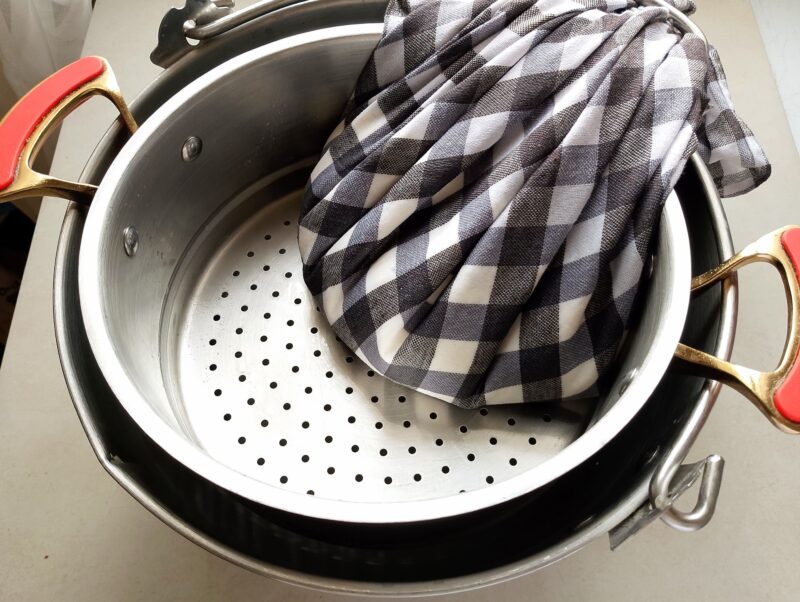
Step 4. After the milk has drained for 30–60 minutes, you can gently tip the colander from side to side to help release more whey. Alternatively, gather the cheesecloth and let it rest along the side of the colander to speed up drainage.
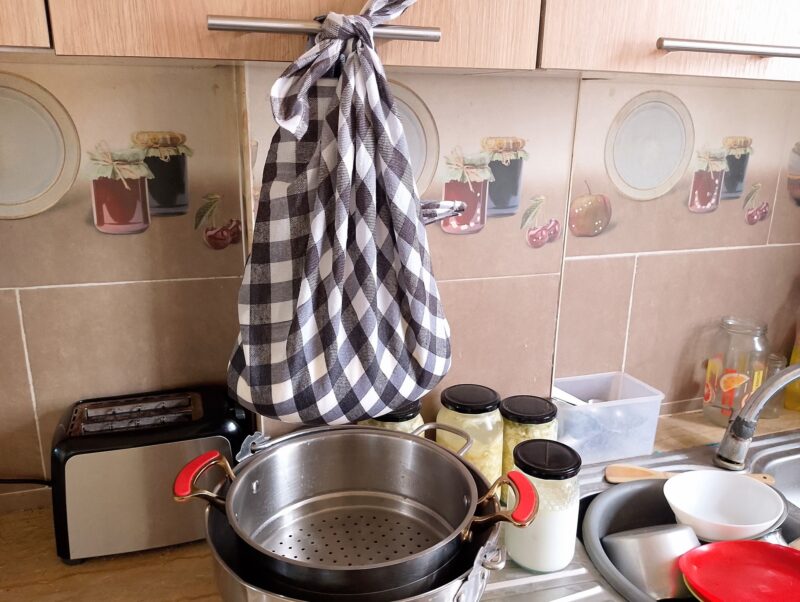
Step 5. If your cottage cheese still seems too runny after a few hours, you can tie up the cheesecloth and hang it to drain further. Another option is to tie it to a long-handled wooden spoon and rest it across a pot so the whey can continue to drain.
This step is optional and often not necessary. Since each batch of raw milk behaves a little differently, feel free to adjust the process to suit your milk.
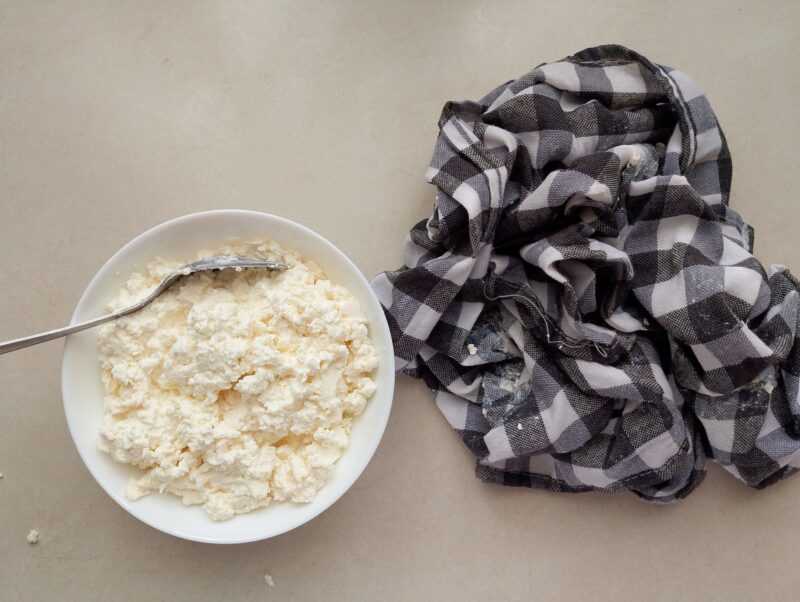
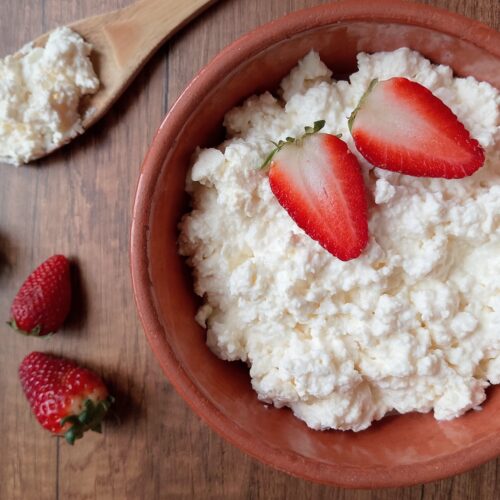
Step 6. Once your raw milk cottage cheese is thick and creamy, transfer it to a large bowl. Stir in about 1/2 teaspoon of unrefined salt using a fork, then taste and adjust as needed.
Salting is optional but enhances flavor and helps extend shelf life. If you plan to use the cottage cheese in sweet dishes, you can skip the salt.

Step 7. You can now place your homemade cottage cheese in the fridge to chill before serving. If you plan to use it in a recipe right away, chilling is not necessary.
Serving Ideas
Raw milk cottage cheese is incredibly versatile—mild, creamy, and just a little tangy—so it works in both savory and slightly sweet ways. Here are some traditional, family-friendly serving ideas that fit beautifully into a real food kitchen:
- Spread on sourdough bread with a drizzle of butter and a sprinkle of salt.
- Top with fresh herbs (chives, dill, parsley) and olive oil. My grandmother always served cottage cheese in a bowl topped with sliced green onions.
- Use as a dip for homemade crackers or tortilla chips.
- Drizzle with raw honey and add berries or sliced fruit
- Use as a filling for omelets or savory crepes. Make sure to drain your cottage cheese properly, it should be even slightly dry – overly wet cottage cheese doesn’t make a good filling (makes a mess).
- Blend into a savory dip with garlic, herbs, and a touch of cream.
- Serve slightly chilled but not ice-cold for the best flavor.
- To make my cottage cheese taste even better, I mix it with some sour cream (or creme fraiche), fine seal salt and freshly ground black pepper before serving.
Tips For The Best Cottage Cheese
- Yield & Milk Amount: The amount of milk specified below will yield approximately 500 grams / 17.6 oz / 2 cups of cottage cheese. You can use a different amount of milk if you like, but for a good yield, use at least 4 cups. The more milk you use, the larger your colander and cheesecloth will need to be.
- Use Quality Raw Milk: The quality of your milk directly affects the quality of your finished cheese. For best results, use raw, whole milk. If you’re using very rich milk (such as Jersey milk), you can skim some of the cream off, as long as at least half of the fat remains in the milk.
- Choose the Right Container: Instead of a large jar, you can use a large mixing bowl or a stainless steel pot. Be sure to cover the container to keep out flies and debris while the milk is souring.
- Alternative to Cheesecloth: If you don’t have cheesecloth, you can use a clean old t-shirt or a piece of white cotton bedsheet. For best results, boil the cloth in plain water for a few minutes to sanitize it before use.
- Ideal Souring Temperature: The best and most consistent results come from souring the milk at a warm room temperature (24–28°C / 75–82°F). If it’s too warm (like in the middle of summer), the milk can sour very quickly—sometimes within a few hours—so keep an eye on it. If your kitchen is cold, the milk may take up to 2 days to sour and separate.
- Speeding Up in Cold Weather: To help the process along in winter, place the jar near your kitchen stove or on a seedling heat mat (the same kind used to keep tomato and pepper seedlings warm).
Storage Tips
Storing homemade raw milk cottage cheese well is key to keeping it fresh, safe, and tasting its best. Since it’s a fresh, high-moisture cheese, it won’t keep as long as aged cheeses—so cold storage is really important.
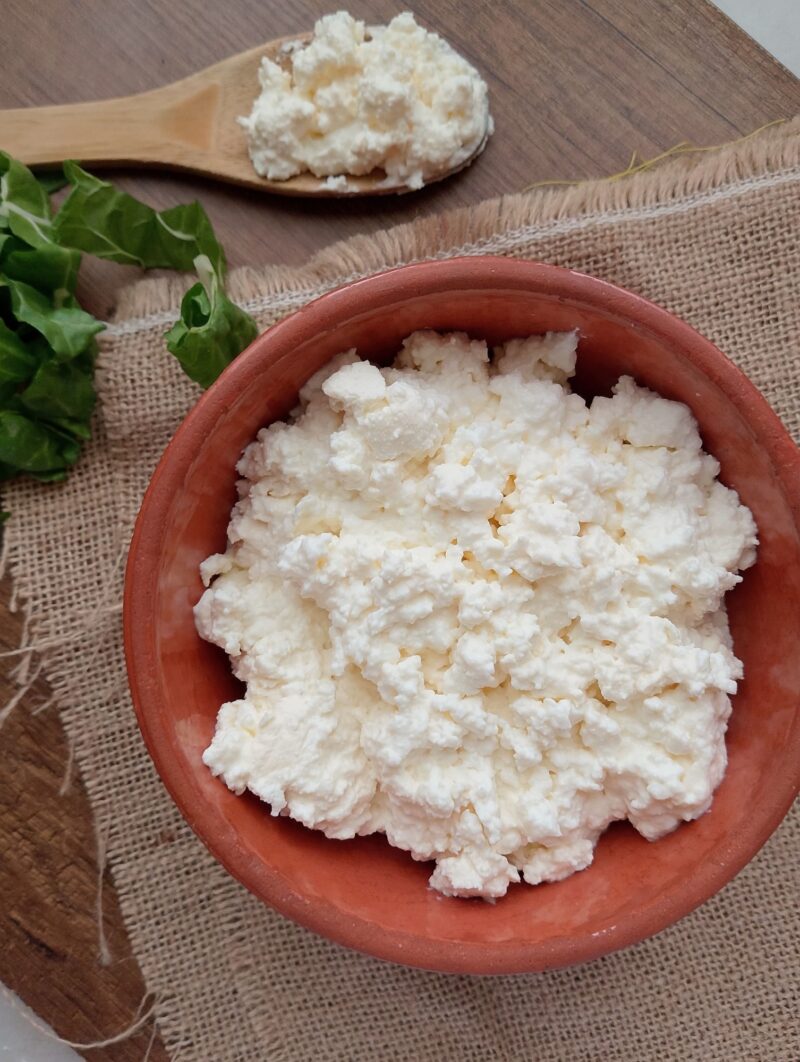
Short Term Storage:
- Store in a glass container with a tight lid (mason jar or food-safe glass container works great) in the coldest part of your fridge.
- If liquid separates, you can stir it back in before serving (this is normal and almost always happens).
- Always use a clean spoon to remove some of the cheese from the container.
- Raw milk cottage cheese is best eaten within 5–7 days.
- Adding a little salt can extend the shelf life of your cottage cheese slightly.
Freezing Cottage Cheese:
- You can freeze cottage cheese, but it’s not ideal. Freezing changes the texture (it becomes crumbly and watery when thawed).
- If you do freeze it, use an airtight container and use within 1–2 months.
- Thawed cottage cheese is best used later in cooked dishes (like pancakes or casseroles).
Recipe FAQ

Final Thoughts: A Lost Art Worth Rediscovering
There’s something so grounding about learning the old ways—like turning fresh milk into simple, nourishing cottage cheese. What I love most about traditional recipes is their simplicity: they take very little active time while delivering beautiful flavor and nourishment.
If this kind of slow, traditional living speaks to you, I’d love for you to join my newsletter community. You’ll receive new real food recipes, fermentation tips, and access to my private library of homemaking resources to support your journey.
Easy Homemade Raw Milk Cottage Cheese
Equipment
- glass jar or another large container
- colander
- cheesecloth
Ingredients
- 6 cups (1500ml) raw whole milk
- 1/2 tsp unrefined salt
Instructions
- Pour the milk into a large jar, leaving some space at the top as it will expand while souring. Seal the jar and place it in a warm spot, out of direct sunlight. In a cooler kitchen, this can take up to 48 hours to thicken and separate.
- Once ready, the milk will be thick with a yogurt-like consistency, and the whey will have separated from the curds, appearing clear and slightly yellow. The cream will rise to the top. Your soured milk is now ready.
- Line a colander with cheesecloth and place it over a large bowl or pot. Slowly pour in the soured milk, being gentle to keep the curds large. Let it drain for several hours, or overnight if needed. The longer it drains, the drier your cottage cheese will be.
- After 30–60 minutes, you can gently tip the colander from side to side or gather the cheesecloth to help release more whey.
- If the cheese is still too runny, you can tie up the cheesecloth and hang it to drain further. This step is optional and depends on your desired texture.
- Once thick and creamy, transfer the cheese to a bowl. Stir in about 1/2 teaspoon of unrefined salt, then taste and adjust. Salting is optional but enhances flavor and helps preserve the cheese. Skip the salt if you plan to use it in sweet dishes.
- Place your homemade cottage cheese in the fridge to chill before serving. If you plan to use it in a recipe right away, chilling is not necessary.




I have access to raw milk but sometimes it’s a week or even older. Is that too old to make the cottage cheese? Or does it need to be very fresh raw milk?
It doesn’t need to be very fresh. Set it on the counter to clabber, it will clabber quickly if it’s a few days old and make lovely cheese:)
Thank you for this beautiful informative cottage cheese recipe. I truly appreciate you. In your info, you mention the best temp is 75-82 F and if it’s hot in the summer, it may sour quickly within a few hours. If we watch and strain once it curdles, is that cottage cheese ok to eat? Or when you say it goes sour, it goes bad? Our house is really hot. Should I try making it inside a cooler box with ice pack and monitor temp? Any tips or suggestions would be greatly appreciated. Thank you!
It’s okay to sour raw milk on the counter even if your house is hot. It will just sour faster. Make sure you use raw milk, not pasteurized. Once it curdles, transfer into cheesecloth and drain, then salt and chill in the refrigerator. Any more questions, please ask, I’m here to help and I’ll try to reply as soon as I can.
Can I use raw goat milk? I have access to it from a farm not far from where I live. I would be buying their raw milk in a refrigerated state. Will this work? And would the recipe stay the same for raw goat milk instead of raw cow’s milk? Thank you! Completely new at this! 🙂
Yes, the recipe will work perfectly fine with goats milk, no need to change anything:)