DIY Herbal Oils 101: Easy Infusions for Kitchen & Skincare
Herbal infused oils are a cornerstone of natural skincare. They’re used in massage oils, balms, salves, and handmade soap, bringing together the nourishing properties of herbs and the skin-loving benefits of carrier oils. By gently infusing herbs into oil, you capture their soothing, restorative qualities. The result is a versatile ingredient that can be used for both skincare and culinary purposes.
If you’re new to DIY skincare and want to learn how to make herbal infused oils without complicated steps or time-intensive methods, this tutorial is for you. The process is simple, flexible, and easy to fit into a busy day. You’ll learn how to make a nourishing infused oil using the herbs and carrier oils you already love or have on hand.
In this post, I’ll walk you through the best herbs and carrier oils to choose, show you a clear step-by-step method, and answer common questions beginners often have. I’ll also share simple solutions to the small challenges that can come up along the way, so you can confidently create beautiful, effective herbal infused oils at home.

Why You’ll Love Infused Oils
If you’re learning how to make herbal infused oils, you’ll quickly discover just how practical and rewarding they are. Here’s why they’re such a favourite in natural skincare and traditional home herbalism:
- They’re incredibly easy to make. Even if you’re completely new to herbal skincare, you can make infused oils without special equipment or complicated techniques.
- They capture the goodness of herbs in a simple, usable form. During the infusion process, the beneficial properties of your chosen herbs are gently transferred into the oil, creating a nourishing ingredient for both cooking and skincare.
- They have a long shelf life. Most infused oils keep well for 6–9 months or longer when stored properly. This means thato you can get lasting value from the time you invest in making them.
- They’re very forgiving and flexible. Small variations in timing, temperature, or ingredients rarely ruin an infusion, making this a wonderfully low-stress herbal preparation.
- They fit naturally into daily life. You can use a warm bath infusion when you want your oil ready quickly. Or choose a room-temperature infusion for a slower, more hands-off approach.
- They build confidence. Learning how to make herbal infused oils is a beginner-friendly way to start working with herbs and grow your skills as a home herbalist.
Best Herbs for Your Infused Oils
For Drizzling over Roasted Veggies or Grains / Salad Dressings
- Rosemary – classic savory flavor that pairs beautifully with potatoes, grains, and roasted veggies.
- Thyme – earthy, slightly minty. It adds depth to roasted dishes and Italian cooking.
- Basil – sweet, summery flavor perfect for salads and drizzles. I especially love basil and tomato flavor combo.
- Oregano – warm and robust, great for Mediterranean-inspired dishes, like pasta dishes and pizza sauces.
For Massage or Hair Oil
- Lavender – calming and soothing, wonderful for relaxing massages. It makes a lovely-scented infused oil even without the addition of any essential oils.
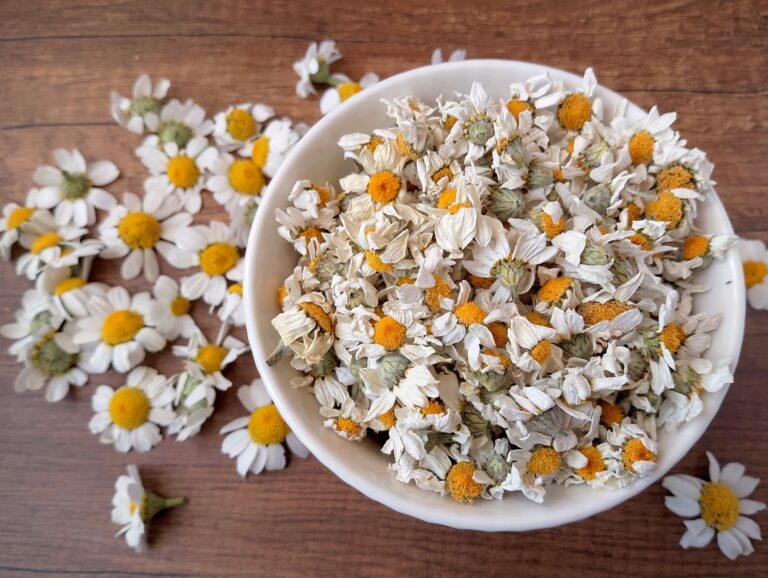
- Chamomile – gentle, great for sensitive skin or baby-safe oils.
- Peppermint – invigorating for scalp massages or refreshing body oil. It is especially great when used in summer to cool off.
- Calendula – nourishing and skin-healing, ideal for sensitive or dry skin.
In DIY Skincare (Balms, Lotions, Salves)
- Calendula – anti-inflammatory and deeply soothing for skin. If you have young children, calendula oil is THE oil to make. It is wonderful for soothing minor rashes, nettle stings, scraped knees, and bumps.
- Comfrey – supports skin healing, great for minor scrapes or dry patches.
- Lavender – calming, antimicrobial, and aromatic.
- Rose petals – gentle, fragrant, and perfect for luxury skincare blends and gifts.
Many herbs are versatile and can be used both in cooking and in DIY skincare. For example, lavender can flavor a salad lightly, soothe the skin, and calm the senses in a massage.Rosemary makes a great salad dressing, but is also wonderful as a massage oil to soothe tired muscles, or as hair oil to promote hair growth. Start with one or two favorites, then experiment!
Best Carrier Oils for Your Infused Herbal Oil
The carrier oil you choose plays a big role in how your herbal infusion looks, smells, and feels on the skin. The good news is that many oils are wonderfully versatile and work beautifully for a wide range of herbal preparations. There are countless options available, especially online. Below are some of my personal favourites — oils I’ve used and loved over the years for their reliability, quality, and ease of use when learning how to make herbal infused oils.
For Cooking and Drizzling
- Olive oil (extra virgin) – rich, fruity, and classic for roasting vegetables, drizzling over grains, or making salad dressings.
- Avocado oil – buttery and smooth, perfect for high-heat roasts or grain bowls.
For Massage or Hair Oil
- Sweet almond oil – light, non-greasy, absorbs well into skin and hair.
- Jojoba oil – technically a liquid wax, very nourishing and gentle for all skin types.
- Grapeseed oil – light, silky, and great for massages or scalp treatments.
In DIY Skincare (Balms, Lotions, Salves)
- Coconut oil – deeply moisturizing and easy to mix into balms.
- Shea butter (melted) – rich, protective, and ideal for salves and body butters. I like to use only small amounts of shea butter in my skincare recipes. Because it is so rich, it can leave a greasy feel on your skin when used in excess.
- Cocoa butter (melted) – like shea butter, it is very rich and nourishing. I personally never use it on its own, but rather combined with lighter oils. It makes great lip balms, heal balms, and body butter. I love its light chocolatey aroma!
- Olive oil – again, classic and versatile. It pairs beautifully with soothing herbs like calendula and chamomile.
My Tips For Selecting Oils
Choose light, neutral oils for herbs with delicate aromas so the scent isn’t lost. Heavier oils like coconut or shea are perfect when you want a rich, protective finish in skincare. My two mostly used oils are olive oil and refined coconut oil. I love them because they are mild in flavor, very versatile (I use them both in cooking and in my DIY beauty recipes), and they are also easy to find and affordable. This is important for me because we are on a tight budget and our family of 6 can go through quite a lot of infused oil quickly!
The best way to discover your favourite carrier oils is simply to experiment. Some will suit your skin beautifully and become staples in your routine, while others may not be ones you reach for often. And that’s completely normal. It’s also important to remember that not every oil works well for every skin type. If you have dry skin, richer, more deeply nourishing oils — like shea butter or olive oil — can work especially well in DIY skincare. If your skin is combination or oily, lighter oils such as sweet almond or jojoba are often a better choice for herbal oil infusions.
As you learn how to make herbal infused oils, trying different carrier oils is one of the easiest ways to tailor your infusions to your skin’s needs.
Ingredients
½ cup of dried rosemary or another herb of your choice
1 cup of extra virgin olive oil or another carrier oil
- This recipe uses 1 part dried herbs to about 2 parts carrier oil. Once everything is in the jar, the oil should cover the herbs by about 1–2 inches. It is easy to scale this recipe up or down depending on how much infused oil you’d like to make.
- If you’re using fresh herbs, spread them out on newspaper or a clean cloth. Then let them dry completely for about two days. This helps prevent moisture from spoiling the oil. You can also lightly crush the herbs before infusing. This allows them to release their beneficial compounds even better and create a more potent herbal oil.
- Herbal infused oils are wonderfully versatile and can be used in both cooking and skincare, depending on the herbs and carrier oil you choose.
- In this step-by-step guide on how to make herbal infused oils, I demonstrate the process by infusing rosemary in olive oil. However, the method is the same no matter which herbs or carrier oils you choose for your own infusion.
- To make roughly 1 cup of herbal infused oil, use ½ cup of dried herbs with 1 cup of your chosen carrier oil. This ratio ensures the oil fully extracts the herbs’ beneficial properties.
Tools You’ll Need
Here’s what you’ll need to make and store your herbal infused oil:
- A clean glass jar with a lid – for infusing the herbs in oil.
- A fine mesh sieve or cheesecloth – to strain out the herbs once the infusion is complete.
- A funnel – to make transferring the oil easier and less messy.
- A glass jar or bottle with a lid (preferably dark glass) – for storing your finished herbal infused oil and protecting it from light.
How to Make Herbal Infused Oil Step-By-Step
Step 1
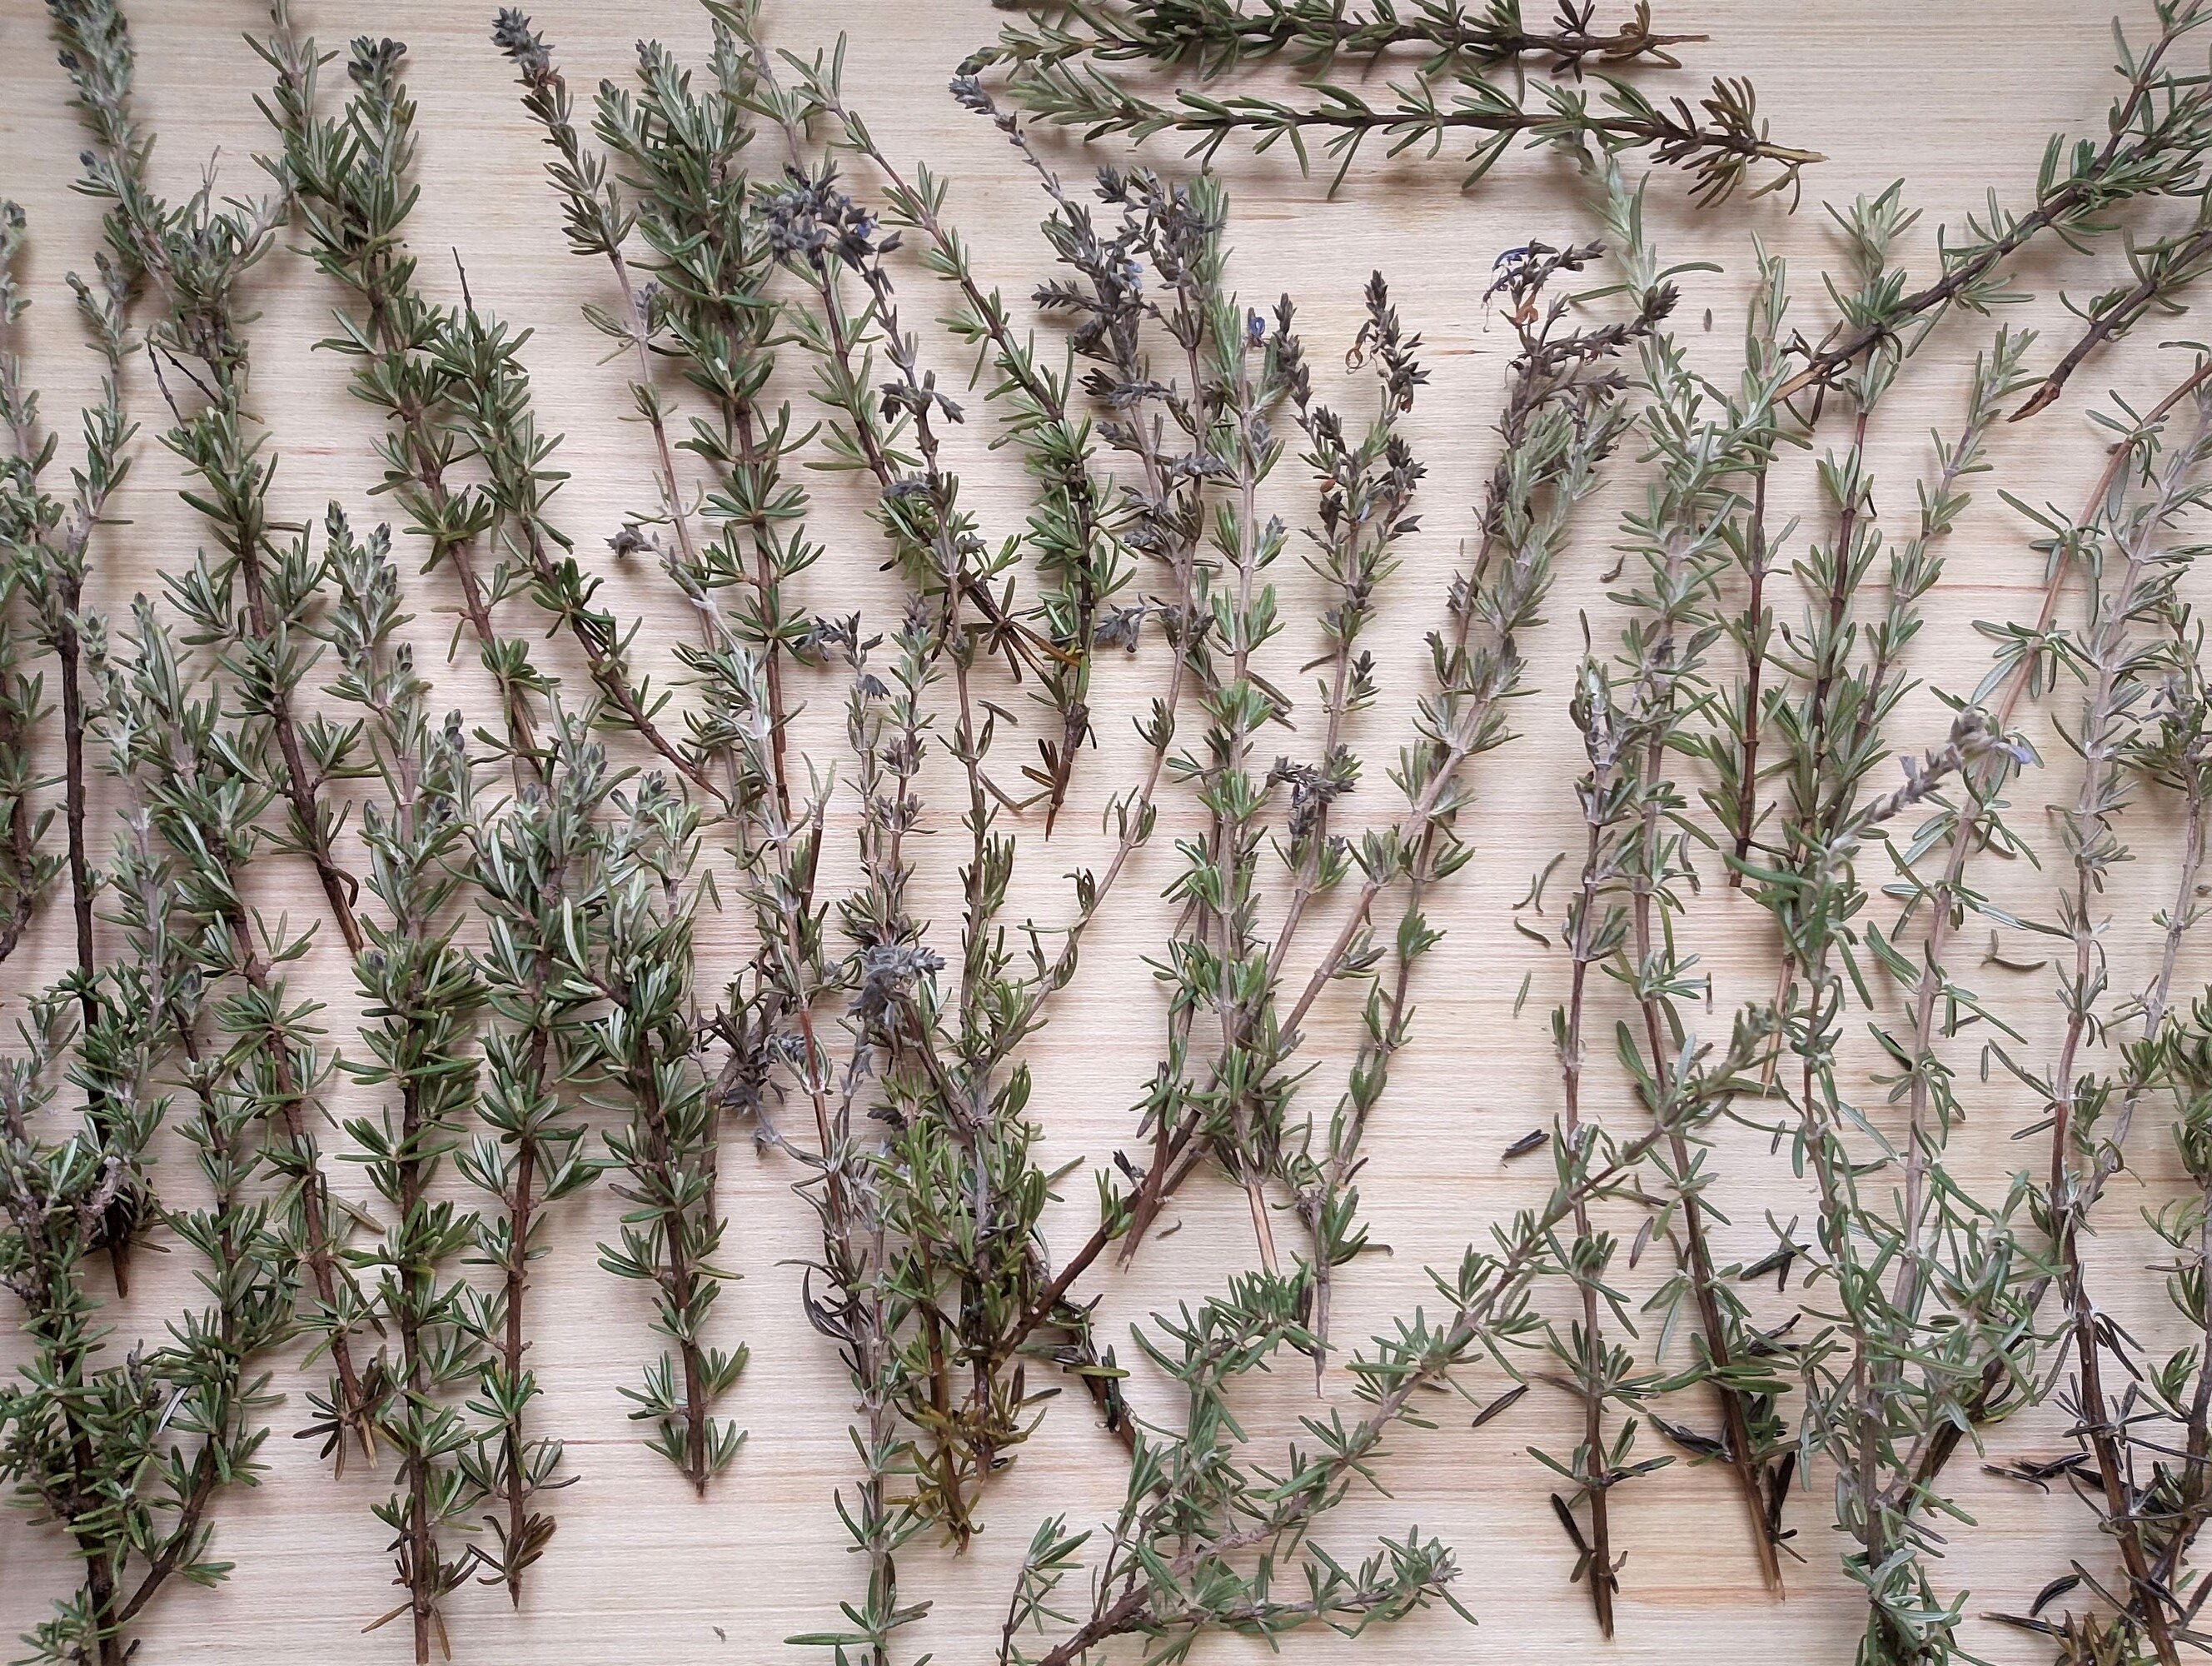
Spread your chosen fresh herbs—I’m using rosemary here—on a large piece of cardboard, wood, or newspaper in a warm, dry spot away from direct sunlight. Avoid using plastic, as it traps moisture and prevents your herbs from drying properly.
If your herbs are from your garden or foraged and a little dusty, rinse them gently and pat them dry with a clean tea towel before laying them out. Let the herbs dry for a couple of days until they feel crisp to the touch—this step ensures a more potent and long-lasting herbal infused oil.
Step 2

Once your herbs are fully dried, remove the leaves or flowers from the stems. Stems are bulky and don’t contribute much to the infusion, so it’s the leaves or flowers that hold the beneficial properties you want to capture in your herbal infused oil.
Step 3
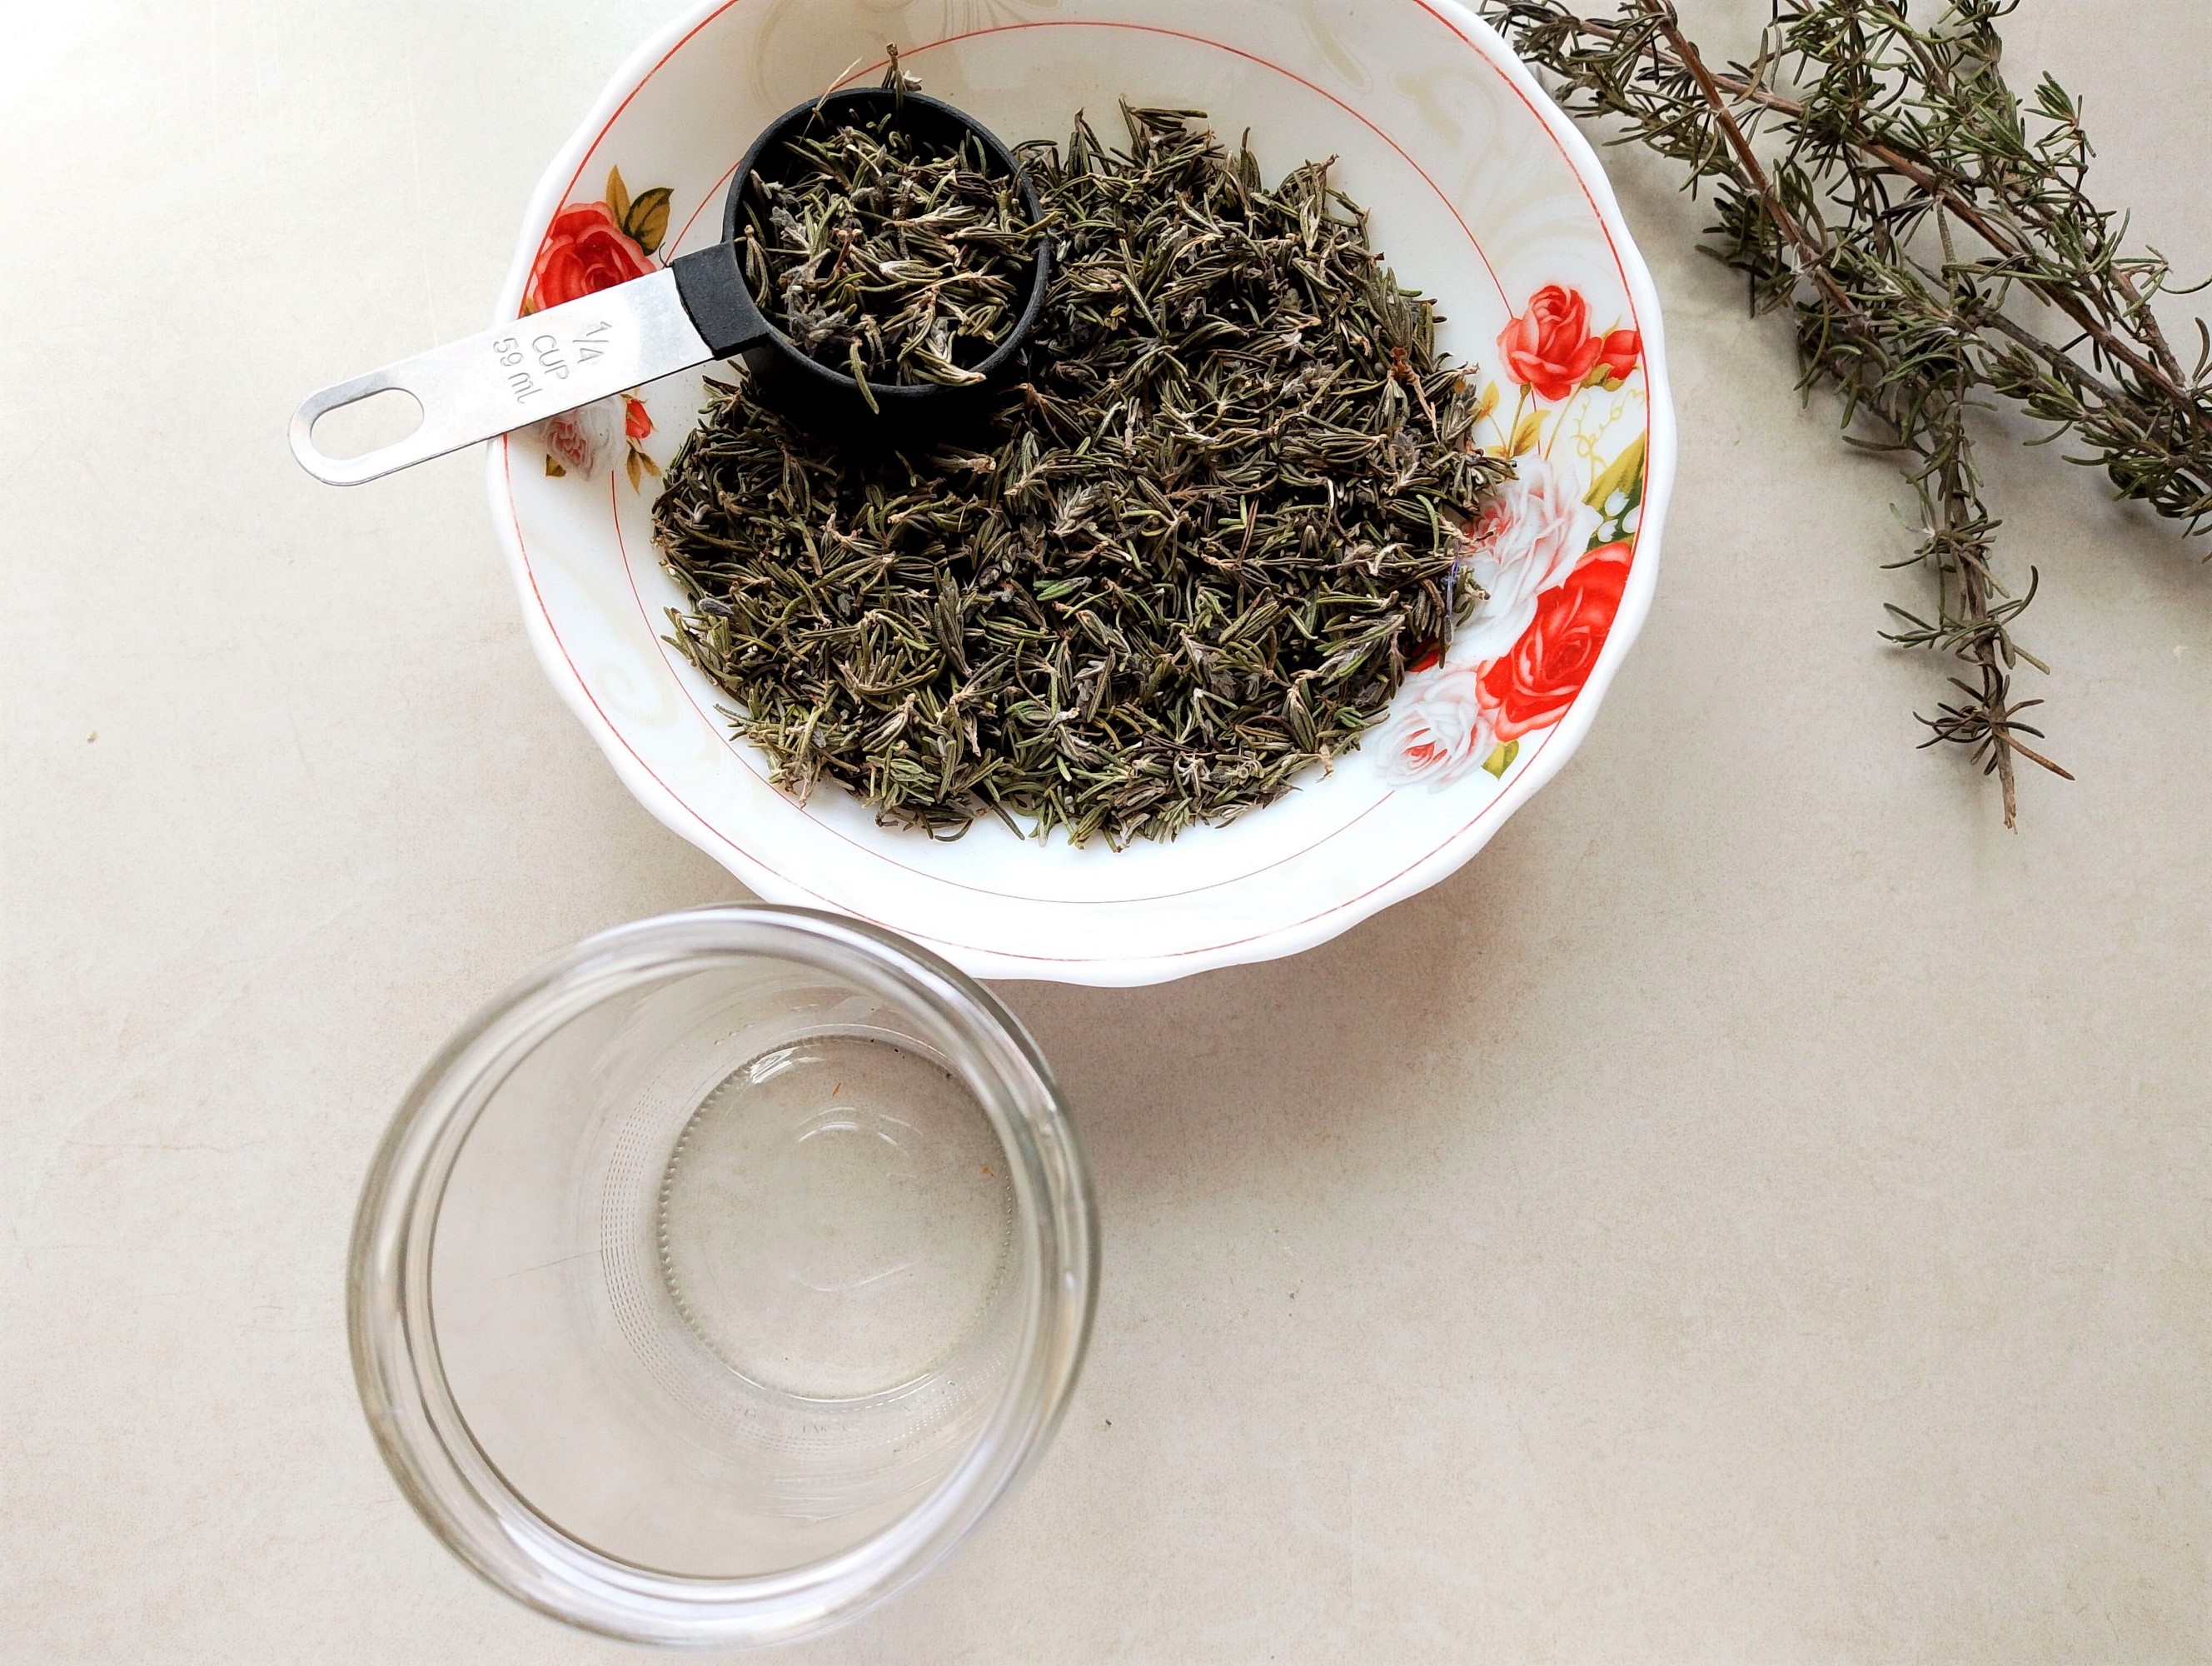
After removing the stems, measure out your dried herbs. A good rule of thumb for herbal infused oils is 1 part herbs to 2 parts carrier oil. For this recipe, since we’re making 1 cup of infused oil, I measure ½ cup of herbs to match that ratio. This ensures your oil fully extracts the herbs’ nourishing properties.
Step 4

Place your measured herbs into a clean, dry glass jar. Using a dry jar helps prevent any unwanted moisture from spoiling your infusion and ensures your herbal infused oil stays fresh longer.
Step 5
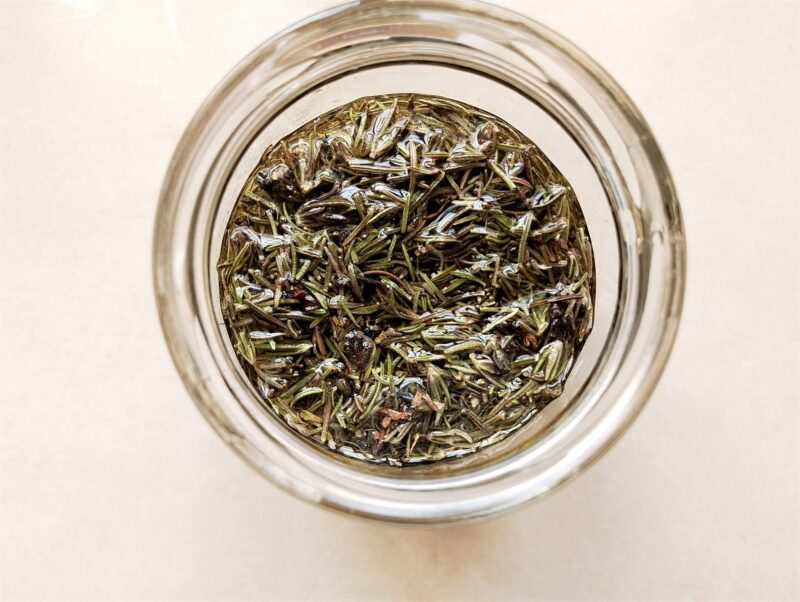
Pour in enough carrier oil to completely cover the herbs, leaving about 1–2 inches of oil above the herbs. Give the jar a gentle stir to ensure all the herbs are fully submerged.
Screw the lid on tightly—this helps prevent condensation from forming inside the jar during the infusion process, especially if you’re using a warm water bath method.
Step 6

Line a small saucepan with a folded tea towel and fill it halfway with warm water. Place your jar of herbs and oil into the saucepan, making sure the water reaches about halfway up the jar, roughly the same level as the oil inside.
Turn the heat to low and let the herbs gently infuse in the warm water bath for 2–4 hours. Keep the oil warm but never hot—the goal is to slowly extract the herbs’ properties, not cook them. Too much heat can damage both the herbs and the oil, so take your time and be patient.
Step 7
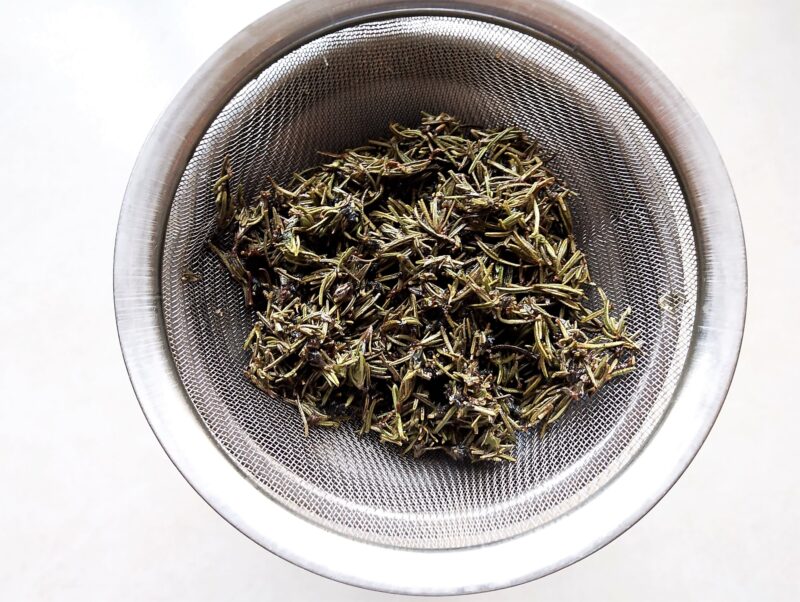
After your herbs have infused for a few hours and the oil smells fragrant, it’s time to strain. Place a funnel lined with a fine mesh sieve or cheesecloth over a clean glass jar, measuring cup, or another suitable container.
Slowly pour the herbal oil through the sieve, allowing it to drain naturally. Let the herbs drip for about 1 hour—this gentle method ensures you collect every last drop of infused oil, as squeezing dried herbs can be tricky.
Step 8

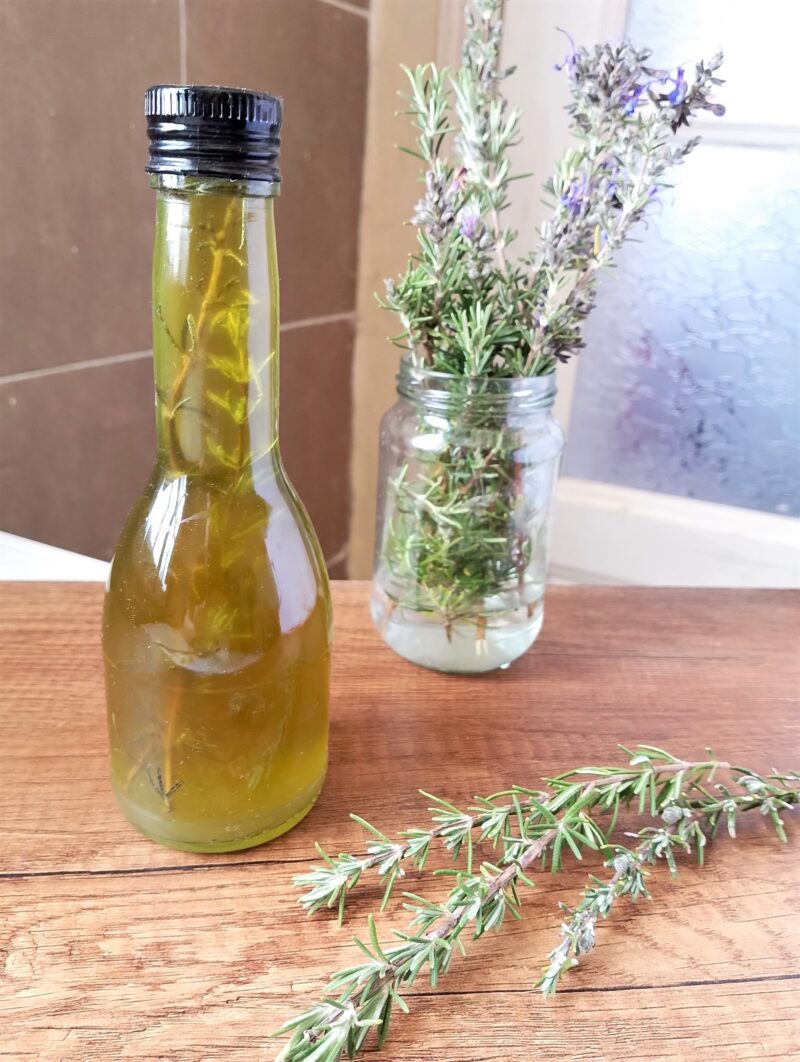
Pour the strained herbal infused oil into a glass bottle or jar. Dark glass is ideal, but if you only have clear glass, store the oil in a dark cupboard to protect it from light, which can degrade the oil over time. I often reuse old vinegar or cod liver oil bottles for this purpose—they work perfectly for storing infusions.
Your oil is now ready to use! When stored in a cool, dry place, it will keep for 6–9 months. For a decorative touch—especially if you plan to gift your oil—you can add a few sprigs of dried herbs, like rosemary, directly into the bottle.
Other Timing Options
- Solar infusion: about 1–2 weeks. This method works best with dried flowers (calendula, chamomile, lavender, rose petals) and some delicate herbs like dried lemon balm. Aromatic herbs like rosemary, thyme, basil, oregano, and peppermint contain volatile essential oils. These oils degrade under prolonged heat and direct sunlight. For these herbs use warm water bath or room temp infusion instead.
- Room-temperature infusion: about 2–4 weeks. Place the tightly closed jar with your chosen herbs and oil somewhere warm and dry, out of direct sunlight. I usually keep mine on the kitchen counter or kitchen cupboard. Shake the jar once ever few days (or whenever you remember).
- Please note that leaving herbs in longer doesn’t always make oil better. Eventually flavor can become dull, bitter, or the plant material can degrade.
- As a busy mom, you may not always be able to start and complete your infused oil recipe in one day (I often don’t!). You can pause the process anytime. Simply cover the jar tightly and move it out of sun or heat, then resume later without issue. Using small jars, labeling start dates, and keeping a dedicated workspace makes the process safer and easier to manage around daily life.
Common Mistakes & Troubleshooting
It’s easy to get a little discouraged when your first batch of infused oil doesn’t look or smell exactly like you think it should. Don’t worry, it happens to everyone! Here are some common issues you may encounter and easy ways to prevent them from happening again.
- Herbs aren’t fully dry: Fresh or damp herbs introduce moisture, which can cause cloudy oil or even spoilage. Always use completely dried herbs or flowers before infusing. Some people say it’s fine to use fresh herbs if you’re doing a short stovetop infusion in a water bath. However, I’ve had batches spoil in the past when the herbs weren’t fully dried. For best results—and to protect your hard work—I strongly recommend using properly dried herbs. This helps ensure your herbal infused oil stays fresh, safe, and potent.
- Cloudy or murky oil: Cloudiness by itself is not necessarily a sign of spoilage. Most often it is caused by tiny herb particles remaining in your infused oil. To remove them, strain your oil carefully through a cheesecloth or coffee filter. Then let the oil sit in a cool, dark place so the sediment settles on the bottom of your bottle.
- Flavor or aroma too mild: This is usually caused by short infusion time, weak herbs, or insufficient herb-to-oil ratio. To fix your batch of infused oil, increase infusion time slightly, use more herbs, or try a warmer infusion method to better extract the plant compounds.
- Minor imperfections like slight cloudiness or subtle flavor are normal. Herbal oils are very forgiving. They can still be used for massage, skincare, or culinary purposes, even if they’re not perfect.
Storage Tips
Best storage conditions
- If stored properly, your oil will keep for 6-9 months, sometimes even up to 1 year.
- To maximize the shelf life of your herbal infused oil, store it in a dark glass bottle in a dry, cool place. A cupboard away from any source of heat and away from sunlight is ideal.
- I don’t always have a dark glass bottle or jar to store my oil in. In this situation, I make sure to store it in a very dark, cool cupboard.
- Always keep the lid tightly closed on your bottle or jar.
- Use clean, dry utensils every time you handle your infused oil.
- You can make your infused oil in a large batch. It’s best to prepare only what you can comfortably use within 6–9 months. This helps ensure your oil stays fresh, effective, and enjoyable to use.
- How to tell your oil has gone bad? Signs of spoilage include a crayon-like, stale, or paint-like smell, cloudiness or separation that wasn’t there before, and mold or sediment that looks suspicious. If your oil shows any of these signs, throw it away.
Extending the shelf life of your oil
- Adding vitamin E oil (tocopherol) can slow oxidation slightly and extend the shelf life of your infused oil. If you intend to use your oil in food recipes, only add vitamin E if it is specifically labeled for food use. Many vitamin E products sold for skincare are cosmetic-grade only — those should not be eaten. Use about 1–2 drops of vit E oil per 100 ml carrier oil – more is not better.
- You can also store your infused oil in the refrigerator to extend the shelf life. However, I personally don’t think it’s worth the bother. Fridge space is at a premium in our house, and I’m sure yours too. For this reason in my opinion it’s only worth storing your infused oil in the fridge if your house is very warm. Keep in mind that some oils (like olive oil) solidify or turn cloudy in the fridge. Also, when removing the oil from the refrigerator, let the bottle warm fully closed. This is to ensure that condensation doesn’t form inside the bottle.
Variations
- You can use your favorite herbs in infused oil when their are in season for maximum flavor and potency. Make sure to let them dry fully before infusing.
- Spring herbs you can try: lemon balm, thyme, dandelion blossoms.
- Summer herbs: basil, oregano, rosemary, sage, lavender.
- In autumn, you can try: bay leaf, marjoram, tarragon. You can also add in some dried citrus peel for a holiday twist.
- For stronger flavor (or a more potent skincare oil) increase herb-to-oil ratio (only use enough oil to cover the herbs) and crush the herbs lightly before infusing. Then infuse for a longer time.
- For a milder-flavored oil, shorten the infusion time or blend the infused oil with plain oil before using.
- If you want a very clear oil, after infusing strain your oil twice through a cheesecloth or coffee filter. Then let any sediment settle overnight before pouring your oil into a storage bottle.
Recipe FAQ
How to Use Infused Oil
Once you’ve made your beautiful infused oil, the fun part is figuring out all the ways to enjoy it! There are some herbs which are mostly used in skincare oil infusions, like plantain, lavender, or calendula. There are also some which are more kitchen-specific (like thyme, oregano, or chili). Most however can be used in both culinary and cosmetic ways.
- In the kitchen: Drizzle it over roasted vegetables or grains for a subtle herbal lift. Or whisk it into your homemade salad dressings to give them an extra layer of flavor. Herbs best for this use are rosemary, thyme, basil, and oregano.
- For self-care: Use it as a nourishing massage or hair oil. The gentle herbal aroma makes the experience even more relaxing. Some lovely herbs to use in massage and hair oils are lavender, peppermint, chamomile, and calendula.
- In DIY skincare: Stir it into your favorite balms, lotions, or salves to add the healing properties of your herbs. Great herbs to use here are calendula, comfrey, rose petals, and lavender.
How I Use Infused Oils at Home
Over the years, I’ve made countless jars of herbal infused oils for a variety of uses. Here’s what I currently keep on hand:
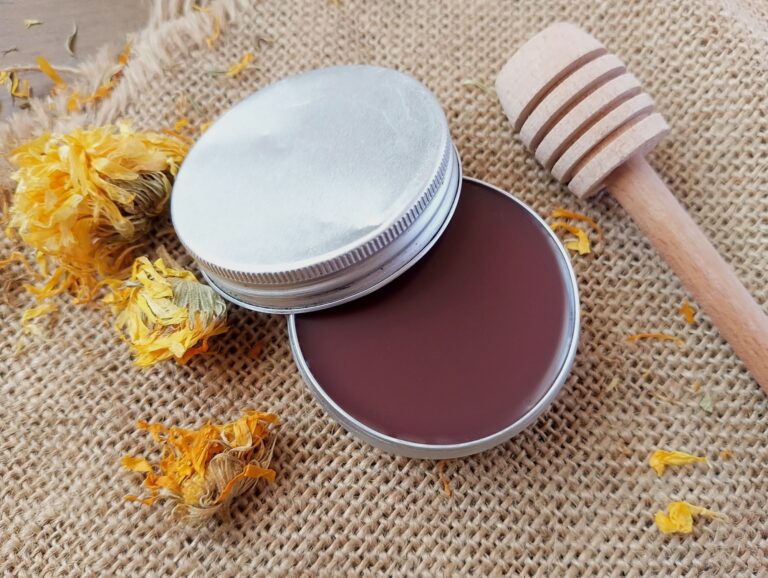
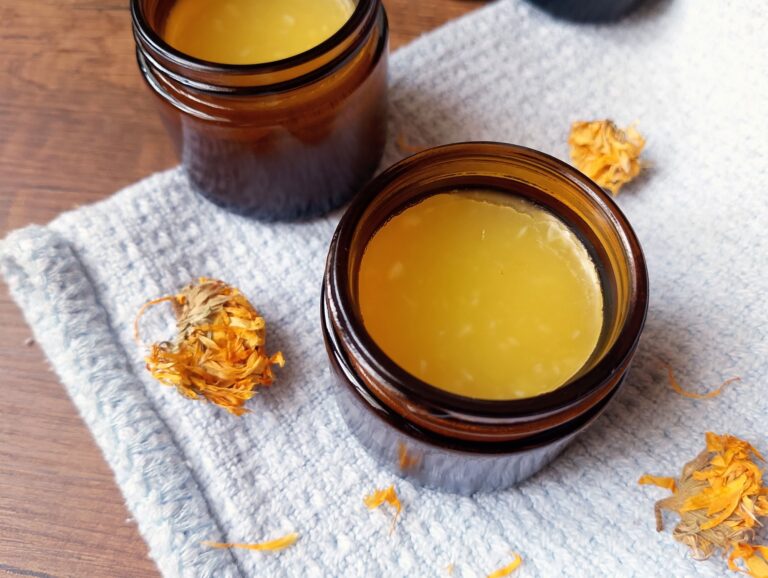
Because I have young children, I always keep several jars of calendula salve—made with calendula-infused oil and beeswax—in my kitchen drawer. These are perfect for soothing the minor scrapes, rashes, and bumps that inevitably happen.
I also have a large bottle of rosemary-infused oil ready for making soap. For my personal beauty routine I have a massage oil, a hand repair balm, and a hair oil made with infused herbs, all neatly stored in a basket on a shelf near my bathroom. Keeping these oils accessible makes it easy to incorporate herbal remedies and self-care into my daily routine.
Keep Building Your Herbal Skills
Congratulations—you’ve just learned how to make herbal infused oils, one of the foundational skills in DIY skincare and home herbalism. Be proud of yourself!
Try your infused oil in the next dish you cook this week. Or use it in a simple skincare recipe—depending on the herb and carrier oil you chose. Experiment with other herbs you love, and try different oils to discover which combinations you enjoy most. Learning by trying, experimenting, and observing what works is the best way to grow your skills. This is true whether you’re cooking nourishing meals for your family or creating DIY skincare products for a more natural beauty routine.
If you enjoyed this tutorial and want to learn more about cooking real food, creating a natural home, and building homemaking systems, join my newsletter. I send weekly tips and guidance to moms like you who want to make home life easier, healthier, and more joyful.
Now That You Know How to Infuse Oils, Try These Recipes
How to Make Herbal Infused Oil
Equipment
- Clean glass jar with lid (for infusion)
- Small saucepan and folded tea towel (for water bath)
- Fine mesh sieve or cheesecloth (for straining)
- Funnel
- Glass bottle or jar with lid (preferably dark glass) for storage
Ingredients
- ½ cup dried rosemary or another herb of your choice
- 1 cup olive oil or another carrier oil
Instructions
- Prepare and Dry Your Herbs: Spread your fresh herbs (I’m using rosemary) on a piece of cardboard, wood, or newspaper in a warm, dry spot away from direct sunlight. Avoid plastic—it traps moisture and prevents proper drying. If your herbs are dusty, rinse gently and pat dry. Let them dry for about 2 days until crisp.
- Strip Leaves or Flowers from Stems: Once dried, remove the leaves or flowers from the stems. Stems are bulky and don’t add much to the infusion—the leaves or flowers contain the beneficial properties you want to capture.
- Measure Your Herbs: For herbal infused oils, use a ratio of 1 part herbs to 2 parts carrier oil. For 1 cup of oil, measure ½ cup of dried herbs.
- Add Herbs to a Jar: Place the measured herbs into a clean, dry glass jar. A dry jar helps keep your oil fresh and prevents spoilage.
- Add Carrier Oil: Pour in enough carrier oil to completely cover the herbs, leaving about 1–2 inches of oil above the herbs. Stir gently to ensure all herbs are submerged. Screw the lid on tightly to prevent condensation during the infusion process.
- Infuse Using a Warm Water Bath: Line a small saucepan with a folded tea towel and fill it halfway with warm water. Place the jar in the pan, making sure the water comes halfway up the jar, roughly level with the oil. Turn the heat to low and let the herbs gently infuse for 2–4 hours, keeping the oil warm but never hot to preserve its properties.
- Strain the Infused Oil: Once fragrant, strain the oil using a funnel lined with a fine mesh sieve or cheesecloth over a glass jar or measuring cup. Let the herbs drip for about 1 hour to capture all the oil.
- Store Your Herbal Infused Oil: Pour the strained oil into a glass bottle or jar. Dark glass is ideal, but clear glass works if stored in a dark cupboard. Your oil is ready to use and will keep for 6–9 months.
Notes
- Use in massage oils, hair oils, balms, or salves.
- Try a few drops in cooking if your herb and oil are food-safe.
- Experiment with different herbs and carrier oils to discover your favorites.