Simple Calendula Hand Repair Balm (No Shea Butter, From Scratch)
Winter weather, long hours in the garden, and dishwashing (in short: real life) can leave your hands dry, rough, and cracked. I always notice it in winter when the heating is on and the indoor air is dry. That’s where this simple, DIY calendula hand balm comes to the rescue. Made with soothing calendula petals, nourishing olive oil, and protective beeswax, this 3-ingredient balm delivers serious healing power. Use it overnight for deep skin repair, or anytime your hands need extra care. It’s perfect for keeping skin soft, smooth, and nourished all winter long.
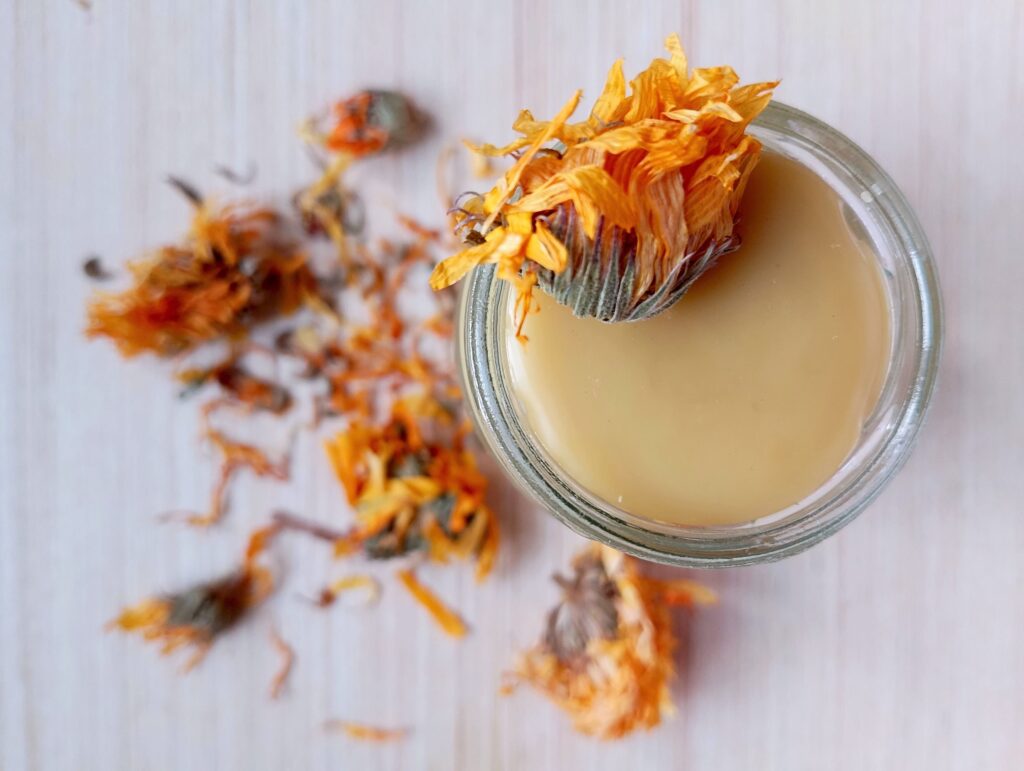
Why You’ll Love This Balm
- Simple, nourishing, and non-greasy.
- Truly effective for dry cracked hands.
- Gentle enough for frequent use.
- Perfect hand repair balm for gardeners and homemakers, and especially effective when used at bedtime and followed by cotton gloves.
- Beginner-friendly: this recipe uses only 3 simple (yet effective) ingredients and no special equipment.
Benefits of Calendula Hand Balm
- Calendula is very soothing and healing, making it a popular ingredient in balms and salves.
- Beeswax helps skin retain moisture and offers a protective barrier against irritants. It is suitable even for sensitive skin because of its non-comedogenic nature (meaning that it doesn’t block skin pores).
- Olive oil moisturises, reduces inflammation, and provides anti-oxidants, leaving skin soft and smooth. For best results, always use cold pressed, extra-virgin olive oil.
- This combination of ingredients works especially well for winter and for gardening season. It combines calendula-infused olive oil to soothe and repair with beeswax to protect and lock in moisture.
Ingredients

- Beeswax pastiles (2 tablespoons) or grated beeswax (1 ounce) can be used in this recipe.
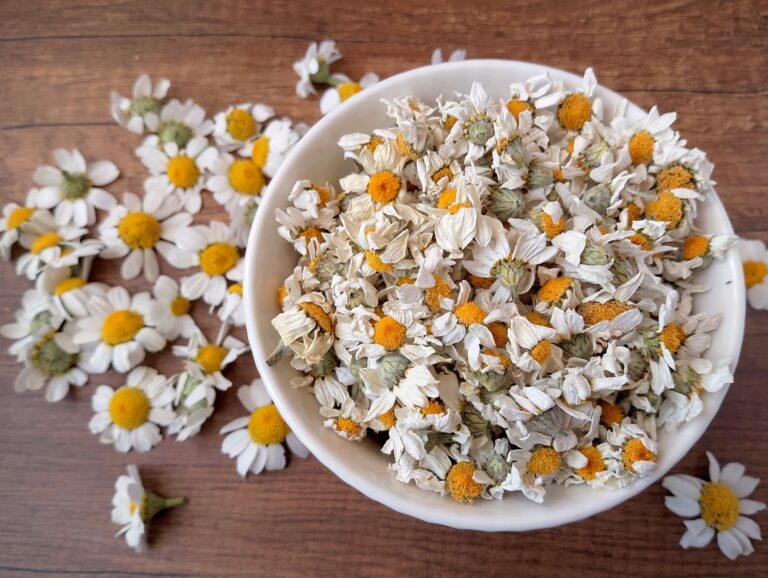
- Make sure to use dried calendula blossoms – fresh blossoms would introduce too much moisture to the balm.
- High quality cold pressed extra virgin olive oil will give you the greatest skincare benefits.
- Full ingredient list with exact amounts can be found in the recipe card.
What Is the Ratio of Balm Oil to Beeswax?
- A reliable ratio for hand balm is about 1 part beeswax to 4 parts oil. This makes the balm firm enough to protect the skin while still being soft enough to melt when rubbed between your hands. If you follow the ratio I use in this recipe, you’ll get a firm, mess-free balm, perfect for most uses.
- For a firmer balm, increase beeswax slightly (one teaspoon at a time). This will make a firm, protective balm, great for carrying in your pocket while doing garden work or in warm weather.
- To make a softer, faster to melt balm, start out with 2-3 teaspoons less beeswax. This works great as an overnight hand repair treatment or for use during cold winter months.
- Before pouring the whole batch into containers, spoon a small drop onto a cold plate or metal spoon, let it solidify, then test with your finger whether it’s hard/soft enough for your liking.
How to Make Calendula Hand Balm (Step by Step)
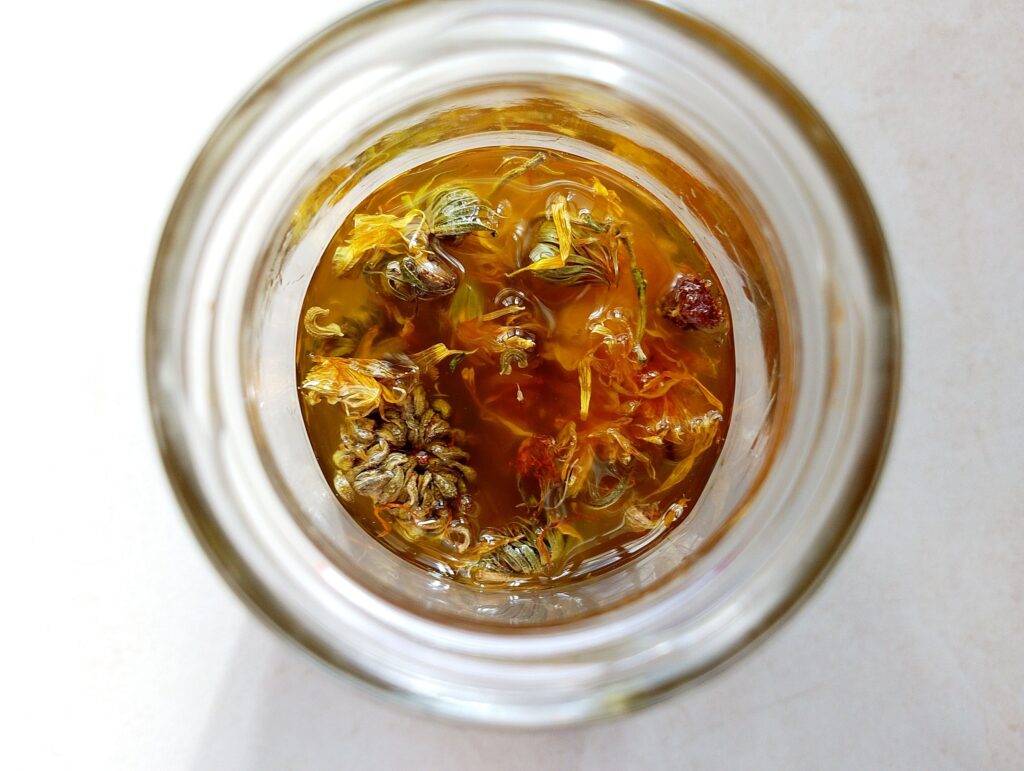
Step 1: Add the dried calendula flowers to a heatproof jar, then pour in the olive oil, making sure the flowers are fully submerged.

Step 2: Secure the lid on the jar and place it in a small saucepan lined with a small folded cotton towel. Add enough water to come halfway up the sides of the jar. Gently warm the jar over the lowest heat setting for 2–4 hours, keeping the water at a gentle simmer. The oil should always feel pleasantly warm to the touch—you should be able to dip a finger in without risk of burning. Give the jar a gentle stir every so often and make sure the calendula petals remain fully submerged in the oil.

Step 3: Once your calendula oil has gently infused for 2–4 hours, carefully lift the jar from the water and let it cool slightly until it’s comfortable to handle. Then strain the oil through a fine-mesh sieve into a clean, dry jar, leaving the petals behind. You’ll be left with a warm, golden oil, ready to turn into your hand balm.
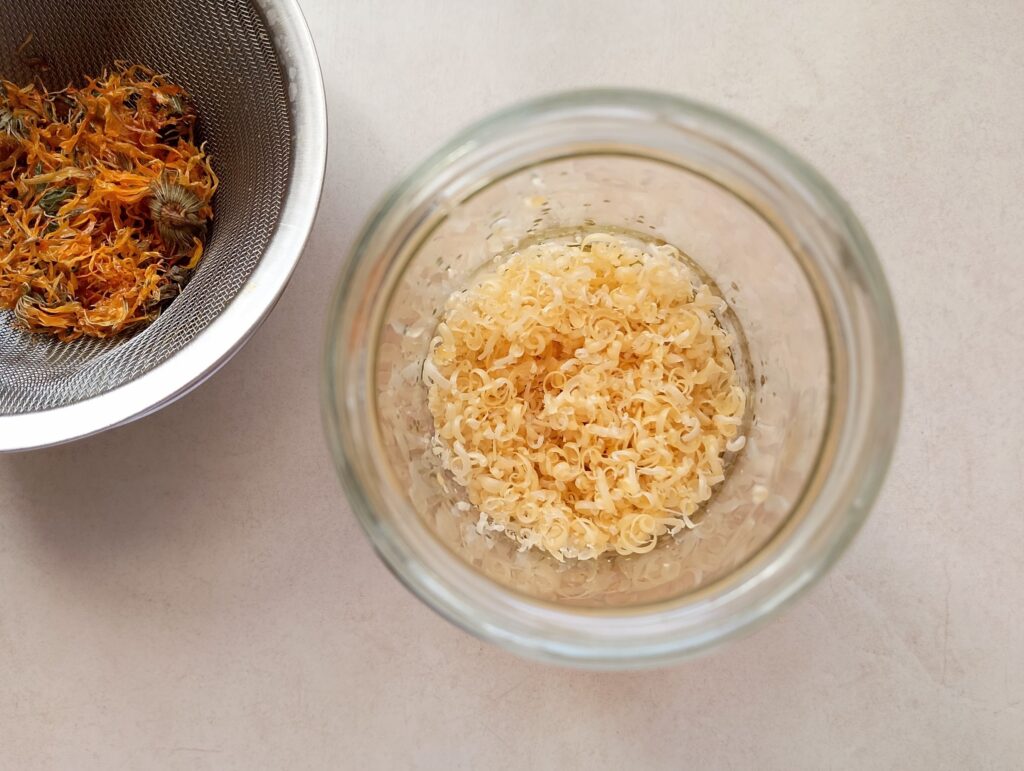
Step 4: Add beeswax to your jar of calendula-infused oil. You can use either 2 tablespoons of beeswax pastilles or 1 ounce of grated beeswax (grated beeswax is easier to measure by weight than volume).
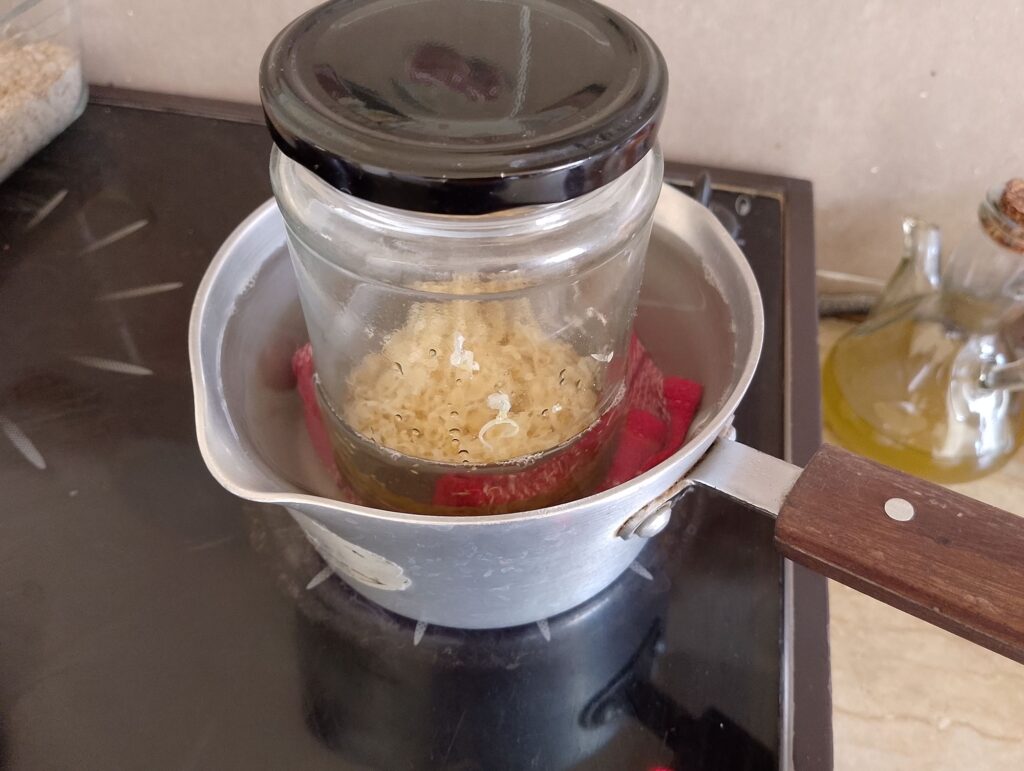
Step 5: Close the jar and return it to your homemade double boiler—the same setup you used for the calendula infusion. Warm the mixture over very low heat, stirring occasionally, until the beeswax has fully melted and blended with the oil.

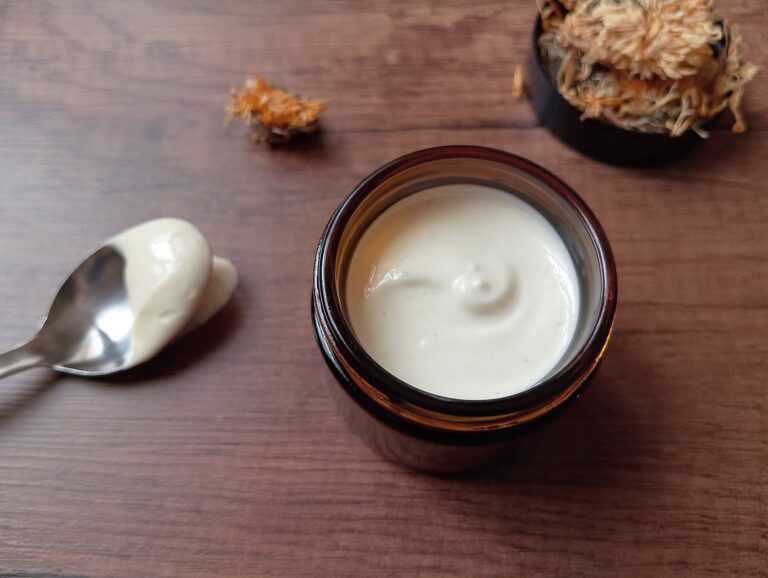
Step 6: Carefully remove the jar from the heat and let the balm cool for a few minutes. Then pour it into a clean jar or tin (about 1/3 cup capacity). Allow the balm to cool and set completely before sealing—it will thicken to a smooth, creamy texture that’s ready to soothe dry hands.
Tips for the Best Balm
- Choose high-quality calendula and beeswax: Good quality, properly dried calendula will have more healing compounds. For best quality (and potency!) use up your dried herbs within 12 months. Their scent, color, and beneficial properties will always slowly fade with time. The calendula you use should be bright orange or yellow. Also use good quality beeswax – it should have a light honey-like smell.
- To avoid grainy texture: Grainines usually happens if your balm cools too quickly or unevenly. Make sure all the beeswax is comletely dissolved before removing the balm from the double boiler (give it a stir to make sure it’s completely smooth), pour it into containers while it is still completely liquid, and leave the jars or tins of balm to cool at room temp, not in the fridge.
- To test firmness before pouring: Before pouring the whole batch into containers, spoon a small drop onto a cold plate or metal spoon (usually just inserting a cold spoon into the balm will make the spoon get a coating of solidified balm). Let it set, then test the texture with your finger. If it’s too soft, add in a little more beeswax, if too firm – add some oil and re-melt.
Common Mistakes to Avoid
- Overheating beeswax: Beeswax should be melted gently. You need some patience here as beeswax melts quite slowly, slower than coconut oil or tallow for example. You’ll need to give it time – and it’s totally worth it as beeswax is such a wonderful addition to almost any skincare recipe! Overheating beeswax may reduce its potency and give the balm a grainy texture.
- Incorrect oil-to-beeswax ratio. Too much beeswax will make your balm super hard, while too little beeswax will make the balm too soft and oily (not ideal if you want to carry it in a tin in your handbag!).
- Using wet tools or containers. Any water introduced into the balm can make it spoil, or at least shorten its shelf life. When making the balm make sure all your jars and utensils are completely dry, and when applying the balm always scoop it with a clean, dry finger.
- Adding essential oils at the wrong time. In this recipe I leave the balm unscented, but if you wish, you can add a few drops of you favorite essential oil. Add oils once you have removed the balm from the double boiler and let it cool slightly. The balm should be very warm, not hot, when you stir in the essential oils. Adding them to hot balm would make them evaporate.
Variations
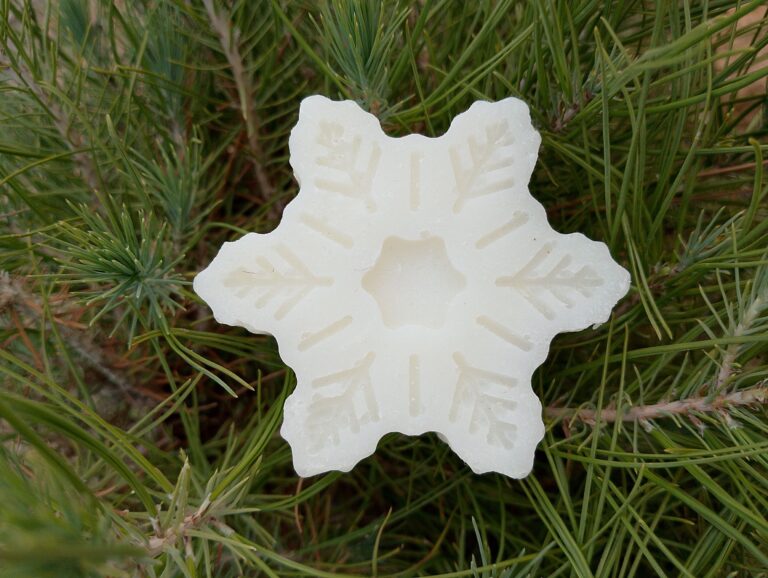
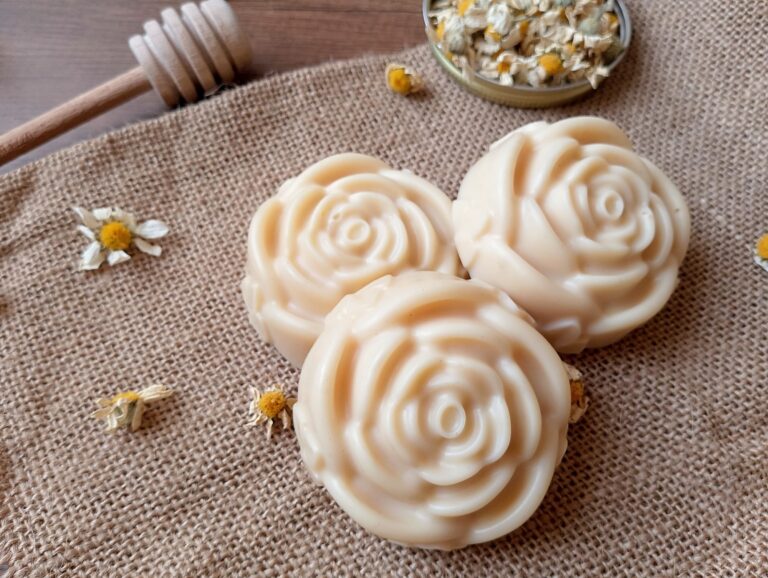
- Extra-firm balm for gardening hands: for an even firmer balm, perfect for protecting your hands during outdoor work, increase beeswax slightly so it stays firm even in very warm weather. Pour the finished balm into mini soap mold or chocolate mold and let it set fully. To apply, rub the solid bar firmly in your hands for a protective, mess-free layer.
- Softer balm for overnight hand repair: if you prefer a softer balm that melts instantly, reduce the amount of beeswax slightly. Rub into your hands at bedtime and put cotton gloves on, allowing your skin to repair while you sleep.
- Essential oil options (or keeping it fragrance-free): This balm is wonderful without essential oils, suitable for children or anyone with sensitive skin. It has a lovely, honey-like aroma. If you prefer to add essential oils, add a few drops of lavender, chamomile, or frankincense for a subtle-scented balm.
How to Use Calendula Hand Balm
- Best times to apply: Apply the balm before bed, after washing hands, or anytime your hands feel dry and tight. When I lived in Scotland, with its cold, windy winters, I loved applying this balm before heading outside and slipping on my gloves. It was a simple trick that really helped prevent and soothe cracked hands during harsh winter weather.
- How much to use: A pea-sized amount is usually enough. Rub it between your palms to make it soften, then massage into your hands.
- Overnight hand repair balm method: Apply a generous amount of balm to hands before bed, especially to any really dry areas. Put on cotton gloves – this makes it more effective and prevents staining your bedding with oil.
- Daily maintenance vs deep repair: It’s fine to use this balm daily to keep your hands soft and protected from the elements. If your hands need a deeper treatment, use a thick layer of this balm at bedtime (+ cotton gloves on) several nights in a row. This is a very healing treatment for super dry, cracked, or overworked hands.
How to Store Homemade Hand Balm
- Best storage conditions: Keep your balm in a cool, dry place, away from direct sunlight or heat. Avoid moisture which can shorten shelf life or make your balm moldy.
- This balm will typically last 6–12 months when stored properly.
- Container options (tins vs jars):
| TINS | JARS |
| Portable, lightweight, and great for handbags, gardening pockets, or travel. They are also shallow, making scooping easy. | Glass or small plastic jars hold more volume. Wide-mouth jars make scooping large amounts easy. Jars also keep balm airtight and longer-lasting if sealed well. |
| Less airtight than jars but fine for short-term use. | Heavier than tins and more breakable if dropped accidentally. |
Recipe FAQ
Final Thoughts
I hope you enjoy making this calendula hand balm and that it makes a real difference to your hands. Calendula is one of my very favorite herbs. I truly believe it’s an essential plant to have on hand—especially if you have children. It’s wonderfully soothing for nappy rash, skin irritation from nettle stings, sweat rash, and many of the everyday skin complaints that pop up with kids.
If you love calendula as much as I do, be sure try my calendula baby balm or calendula tallow lip balm recipes.
And for more simple, from-scratch skincare like this, subscribe to my weekly newsletter which I write every Sunday for real food, natural living mamas like you.
More At-Home Spa Recipes
Lemon and Peppermint Foot Scrub
Natural Clay & Oatmeal Face Mask with Honey
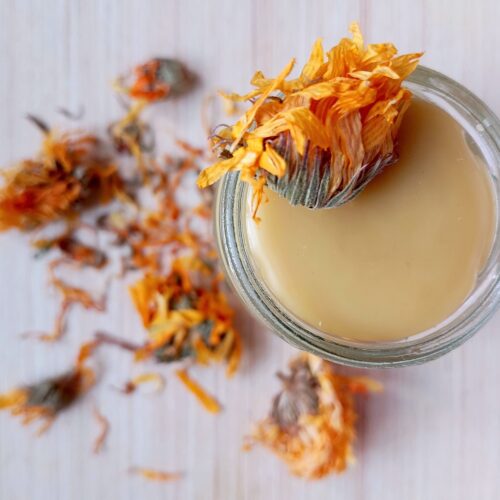
Calendula Hand Balm with Beeswax
Equipment
- small glass jar or tin (about 1/3 cup capacity)
- fine mesh sieve
Ingredients
- ½ cup olive oil
- ¼ cup dried calendula flowers (loosely packed)
- 2 Tbsp beeswax pastilles (or 1oz grated beeswax)
Instructions
- Infuse the calendula: Place dried calendula in a heatproof jar and pour in olive oil until the petals are fully submerged.
- Heat gently: Screw on the lid and place the jar in a small saucepan lined with a folded cotton towel and filled with water. Warm over very low heat for 2–4 hours, keeping the oil warm but never hot. Stir occasionally and ensure the calendula stays submerged.
- Strain the oil: Remove the jar from the water and let it cool slightly. Strain the oil through a fine-mesh sieve into a clean, dry jar, discarding the petals.
- Add beeswax: Add beeswax to the infused oil.
- Melt the beeswax: Close the jar and return it to the double boiler. Heat gently over very low heat, stirring occasionally, until the beeswax is fully melted and blended with the oil.
- Pour and set: Remove from heat and let cool slightly. Pour into a clean jar or tin (about 1/3 cup capacity) and allow the balm to set completely before sealing.