Simple Herbal Infused Body Oil Recipe for Beginners
If you’re ready to ditch store-bought lotions filled with mystery ingredients, this DIY herbal body oil is a simple, nourishing swap your skin will love. Made with gentle, herbal-infused oils, this recipe is perfect for natural mamas who want a more wholesome, low-toxin skincare routine without complicated steps.
Herbal oils are one of the easiest ways to begin making your own natural skincare products. This DIY herbal body oil recipe uses just a few natural ingredients to create a deeply moisturizing, skin-soothing oil that’s ideal for daily use after bathing or showering.
In this post, you’ll learn exactly how to make your own herbal infused body oil, tips for avoiding common beginner mistakes, and easy ways to customize your DIY herbal body oil for different skin needs and favorite scents once you’re comfortable with the basic method. Let’s get making!
Why You’ll Love This Recipe
- Deeply nourishing for dry or tired skin.
- Uses simple pantry herbs and oils.
- Offers a mini aromatherapy experience because of its essential oil content.
- Flexible timing — you can prepare it either in a water bath for quick results or a gentle sun infusion for a slower, more hands off method.
- No special skills required — this recipe is a beautiful first step into herbal skincare.
- Fits into busy life — set it, infuse, strain later.
Ingredients
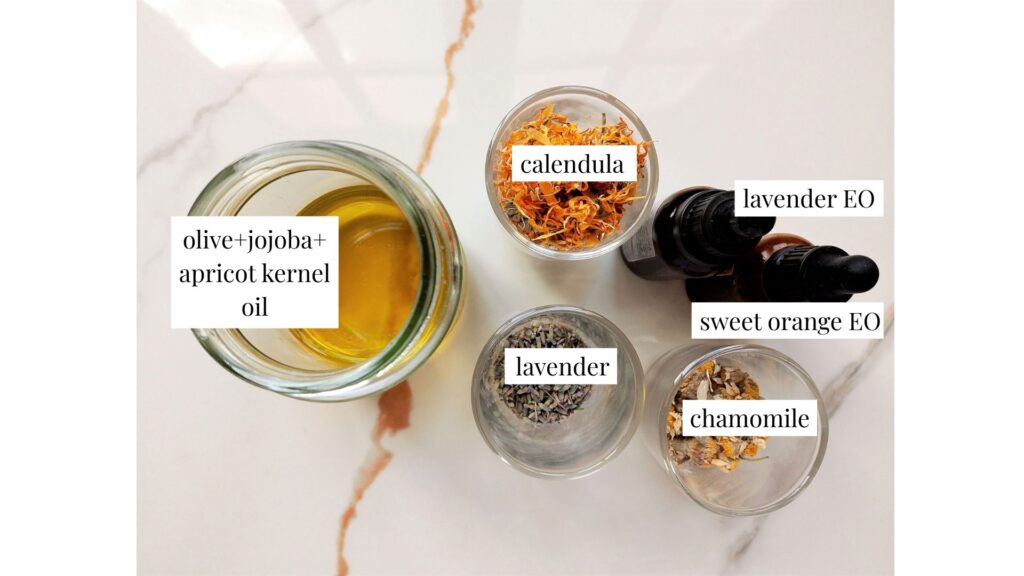
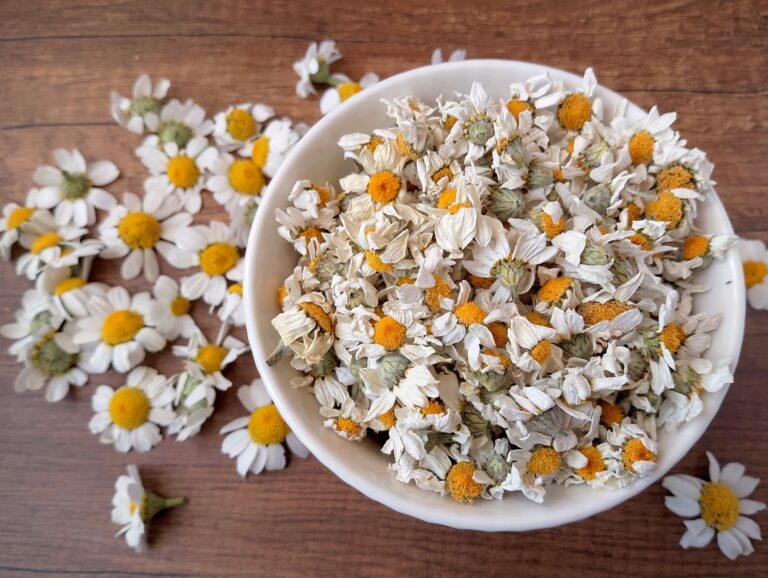
- Lightly crush the calendula, chamomile, and lavender in a mortar before measuring them. These dried herbs can look bulky at first, but they lose quite a bit of volume once crushed.
- If your skin is very dry, you can skip the jojoba and apricot kernel oil, and just use olive oil as your base in this recipe.
- Full list of ingredients with exact amounts can be found in the recipe card below.
Tools & Equipment
- Clean glass jar with lid to infuse the herbs.
- Fine mesh strainer or a piece of cheesecloth for straining out the herbs.
- Measuring cups and spoons.
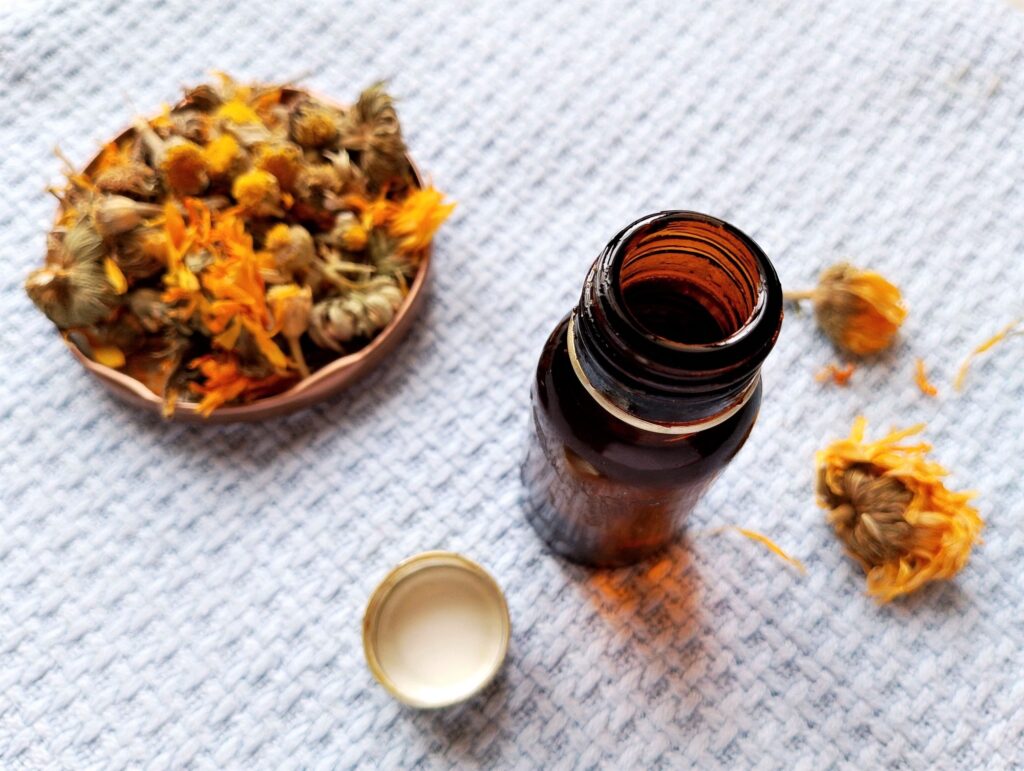
- Dark glass bottle or jar with lid to store the body oil. Dark glass helps protect the herbal oils from light, which keeps your body oil fresh for longer. A pump bottle works especially well, making it easy to dispense just the right amount without spills or waste.
How to Make Herbal Body Oil Step-by-Step
Step 1
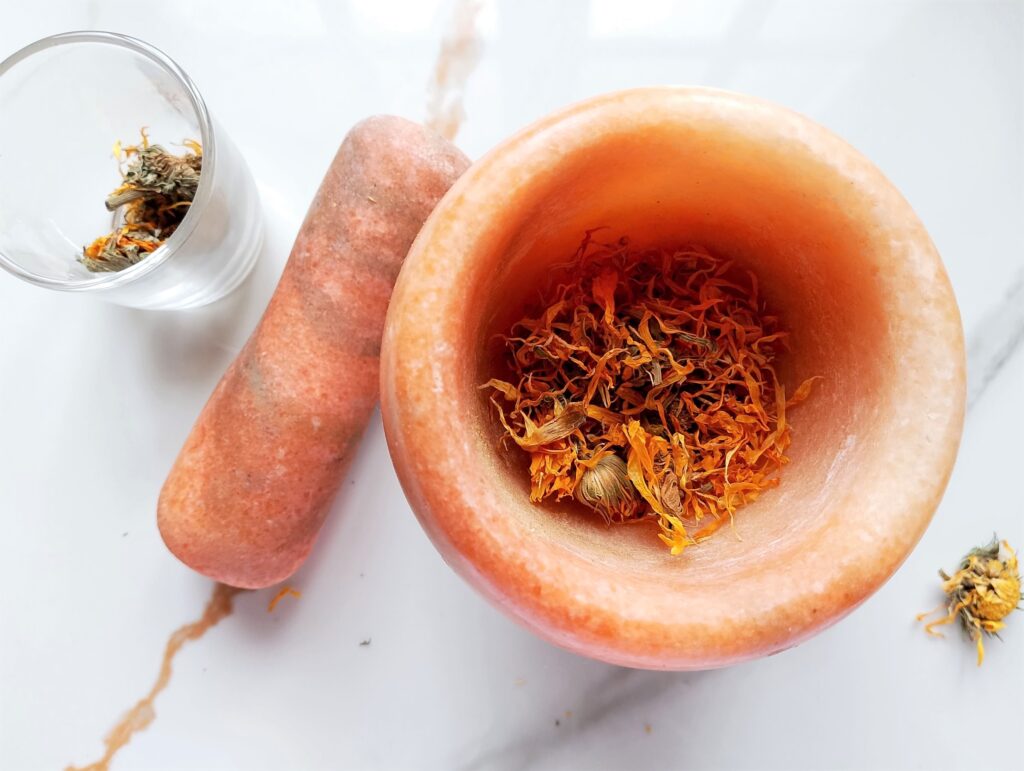
Lightly crush the calendula, chamomile, and lavender using a pestle and mortar—or even just your fingers. Crushing the herbs helps release their natural oils and makes it easier for their gentle, nourishing properties to infuse into your body oil.
Step 2
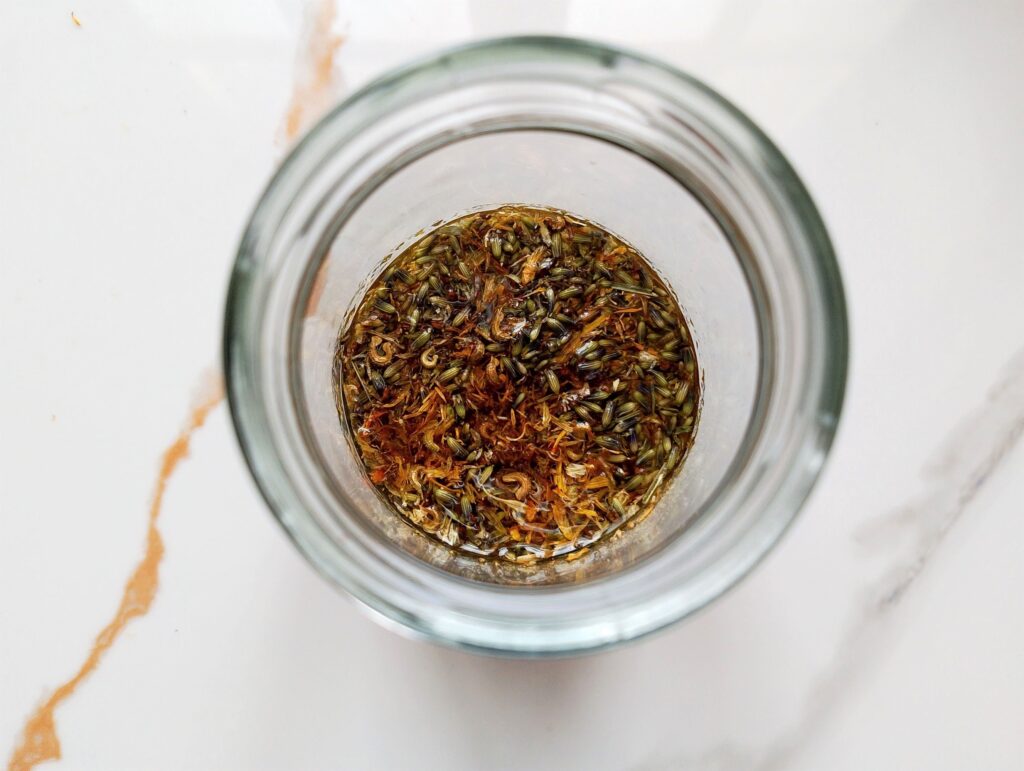
Pour olive oil, jojoba oil, and apricot kernel oil into a medium-sized jar. Add the lightly crushed herbs, then use a wooden spoon to gently press them down so they’re fully submerged in the oil. This ensures your herbs can infuse evenly.
Step 3
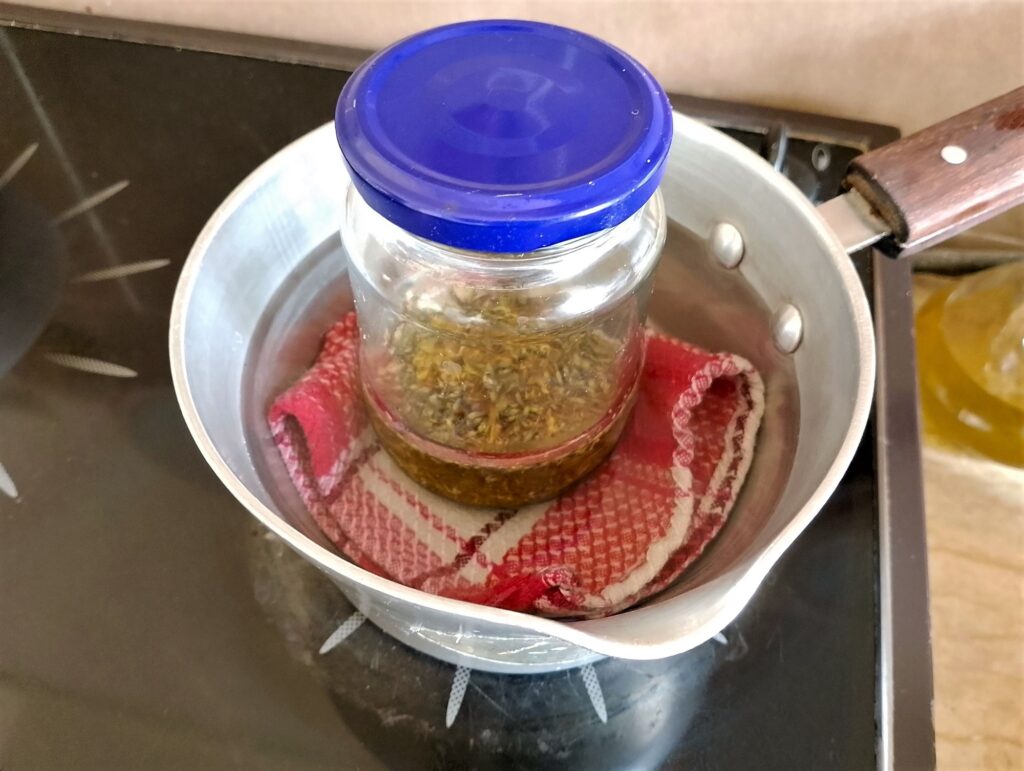
Fill a small saucepan halfway with warm water and place a folded tea towel or piece of cotton fabric on the bottom. Set your jar of herbs and oils on top of the towel. Secure the lid on the jar and turn the heat to low. Let the herbs infuse on very gentle heat for 2–3 hours, keeping the water warm enough to heat the jar but never so hot that the oil feels hot to the touch.
Step 4
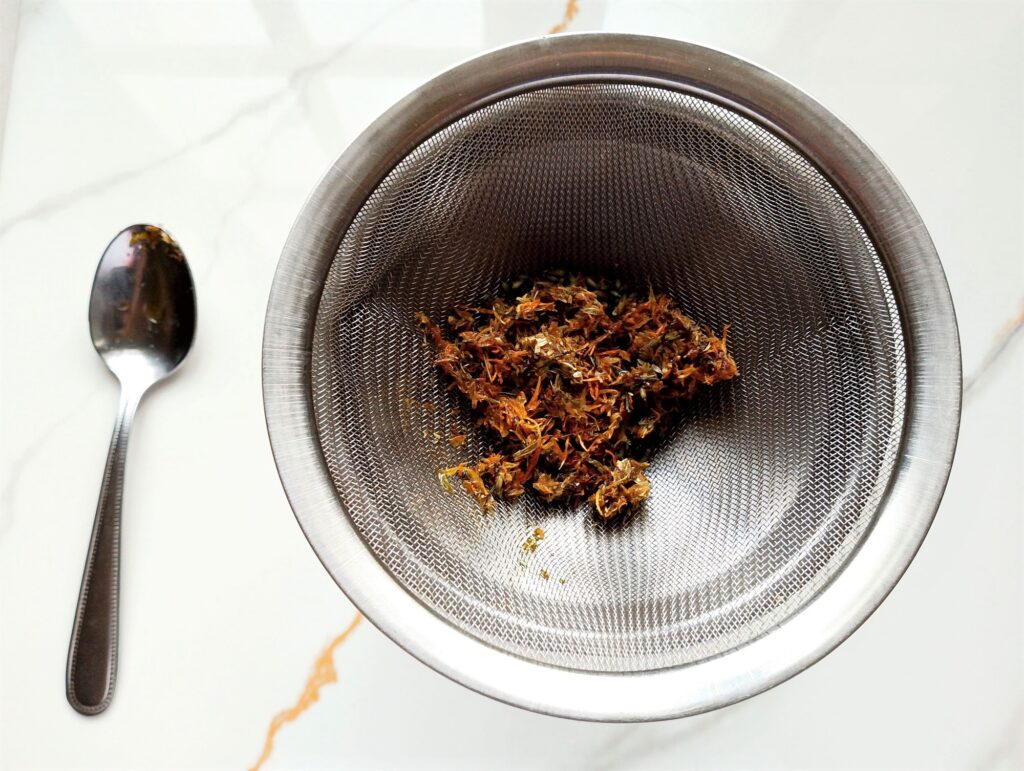
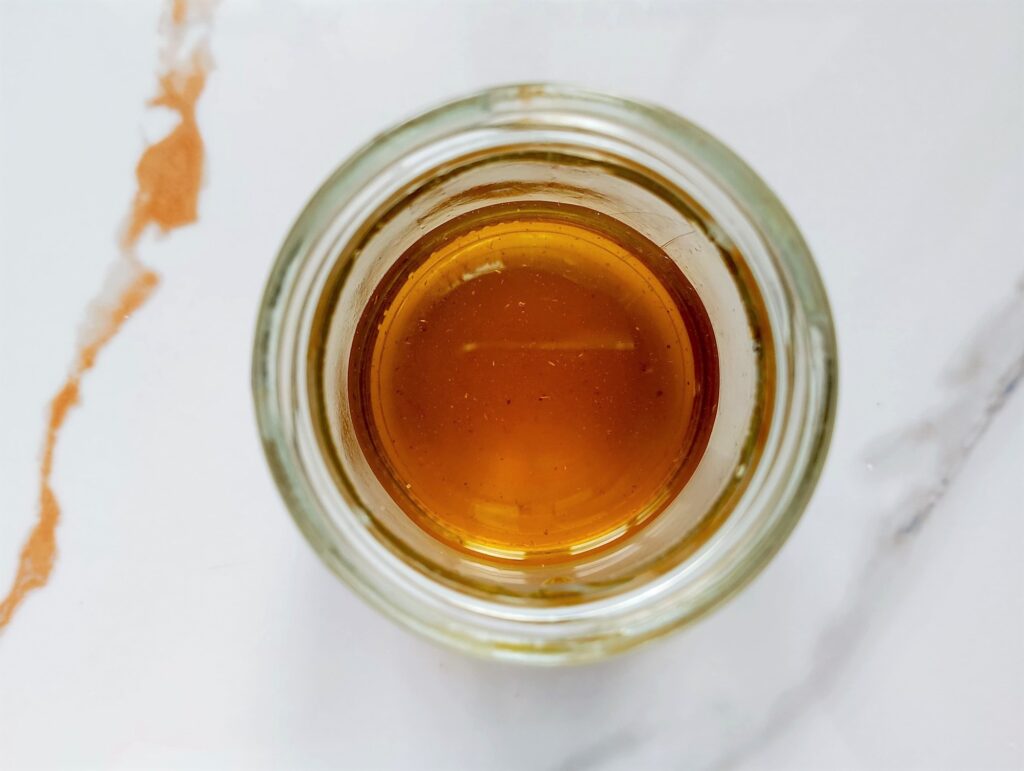
Once the herbs have infused and your oil carries a rich, herbal scent, strain out the herbs using a fine mesh sieve. For an extra-clear body oil free of tiny particles, you can also strain it through a coffee filter or fine cheesecloth. Discard the herbs (or compost them).
Step 5
Once your herbal oil is strained, stir in the lavender and sweet orange essential oils, along with optional vitamin E oil and rosehip oil. Even without essential oils, your DIY herbal body oil will have a naturally lovely scent from the infused lavender. Vitamin E oil helps extend the shelf life of your body oil, while rosehip oil adds extra skin-nourishing and healing benefits.
Step 6

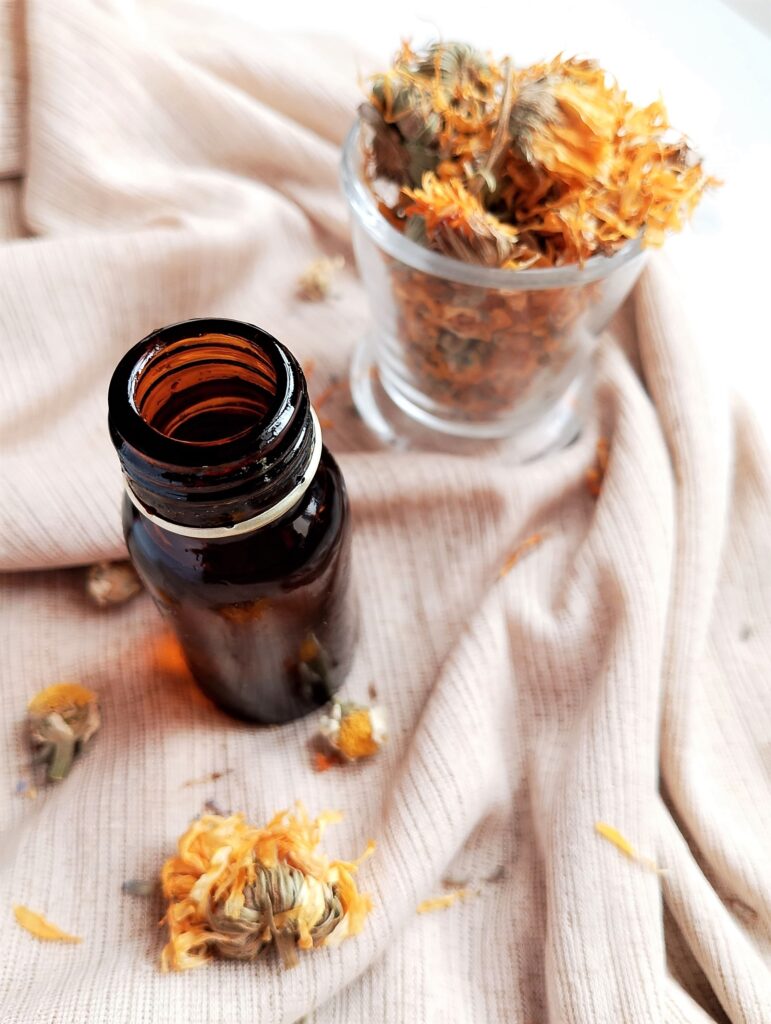
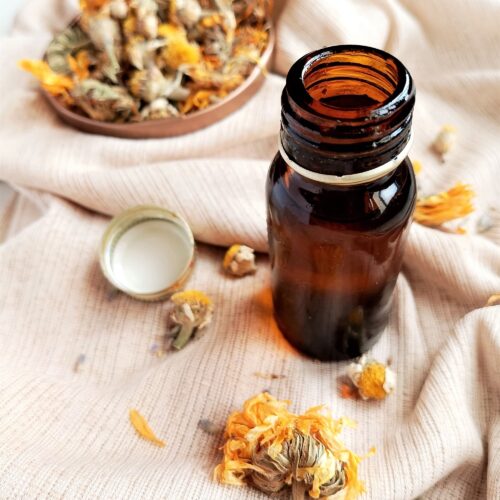
Pour your finished DIY herbal body oil into a dark amber bottle with a tight-fitting lid. Dark glass helps protect the oil from light, keeping it fresh and preserving all the nourishing herbal properties for longer. I always save dark-colored bottles—old vinegar bottles, cod liver oil bottles, or essential oil bottles—to store my homemade skincare creations.
How to Use This Herbal Body Oil
- After showering, gently towel-dry your skin so it’s slightly damp. This helps the oil lock in moisture.
- Use 1–2 teaspoons (5–10 ml) for full-body coverage. If your skin tends to be very dry, you may need a little more.
- Rub the oil between your hands to warm it, then massage it into your skin using long, upward strokes. Massage especially you elbows, knees, and heels (these areas tend to be drier).
- Wait a few minutes before getting dressed to allow the oil time to get absorbed – this prevents your clothes from picking up excess oil.
- You can use this oil daily (after showering or bathing is best) or as needed whenever your skin feels dry. It’s also great when used to soothe skin after swimming in a chlorinated pool (chlorine can be very irritating to the skin).
Timing Options
- Instead of infusing the oil in a double boiler (also sometimes called a ”water bath”), you could also place the jar with the oil and herbs in a warm, sunny spot, and let it infuse for 2-4 weeks. Shake the jar gently once every few days (or whenever you remember). Your oil will be ready to use when its color has deepend slightly and it smells strongly of herbs.
Common Mistakes to Avoid
- Oil smells musty → herbs likely had moisture and caused the infused oil to spoil. Discard it and try again with completely dried herbs.
- Cloudy oil → tiny particles or natural plant compounds can make the oil look cloudy. Oils like coconut can also become cloudy or solid at cooler temperatures. Cloudiness by itself is not a sign of spoilage, unless the oil also smell rancid or has a slimy texture.
- Weak scent → use more herbs next time, or place the oil in a double boiler with more herbs added in to make it more potent (with a stronger herbal aroma).
- Strong herbal smell → normal and beneficial. When your oil has finished infusing, it should smell of the herbs you have used. That means that the infusion has worked!
- Sediment at bottom → harmless plant particles. To avoid sediment, you can strain your oil through fine muslin, or even though a coffee filter if you want super clear oil.
Storage Tips
- Container: Use a dark glass bottle (amber or cobalt) with a tight-fitting lid to protect the oil from light and air.
- Shelf life: Best used within 6–12 months for full potency. Label your container with the date of making the oil. To extend shelf life further you could store it in the fridge – expect it to get cloudy or thick if you do.
- Storage location: Keep in a cool, dry place away from direct sunlight and avoid steamy bathrooms, as heat and moisture will shorten the shelf life of your oil.
Variations
- Relaxing evening oil: use the same base oils as in the original recipe. Add 2 tbsp dried chamomile, 1 tbsp dried lavender, and 1 tsp lemon balm. After straining out the herbs, add 5 drops lavender EO and 3 drops chamomile EO.
- Uplifting morning oil: Use equal amounts of jojoba and sweet almond as base oils. Infuse 1 tbsp lemon balm and 1 tbsp dried orange peel. After straining out the herbs, add 3–4 drops sweet orange EO and 1–2 drops lemon or bergamot EO.
- Rich Winter Oil: Use ¼ cup olive oil, 2 tbsp jojoba oil, and 2 tbsp apricot kernel or avocado oil as base oils. Infuse the same herbs as in the original recipe. After straining out the herbs, add lavender + orange as original, or 1–2 drops frankincense for warming winter scent.
- Light Summer Oil: Use ¼ cup sweet almond oil, 2 tbsp jojoba oil, and 1–2 tsp apricot kernel or grapeseed as base oils. Infuse the same herbs as in the original recipe. After straining out the herbs, add 3–5 drops lavender EO, 2–3 drops sweet orange EO, and 1 drop peppermint EO for a cooling effect.
Recipe FAQ
You’re Learning Something Beautiful
The best handmade skincare products are often the simplest — easy to make and crafted with just a few thoughtfully chosen ingredients. That’s exactly why I love using calendula, chamomile, and lavender in my natural recipes. These herbs are wonderfully gentle yet effective, and the soft scent of chamomile and lavender together is simply heavenly.
I hope you enjoy adding this DIY herbal body oil to your natural skincare routine and feel confident making it again and again. If you loved this recipe and want more simple, nourishing ideas like this, I’d be so happy to have you join my weekly newsletter, where I share real food recipes, herbal tutorials, and cozy homemaking inspiration.
More At-Home Spa Recipes
Natural Clay & Oatmeal Face Mask with Honey
Lemon and Peppermint Foot Scrub
DIY Herbal Body Oil for Glowing Skin
Equipment
- small clear glass jar with lid
- fine mesh strainer or a piece of cheesecloth
- measuring cups and spoons
- small dark glass jar or bottle with lid
Ingredients
- ¼ cup extra virgin olive oil
- 2 Tbsp jojoba oil
- 2 Tbsp apricot kernel (or grapeseed oil)
- 2 Tbsp dried calendula
- 1 Tbsp dried chamomile
- 1 Tbsp dried lavender
- 5 drops lavender essential oil
- 3 drops sweet orange essential oil
- ¼ tsp vitamin E oil (optional)
- 1 Tbsp rosehip oil (optional)
Instructions
- Prepare the herbs: Lightly crush calendula, chamomile, and lavender using a mortar and pestle or your fingers. This helps release their natural oils for a more nourishing infusion.
- Combine oils and herbs: Pour olive oil, jojoba oil, and apricot kernel oil into a medium jar. Add the crushed herbs and gently press them down with a wooden spoon so they’re fully submerged.
- Infuse with gentle heat: Place the jar in a small saucepan lined with a folded tea towel. Add warm water halfway up the jar and cover the lid. Heat on very low for 2–3 hours, keeping the oil warm but never hot.
- Strain the herbs: Once the oil smells strongly of herbs, strain through a fine mesh sieve. For a clear oil, strain again using a coffee filter or fine cheesecloth. Discard the herbs or compost them.
- Add optional oils: Stir in essential oils, vitamin E oil, or rosehip oil if desired. The lavender infusion gives a natural, lovely scent even without essential oils. Vitamin E helps extend shelf life, and rosehip adds skin-nourishing benefits.
- Store your oil: Pour the finished DIY herbal body oil into a dark glass bottle with a tight-fitting lid. Dark glass protects the oil from light and keeps it fresh longer.
Notes
- Shelf life: Best used within 6–12 months for full potency. Label your container with the date of making the oil. To extend shelf life further you could store it in the fridge – expect it to get cloudy or thick if you do.
- Storage location: Keep in a cool, dry place away from direct sunlight and avoid steamy bathrooms, as heat and moisture will shorten the shelf life of your oil.