How to Make Soft Whole Wheat Sourdough Dinner Rolls With Starter
These soft and fluffy sourdough whole wheat dinner rolls are made with a blend of whole wheat and white flour (about 60% whole wheat), giving you a wholesome yet tender crumb. Enriched with milk, butter, and honey, they bake up into the ultimate soft, slightly sweet pull-apart rolls—perfect for serving alongside soups and stews or for soaking up rich gravy. Because this is a same-day sourdough recipe, you can mix the dough in the morning and have fresh rolls ready by dinnertime. They also freeze beautifully and defrost quickly, making it easy to double the batch and tuck some away for future meals.

Why You’ll Love These Sourdough Rolls
- Naturally leavened with active sourdough starter – there is no commercial yeast in this recipe.
- Soft, fluffy texture – these rolls are made with 60% whole wheat to make them nutrient-dense and have just enough white flour added to keep them fluffy and light. They are similar to brioche rolls, but heartier.
- Made from scratch with simple pantry staples, and enriched with honey, milk, and butter.
- Ready the same day – if you mix the dough in the morning, you can have the rolls ready by dinnertime.
- Family-friendly flavor – the sourdough flavor in these rolls is very mild, making them great for the whole family.
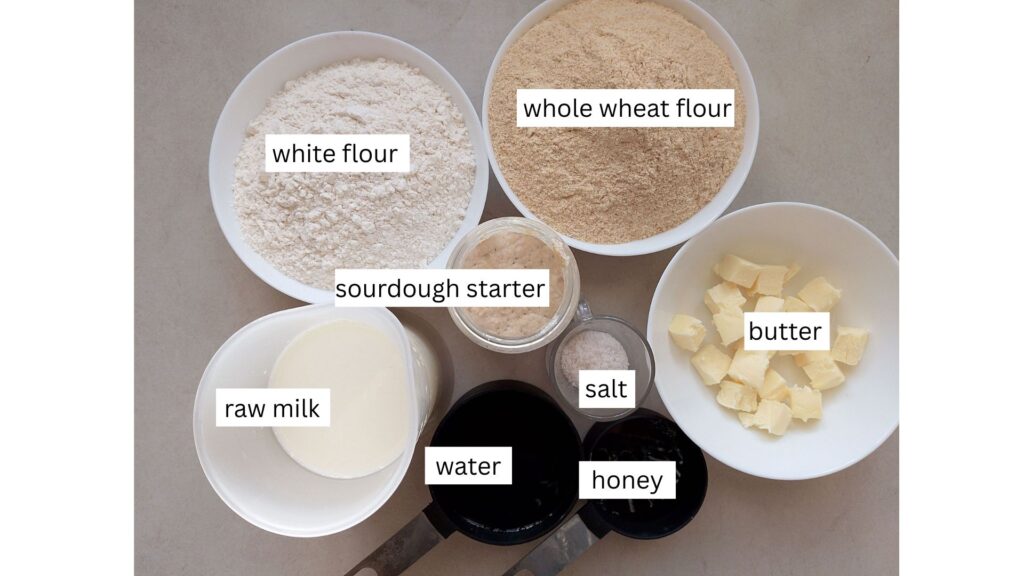
Ingredients You’ll Need
How to Make Soft Whole Wheat Sourdough Dinner Rolls
Step 1

Start by combining the warm milk, water, honey, and active sourdough starter in a large bowl. Stir gently until everything is fully mixed and the starter is evenly distributed.
Step 2

Next, add both the whole wheat and white flours to the liquid mixture. Use a wooden spoon to stir until the dough comes together into a rough, shaggy mass.


Step 5
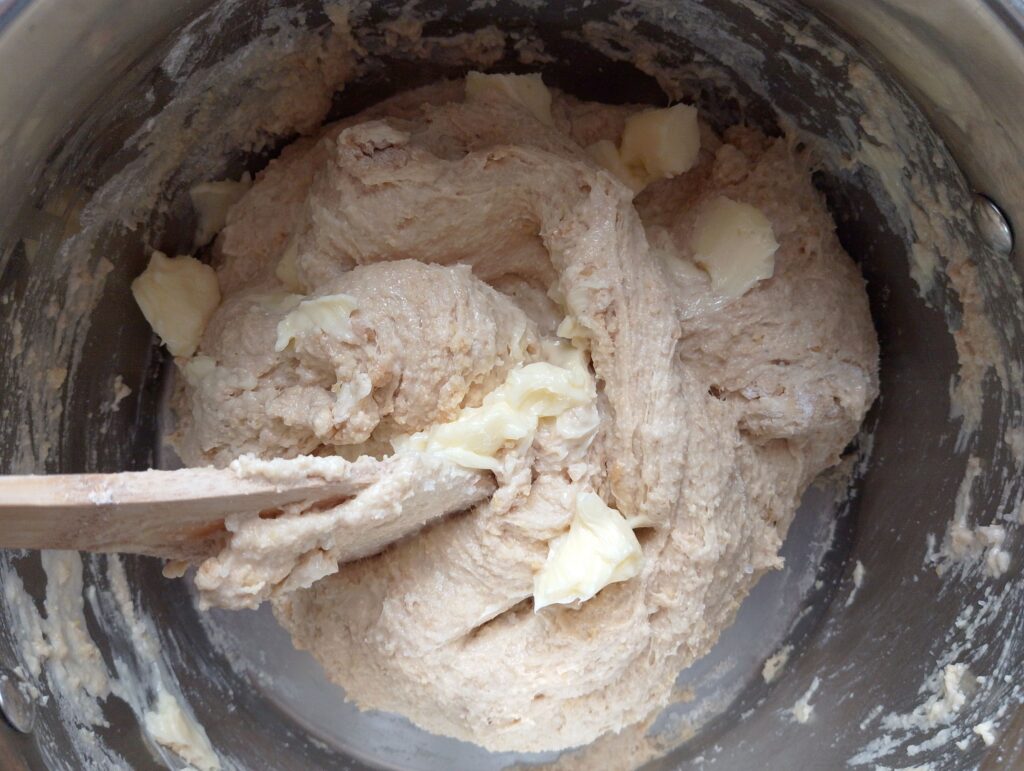
Add the softened, cubed butter to the dough and stir it in with your wooden spoon at first. Then, wet your hands and either knead the dough or use stretch-and-fold motions until the butter is fully incorporated and the dough becomes smooth and elastic.
Step 6
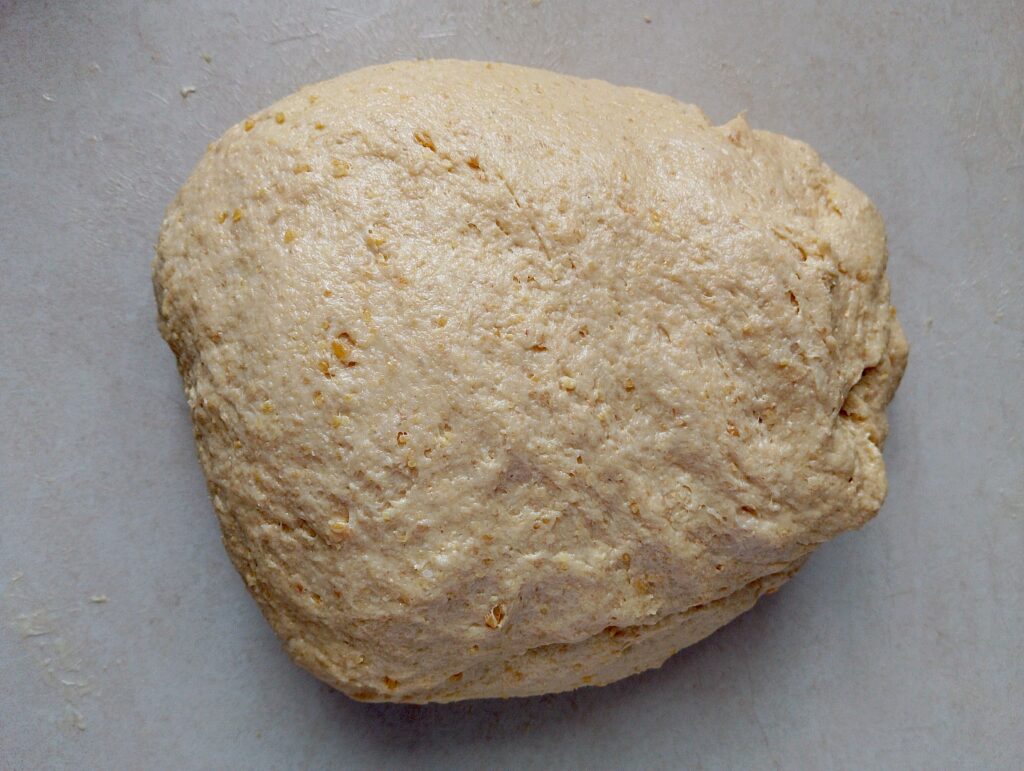
Over the next hour, perform 2–3 sets of stretch-and-folds on the dough, spacing each set about 20 minutes apart. This helps develop gluten and gives the rolls a light, airy texture.
Step 7
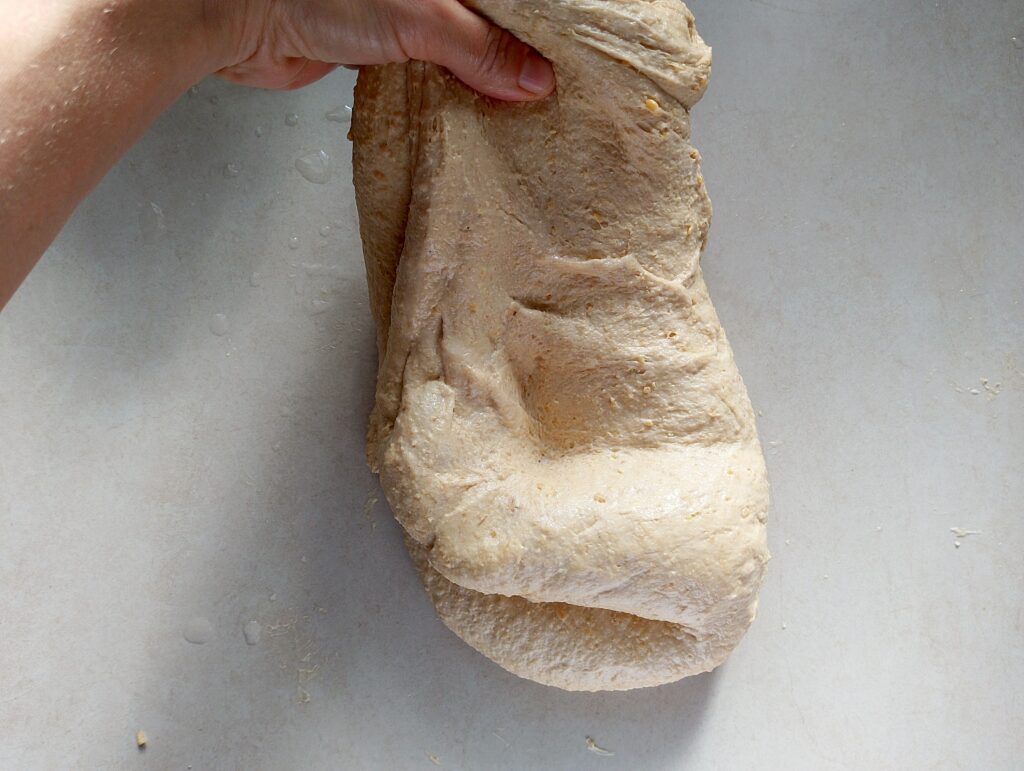
To perform a stretch-and-fold, lightly wet your hands and the work surface to prevent sticking. Gently lift one side of the dough and stretch it upward before folding it back over itself.
Step 8

Turn the dough a quarter turn and repeat the stretch-and-fold. Continue this process until you’ve folded all four sides. This technique helps develop a smooth, elastic dough without traditional kneading.
Step 9
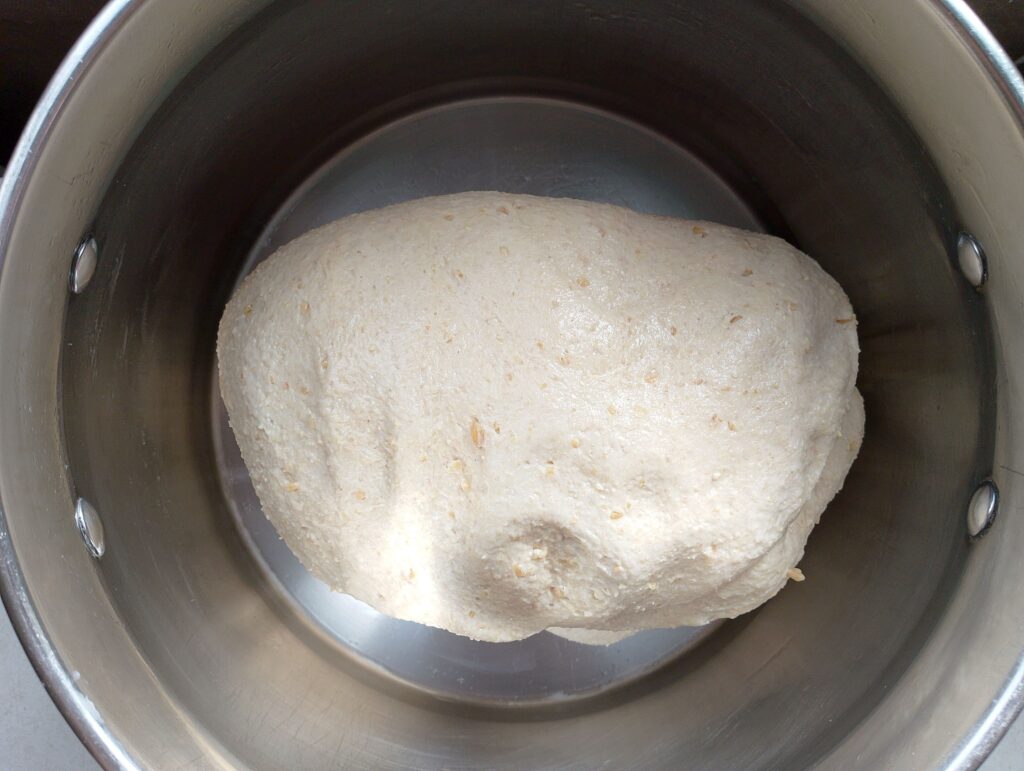
Lightly oil a bowl and place the ball of dough inside. Cover it with plastic wrap or a damp tea towel and let it rise until it’s about 50% larger—avoid letting it fully double. This first rise can take anywhere from 3 to 6 hours, depending on the temperature.

Step 11
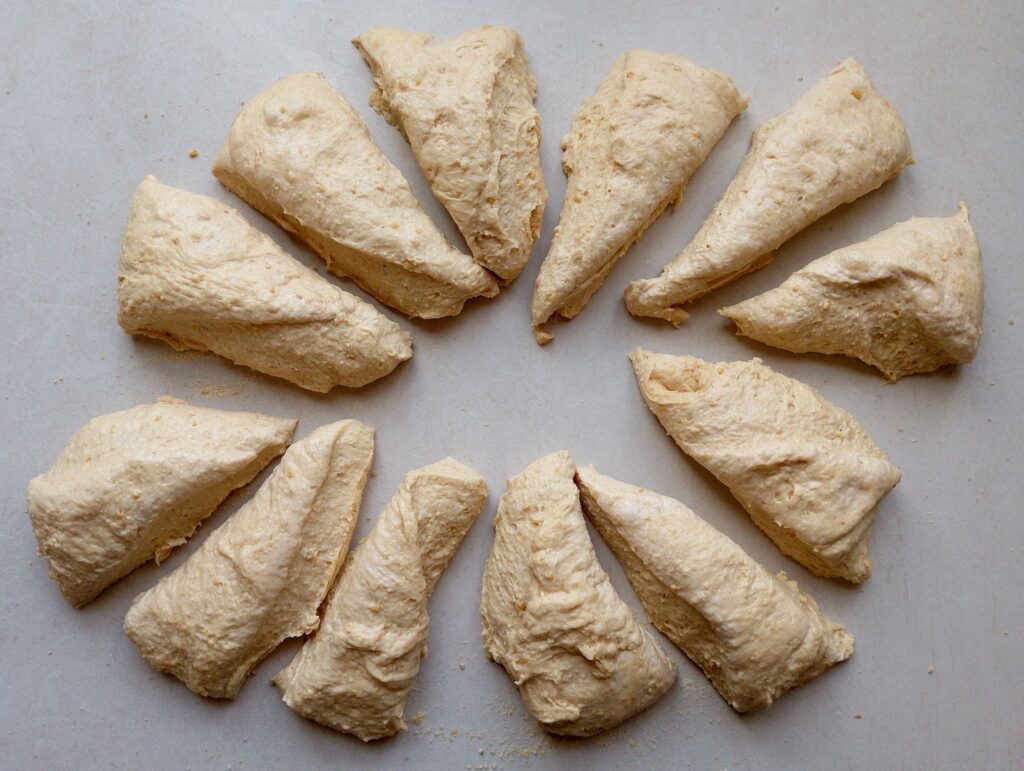
Divide the dough into 12 roughly even pieces. Shape each piece into a tight ball by gently tucking the edges underneath, creating a smooth surface with a little tension on top.
Step 12

Lightly grease a 9×13-inch baking pan and arrange the dough balls inside, leaving just a little space between them to allow for gentle rising.
Step 13
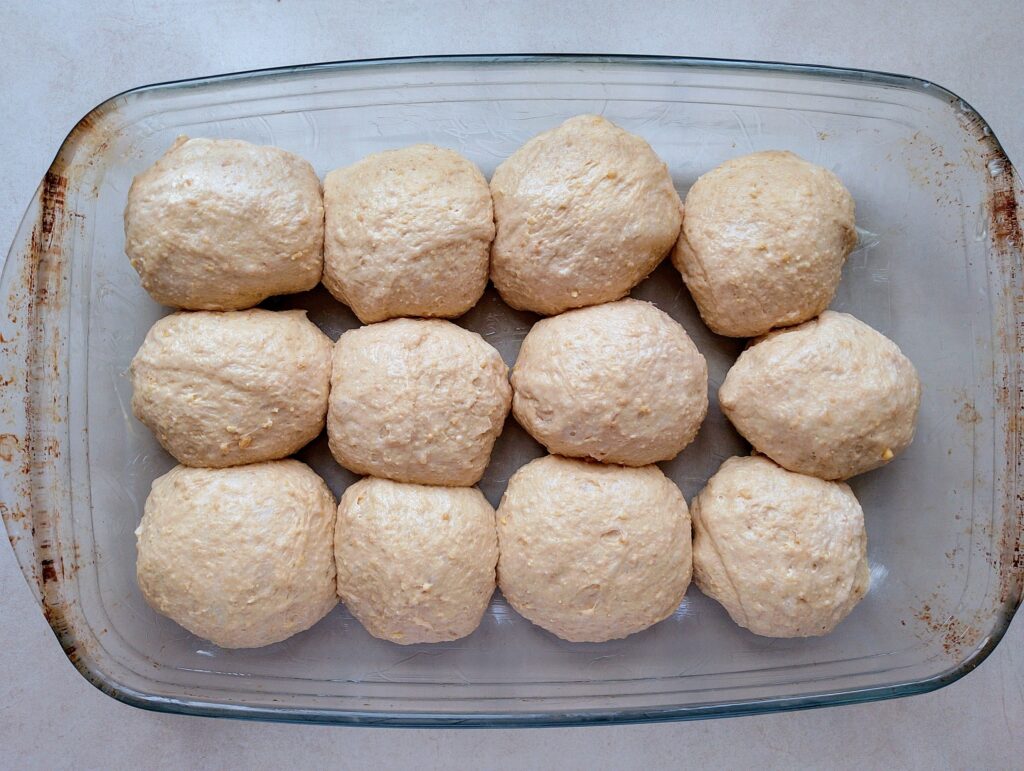
The rolls should be just touching in the pan. If your pan is a little small and the rolls are slightly crowded (like mine are in the above photo), that’s fine—they’ll bake into soft, pull-apart rolls perfectly.
Step 14

Cover the rolls and let them rise in the pan until they become puffy and airy. They don’t need to fully double—when a gentle poke springs back slowly, they’re ready to bake. This second rise will be faster than the first, so keep an eye on them. Once they’re nearly ready, preheat your oven to 180°C (350°F).
Step 15

In a small cup, whisk together 1 egg and 1 tablespoon of milk. Gently brush the tops of the rolls with this egg wash, then bake them for 20–25 minutes, until golden brown. Allow the rolls to cool for 15–20 minutes before serving so they set and remain soft.
Tips for Making the Best Rolls
- Hydration affects softness: Higher hydration keeps the crumb soft, but too much makes shaping difficult. Soft rolls need a dough that’s moist and slightly tacky, not dry or stiff. When handling the slightly sticky dough, wet your hands and the counter instead of flouring them.
- Enriched doughs ferment differently: Milk, butter, eggs, and honey slow fermentation by coating the gluten and feeding yeast more gradually, so enriched doughs need more time and should be judged by look and feel, not the clock. To speed up the first and second rise during the winter months, you could use a seedling heat mat which gently warms the dough, making it rise a bit faster.
- Best pan choice for pull-apart rolls: A 9 × 13 inch (23 × 33 cm) pan lets rolls touch as they rise, encouraging upward lift and soft sides instead of crusty edges.
- How not to over-ferment whole wheat dough: Whole wheat ferments faster and weakens sooner, so stop bulk fermentation/first rise when the dough is puffy but not doubled (it should be about 50% larger), and rely on a gentle final proof (second rise) for volume.
Common Mistakes to Avoid
- Using weak or inactive starter. If your starter isn’t bubbly and active, the dough won’t rise well, leading to dense rolls. Always use starter at its peak for best lift. You will know when the starter is at peak because it will be doubled and the top of the starter will be domed.
- Adding too much flour. Extra flour makes the dough stiff and dry, resulting in heavy rolls. The dough should feel soft and slightly sticky. When handling the dough, wet your hands and the counter slightly to prevent the dough from sticking to them.
- Rushing the rise. Underproofed rolls won’t be light or fluffy. Give the dough time to rise until visibly puffy, even if it takes longer than expected. If your house is cool and you want a quicker rise for your rolls, use a seedling heat mat (like the one you can see me use in Step 14 of the recipe above) to make your rolls rise faster.
- Baking too hot or too long. High heat or overbaking dries out rolls. Bake at a moderate temperature and remove them from the oven once lightly golden to keep them soft.
Serving Ideas
- Served warm with butter and flaky salt
- Alongside soups and stews (chicken soup, beef stew, vegetable soup)
- As mini sandwich rolls (this is actually our favorite way to eat these rolls!)
- Toasted and spread with honey butter or jam for breakfast
- With roast chicken, beef, or lamb as a dinner side
- Used for breakfast sandwiches with eggs and cheese
- Split and toasted for garlic rolls
- Paired with holiday meals as soft pull-apart rolls
- Turned into bread and butter pudding , savory bread pudding, or baked French toast if slightly stale
Storage Tips
- Let the rolls cool fully before storing them. Place the rolls in a bread bag or an airtight container with a paper towel on the bottom, and store at room temp for 1-2 days.
- For longer storage, place the cooled rolls in a large ziplock bag and freeze them for up to 3 months.
- If you want to refresh the defrosted rolls before serving, you can warm them in the oven at 150–160°C (300°F) for 5–10 minutes, then brush them with butter.
Recipe FAQ
Happy Baking!
I hope you enjoy these soft, pull-apart sourdough whole wheat rolls and that they become a regular part of your family’s meals—whether served with dinner or used as sandwich rolls for lunch (they’re a favorite in our house).
For more sourdough recipes and old-fashioned cooking and baking inspiration, be sure to subscribe to my newsletter. You’ll be the first to know when new recipes are published and you’ll get access to exclusive subscriber-only content as well.
More Sourdough Bread Recipes
Rich Whole Wheat Sourdough Sandwich Bread
Easy Whole Wheat Sourdough Sandwich Bread
Sourdough Tallow Whole Wheat Biscuits

Soft Whole Wheat Sourdough Dinner Rolls
Equipment
- 9 × 13 inch baking pan or similar
Ingredients
For the rolls
- 375 g warm milk
- 150 g water or whey
- 60 g honey
- 105 g active sourdough starter
- 450 g strong whole wheat flour
- 300 g strong white bread flour
- 15 g fine unrefined salt
- 75 g very soft butter, plus more for greasing the pan
For the egg wash
- 1 egg
- 1 Tbsp milk
Instructions
- In a large bowl, combine warm milk, water, honey, and active sourdough starter until evenly mixed.
- Add the whole wheat and white flours and stir with a wooden spoon until a rough, shaggy dough forms. Cover and let rest for 45–60 minutes to autolyse.
- Sprinkle the salt over the dough and gently mix it in.
- Add the softened, cubed butter and stir with a wooden spoon. Wet your hands and knead or use stretch-and-fold motions until the butter is fully incorporated and the dough is smooth and elastic.
- Over the next hour, perform 2–3 sets of stretch-and-folds, spaced about 20 minutes apart. This develops a smooth, elastic dough without traditional kneading.
- Place the dough in a lightly oiled bowl, cover with plastic wrap or a damp towel, and let rise until about 50% larger (3–6 hours).
- Turn the dough out onto a lightly floured surface. Divide into 12 roughly even pieces and shape each into a tight ball by tucking edges underneath to create surface tension.
- Arrange the dough balls in a greased 9×13-inch baking pan so they are just touching. Cover and let rise until puffy and airy—don’t let them fully double. Preheat oven to 180°C (350°F) when they’re nearly ready.
- Whisk together 1 egg and 1 tablespoon milk. Gently brush the tops of the rolls with the egg wash.
- Bake for 20–25 minutes, until golden on top. Let cool for 15–20 minutes before serving.
Notes
- Room temperature: Store cooled rolls in an airtight container for up to 2 days.
- Freezer: Freeze cooled rolls in a zip-top bag for up to 3 months. Thaw at room temperature or warm in the oven before serving.