How to Cook Tongue in a Pressure Cooker: Tender Beef Tongue Every Time
Pressure cooking is hands down the easiest way to cook tongue. It’s much faster than traditional stove-top braising, produces incredibly juicy and tender meat, and makes peeling the cooked tongue really easy. If you’re learning how to cook tongue in a pressure cooker for the first time, this method is simple and requires just a few minutes of hands-on prep. It works equally well for veal or beef tongue, whether you’re cooking a whole tongue or a smaller piece. I’ve included a handy pressure cooking time chart both in the post and in the recipe card, so you can cook tongue with confidence and no guesswork.
What Is Beef Tongue?
Beef tongue, also known as ox tongue, is a collagen-rich cut of meat from the tongue of a cow. It’s one of the mildest and best tasting organ meats (trust me, it’s delicious), making it a great choice for anyone new to nose-to-tail eating. When cooked until tender, tongue becomes juicy, flavorful, and very versatile. You can use it in a wide variety of dishes, including tacos, breakfast hash, soups, stews, sandwiches, and more.
Why Cook Tongue in a Pressure Cooker?
I love cooking tongue in my Instant Pot because it transforms this tough, collagen-rich cut into tender, flavorful meat in a fraction of the time—usually 1–2 hours instead of the 3–4 hours required for traditional simmering. If you’re wondering how to cook tongue in a pressure cooker, this method couldn’t be simpler. The high pressure helps retain moisture and loosens the outer skin, making the tongue much easier to peel. Once you peel it and let it chill for several hours, you can slice it paper-thin for sandwiches and salads, cut it into cubes for tacos and breakfast hash, or shred it for wraps and other easy meals.
Ingredients
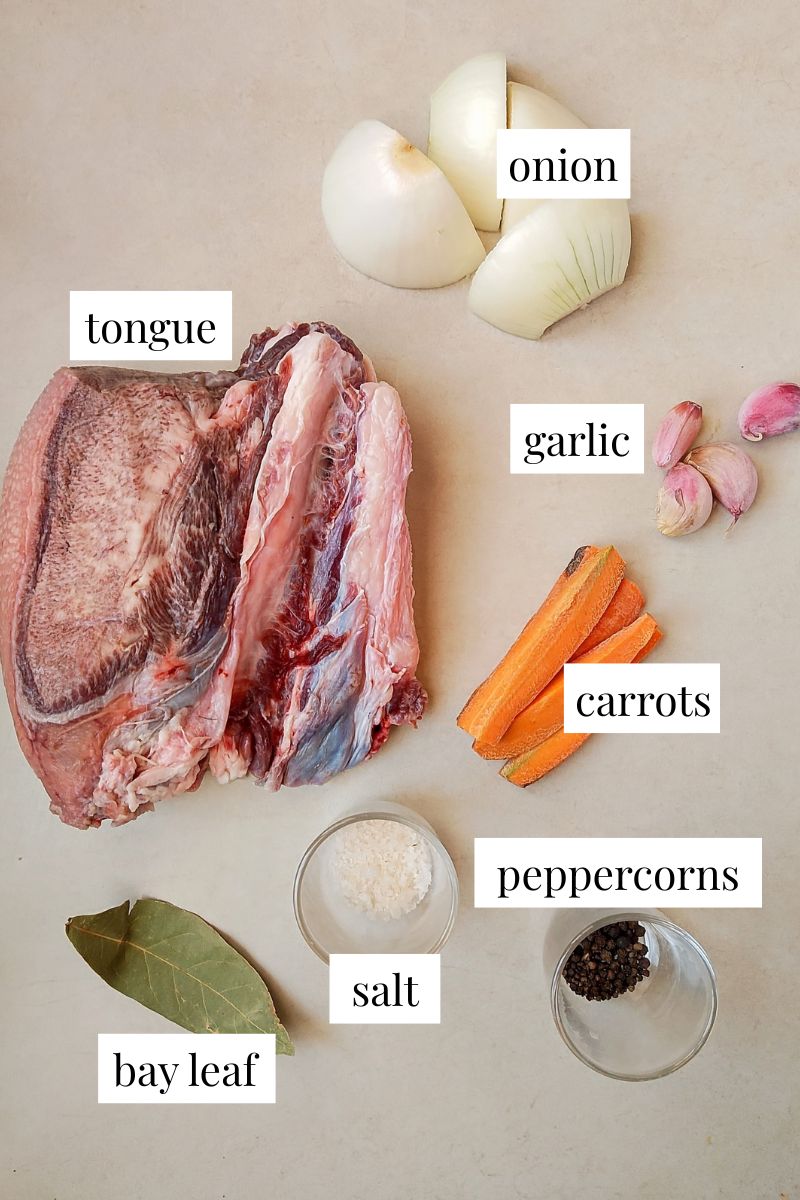
- Tongue: I’m using half a veal tongue here, but this recipe works with either veal or beef tongue, whether you’re cooking a whole tongue or a smaller piece. Cooking times will vary depending on the size, so be sure to check the pressure cooking time chart below for the correct timing.
- Water: You’ll need enough water to partially cover the tongue and create the steam needed for pressure cooking.
- Salt: Don’t be shy with the salt. A generous amount helps season the meat throughout and results in a much more flavorful tongue.
- Optional aromatics: Onion, carrot, garlic, bay leaf, and peppercorns add extra flavor to both the tongue and the cooking liquid, but they’re optional. You can just cook the tongue in water (or broth for more flavor), with plenty of salt added in.
- See the recipe card below for the full ingredient list and exact amounts.
Tools You’ll Need
- Instant Pot or pressure cooker – I’m using my 6 Quart Instant Pot here.
- Tongs or two wooden spoons – for safely lifting the hot, cooked tongue from the cooking liquid.
- Sharp knife and cutting board – for peeling, trimming, and slicing the tongue after cooking.
How to Cook Tongue in a Pressure Cooker
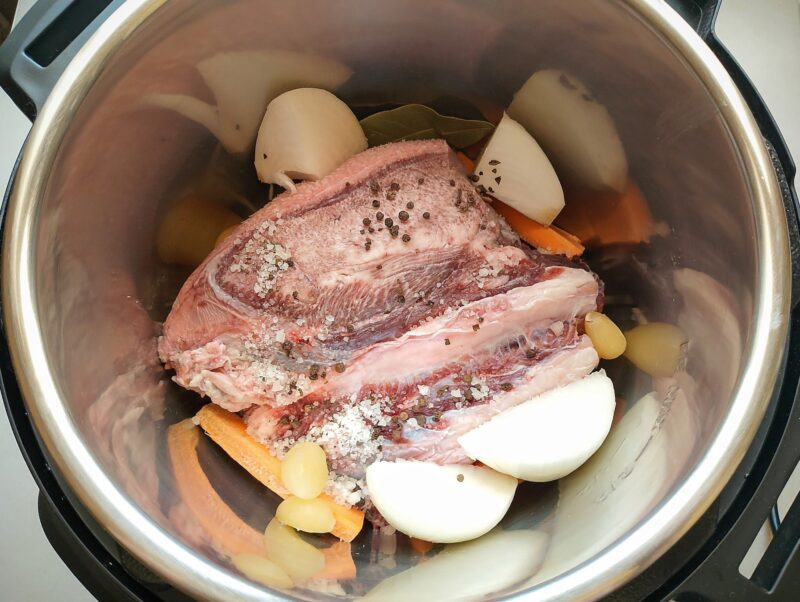
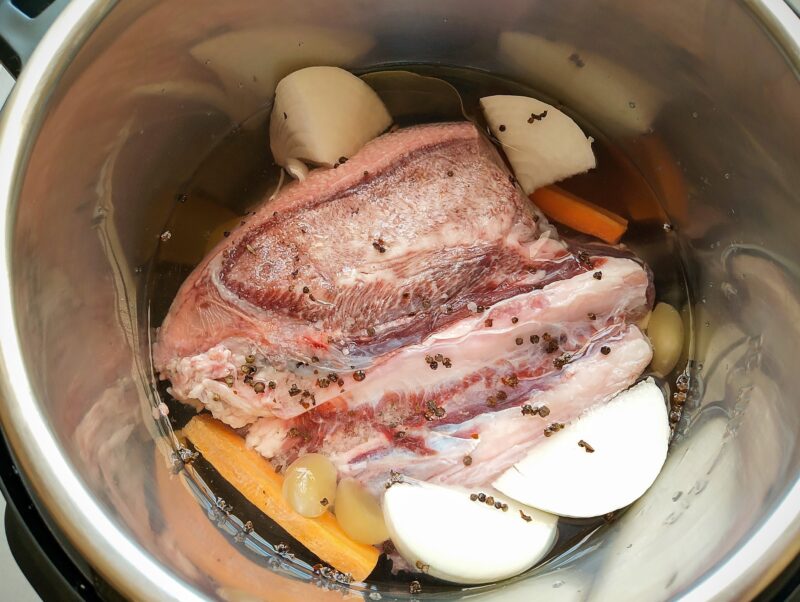
Step 1: Rinse the tongue well. Place the tongue in your pressure cooker along with the aromatics and a generous amount of salt.

Step 2: Add the water next, covering the tongue halfway to two-thirds of the way up. Seal the lid and pressure cook. Cooking times typically range from 45–60 minutes for veal tongue and 75–90 minutes for beef tongue. For this recipe, I used a 2 lb piece of veal tongue and set the timer for 50 minutes. For the most accurate timing, refer to the cooking chart in the section below.
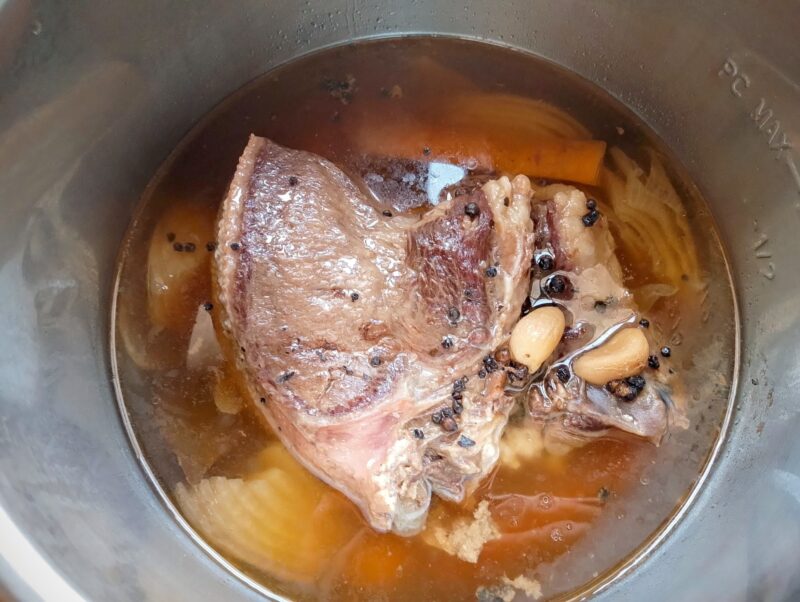
Step 3: Once the cooking time is up, allow the pressure to release naturally for at least 15–20 minutes. This helps the tongue finish gently cooking, keeps it tender and juicy, and makes it easier to handle before peeling.
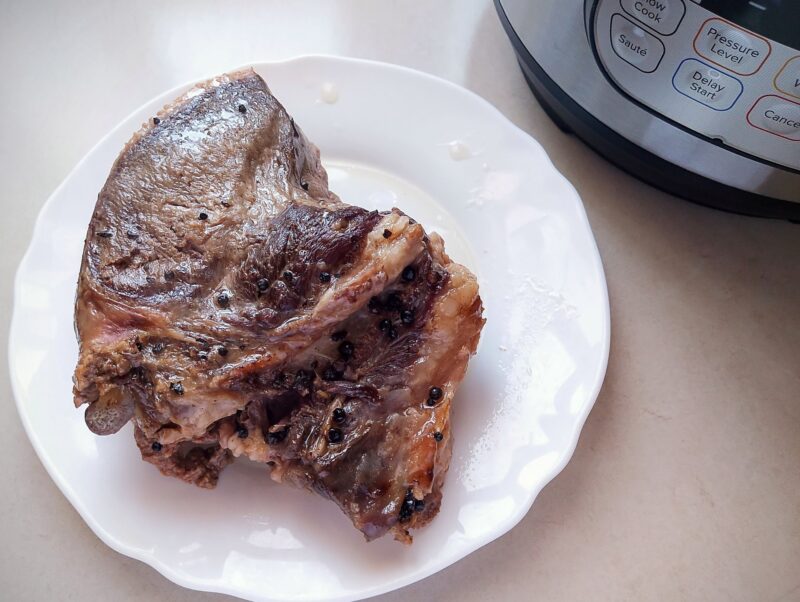
Step 4: Remove the tongue from the pressure cooker while still warm and let it cool just enough to handle safely. This makes it much easier to peel, while still warm enough for the skin to slip off cleanly.

Step 5: Starting at the tip, peel off the outer skin while the tongue is still very warm. If you have cooked it long enough, the skin should slip off easily, often in one large piece. Once peeled, let the tongue chill in the refrigerator for several hours or overnight before slicing—it will firm up and slice much more cleanly and thinly when fully chilled.
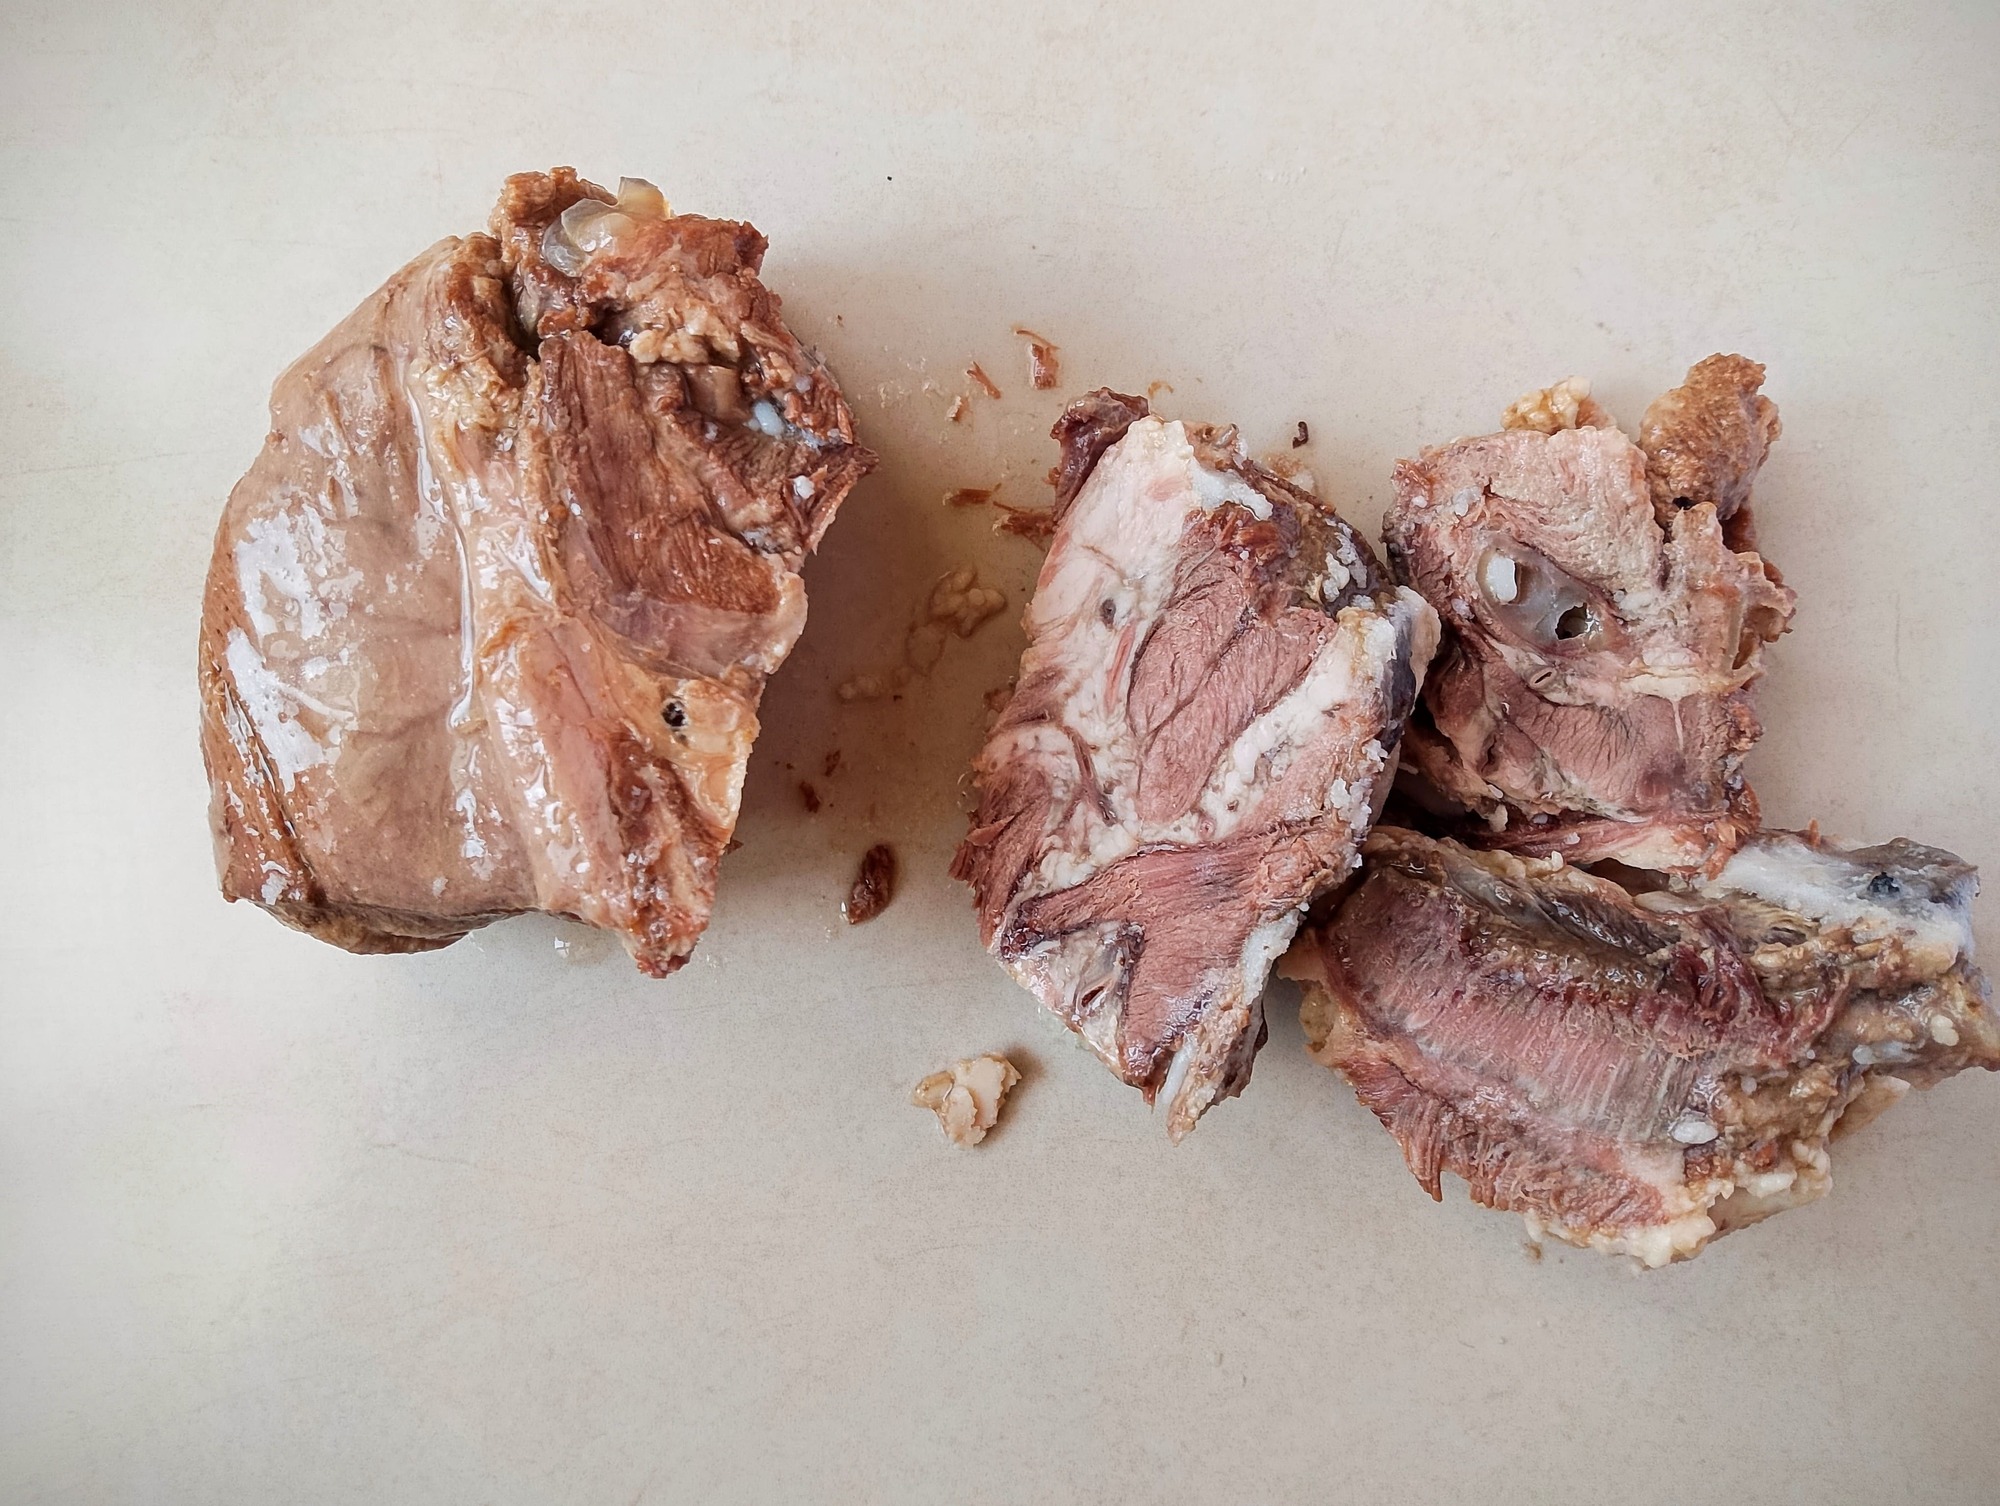
Step 6: Once fully chilled, trim off any rough or fatty bits on the underside of the tongue. These parts don’t slice as neatly for sandwiches, but they’re still perfectly delicious—just cube them up and add them to tacos, breakfast hash, or other simple meals.
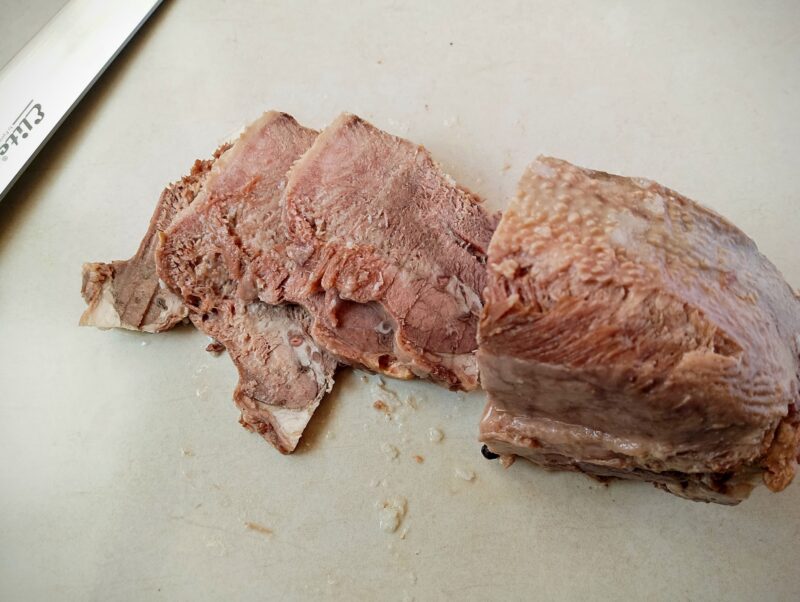
Step 7: For thin, deli-style sandwich slices, cut the chilled tongue very thinly across the grain using a sharp knife for clean, even pieces. For more rustic or casual uses like salads, fillings, or tacos, you can slice it slightly thicker—or simply chop it into small cubes for a softer, more tender, pulled-meat texture.
How Do You Know When Tongue Is Done?
When learning how to cook tongue in a pressure cooker, getting the cooking time right is key. The exact time depends on the weight of the tongue and whether you’re cooking veal or beef tongue. When done, the tongue should be tender and easy to pierce with a knife. Use the chart below to find the correct cooking time for your tongue. All times assume that the tongue is cooked whole, unpeeled, and followed by a natural pressure release.
| Tongue Type | Weight | Tender for Slicing | Very Tender |
|---|---|---|---|
| Veal tongue | 0.5–1 kg | 40–50 min | 55–65 min |
| Beef tongue | 1–1.5 kg | 60–75 min | 80–90 min |
| Beef tongue | 1.5–2 kg | 75–90 min | 90–105 min |
| Large beef tongue | 2–3 kg | 90–105 min | 105–120 min |
For this recipe, I used half a veal tongue weighing approximately 2lb/1kg and I wanted it just tender enough for slicing for sandwiches, so my cooking time was 50 minutes, followed by natural pressure release.
Common Mistakes to Avoid
Not Cooking It Long Enough
Tongue needs plenty of time to become tender. If it’s undercooked, the meat will be tough and chewy, and the outer skin will be difficult to peel away cleanly. You’ll know it’s done when a knife can easily slide into the thickest part. If the tongue still feels firm, simply re-seal your pressure cooker and cook it a little longer.
Letting It Cool Before Peeling
Peel the tongue while it’s still warm. If you wait until it cools completely, the outer skin can become much harder to remove and may stick to the meat. For the easiest peeling, remove the skin as soon as the tongue is cool enough to handle—the skin should slip off easily in large pieces. If you accidentally let it cool first, don’t worry. It’s happened to me before! Simply return the tongue to the hot cooking liquid until warmed through, then peel it right away.
Using Too Little Liquid
Make sure to use enough liquid. The tongue should be mostly submerged, with the liquid coming well up the sides of the meat. This helps it cook evenly, stay moist, and become tender throughout. If there isn’t enough liquid, parts of the tongue may cook unevenly and develop a dry or tough texture.

Serving Ideas
Here are my favorite simple, family-friendly ways to serve tongue. I hope these ideas inspire you to start cooking and serving tongue for your own family!
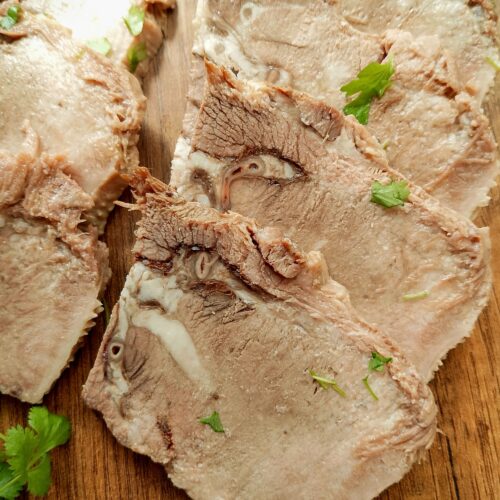
- Thin-sliced sandwiches – Layer cold or warm tongue with mustard, mayo, pickles, or butter on sourdough or rye bread. See my favorite recipe for tongue sandwiches.
- Tongue tacos – Chop finely and serve with soft tortillas, cheese, and mild salsa or avocado.
- Breakfast hash – Dice and fry with potatoes, onions, and eggs for a hearty skillet meal. Try it in my breakfast hash recipe and simply replace chicken hearts with cubed tongue, keeping everything else the same.
- Cold meat platter – Chill, slice thin, and serve like roast beef with pickles, cheese, and bread.
- Wraps or pita pockets – Add shredded tongue with lettuce, cucumber, and a creamy sauce to homemade pita pockets.
How to Store Leftover Tongue
You can store leftover cooked tongue just like any other cooked meat:
- Refrigerator: Let the tongue cool, then store in an airtight container (or wrapped tightly) for up to 3–4 days. Store with a little cooking broth or juices if possible to prevent it from drying out. Alternatively, you can slice it before storing to make it easier to use in quick meals like sandwiches or salads.
- Freezer: Freeze sliced or whole for up to 2–3 months in a well-sealed bag or container. For easier separation, add a layer of parchment between slices. For safety, always defrost it overnight in the refrigerator, not on the counter.
- If you’d like to reheat tongue, warm it gently in a covered pan with a splash of broth or butter so it stays tender and doesn’t dry out.
Recipe FAQ
Final Thoughts
I hope you enjoy cooking tongue in your pressure cooker! I love using my Instant Pot for tougher cuts like tongue because they turn out incredibly tender and juicy every time, and the process is so much faster than slow braising on the stove. Once you’ve pressure cooked your beef tongue, try it in simple family favorites like tacos or deli-style sandwiches.
If you’d like more old-fashioned, real food cooking and cozy homemaking inspiration, I’d love to have you join my weekly newsletter—filled with practical kitchen tips, seasonal recipes, and traditional skills to help you cook with more confidence and ease.
More Organ Meat Recipes From My Kitchen
How to Cook Tongue in Pressure Cooker/Instant Pot
Equipment
- Instant Pot or pressure cooker
Ingredients
- 1 veal or beef tongue whole or part
- Salt generously (about 1 Tbsp for 2lb tongue)
- Optional aromatics: onion, carrot, garlic, bay leaf, peppercorns
- Water enough to cover ½ to ⅔ of the tongue
Instructions
- Rinse the tongue well under cold water. Place it in the pressure cooker with salt and optional aromatics.
- Add water until the tongue is covered halfway to two-thirds.
- Seal and cook for the amount of time specified in the chart below. Timing will vary depending on the weight and type of tongue. It usually takes around 45–60 minutes for veal tongue or 75–90 minutes for beef tongue to pressure cook.
- Allow pressure to release naturally for 15–20 minutes.
- Remove while warm and let cool just enough to handle safely.
- Peel the skin starting at the tip while still warm. The skin should slip off easily.
- Chill the peeled tongue in the refrigerator for several hours or overnight for easier slicing.
- Once well chilled, remove any rough or fatty bits. Slice very thinly for sandwiches or thicker for rustic meals like tacos and salads.
Notes
| Tongue Type | Weight | Tender for Slicing | Very Tender |
|---|---|---|---|
| Veal tongue | 0.5–1 kg | 40–50 min | 55–65 min |
| Beef tongue | 1–1.5 kg | 60–75 min | 80–90 min |
| Beef tongue | 1.5–2 kg | 75–90 min | 90–105 min |
| Large beef tongue | 2–3 kg | 90–105 min | 105–120 min |