How to Make Ricotta From Whey (Easy Homemade Cheese from Leftover Whey)
Making whey ricotta is a quick and simple way to turn something that would normally be discarded into fresh, creamy cheese. It is an easy way to stretch your milk further, reduce waste, and make extra homemade cheese with very little hands-on work. In this post, I’ll show you exactly how to make ricotta from whey, along with my best tips for creamy, flavorful ricotta, plus storage tips and serving ideas so you can turn your homemade whey ricotta into delicious dips, spreads, and pancake fillings.
How to Make Ricotta From Whey (Quick Overview)
- Heat whey gently until near boiling point.
- Watch for curds forming.
- Add lemon juice or vinegar if needed.
- Let rest off heat.
- Strain through cheesecloth.
- Drain to desired texture.
What Is Whey?
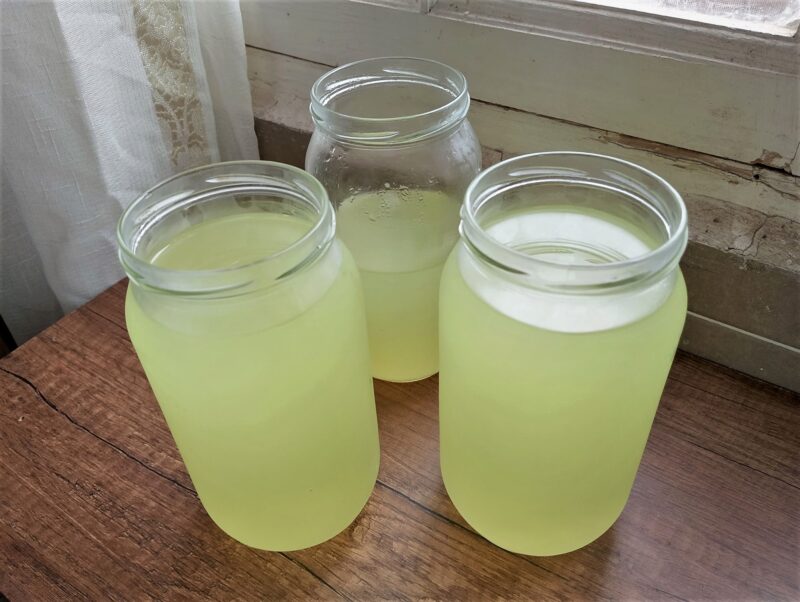
Whey is the liquid left behind after making cheese. It contains water, minerals, and a small amount of milk proteins. If you have ever made cheese at home, you know that no matter what kind of cheese you make — whether it is farmer’s cheese, fromage blanc, halloumi, or cheddar — you always end up with two things: delicious cheese and a LOT of whey.
When you heat whey and mix it with a small amount of vinegar (or another acid), the remaining milk proteins coagulate into soft, delicate curds. Those curds are what create whey ricotta.
What Kind of Whey Works Best for Ricotta?
Sweet whey from rennet-set cheeses works best for making whey ricotta because it still contains enough proteins to form fluffy, tender curds. You can still use acid whey from yogurt, kefir, or cheeses made with lemon juice or vinegar, but the ricotta yield is usually smaller.
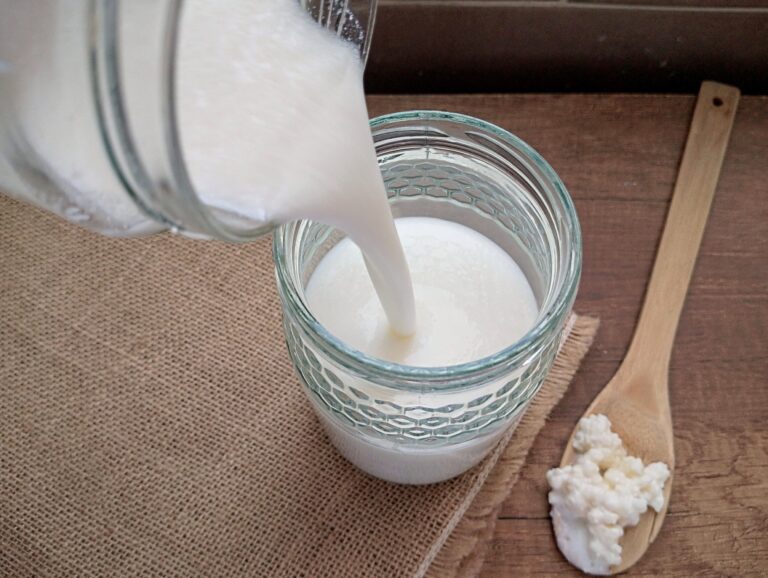
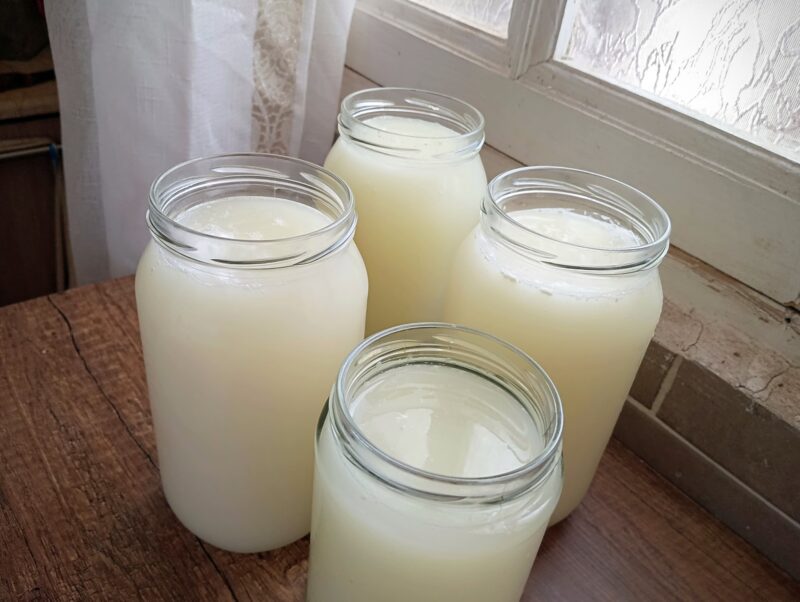
That said, I usually make ricotta from whatever whey I have on hand, and it is often a mixture from several cheesemaking projects. The whey in the photo below came from rennet cheese as well as quark and fromage blanc. You do not need to stick to just one kind of whey. That batch gave me about 1½ cups of ricotta from 1 gallon of whey.
Ingredients
- 1 gallon (4.5 liters) fresh whey from cheesemaking — you need a fairly large amount of whey to get a decent amount of ricotta. I recommend using at least 2 quarts/liters at a minimum. Anything less usually is not worth the effort. The fresher and sweeter the whey, the better your ricotta yield will be.
- 1–2 tablespoons vinegar or lemon juice
- Salt, to taste (optional)
Tools You’ll Need
You only need a few basic kitchen tools to make whey ricotta:
- Large pot for heating the whey
- Cheesecloth or a clean tea towel
- Ladle or slotted spoon
- Colander
- Large bowl to catch the drained whey
- Thermometer (optional, I rarely use it)
How to Make Ricotta From Whey Step By Step
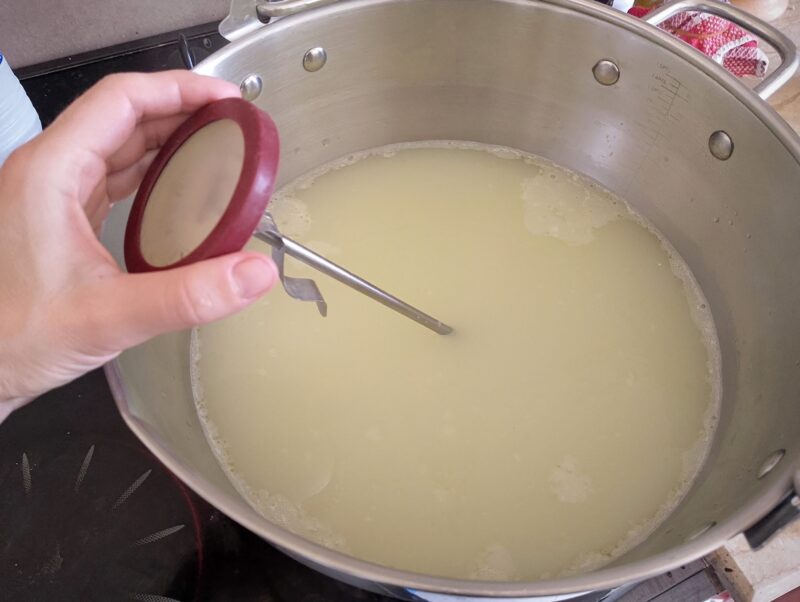
Step 1: Pour the whey into a large, heavy-bottomed pot. Slowly bring it up to about 85–93°C (185–200°F) or near boiling point. Avoid a rapid boil—gentle, steady heating is what you want here to encourage the curds to form properly. Stir occasionally as it heats to prevent the whey from sticking or scorching on the bottom of the pot.
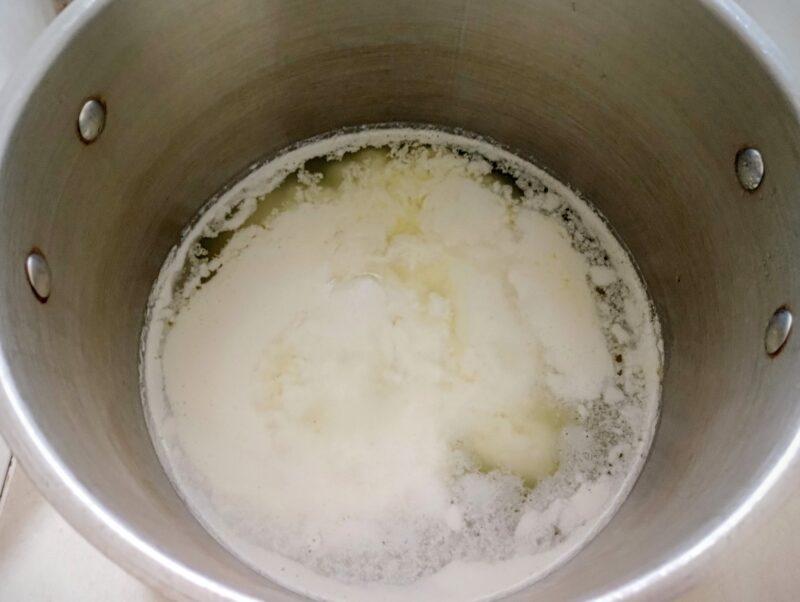
As the whey approaches a near-boil, you’ll start to see fine white clouds rising to the surface — this is your ricotta forming. If it doesn’t separate clearly, add 1–2 tablespoons of vinegar and give it a gentle, brief stir. Remove the pot from the heat and let it sit undisturbed for 10–15 minutes so the curds can fully gather and settle.
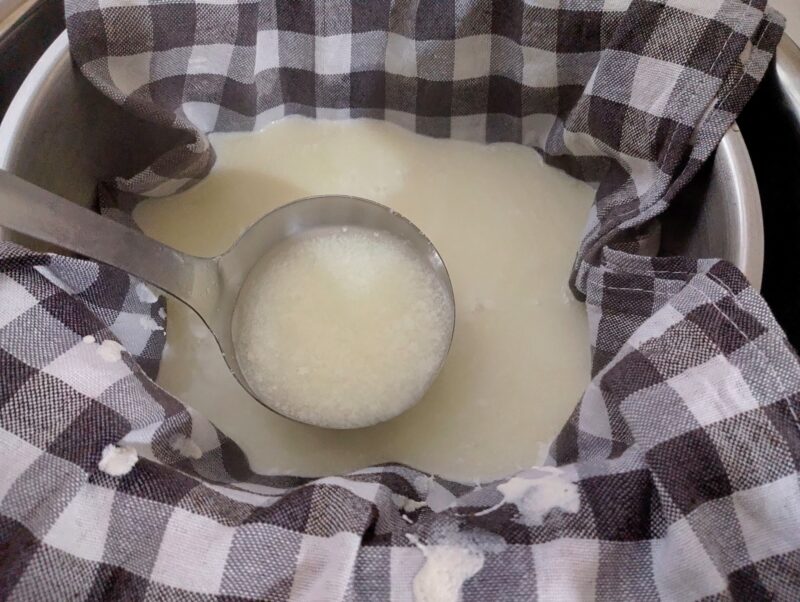
Use a ladle or slotted spoon to gently lift the curds into a cheesecloth-lined colander. Let them drain for about 15 minutes for a soft, spreadable ricotta, or up to 1 hour for a firmer, drier texture.
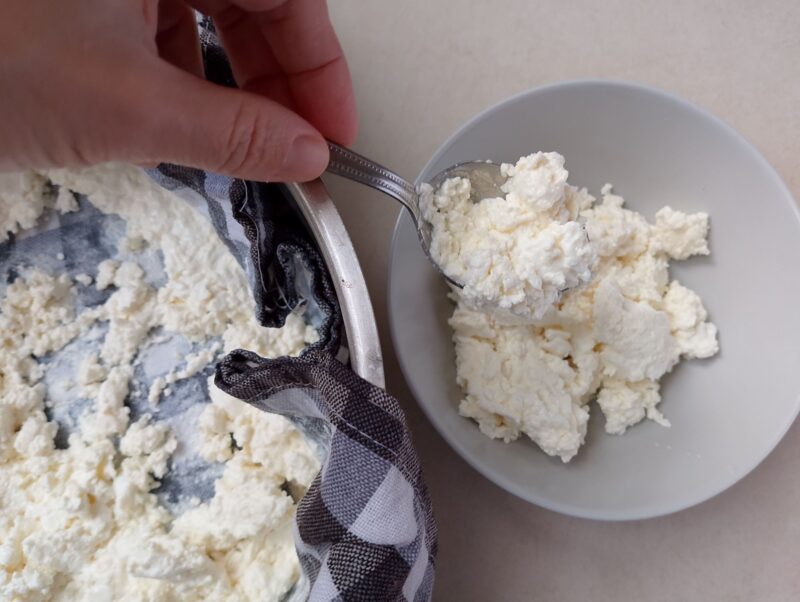
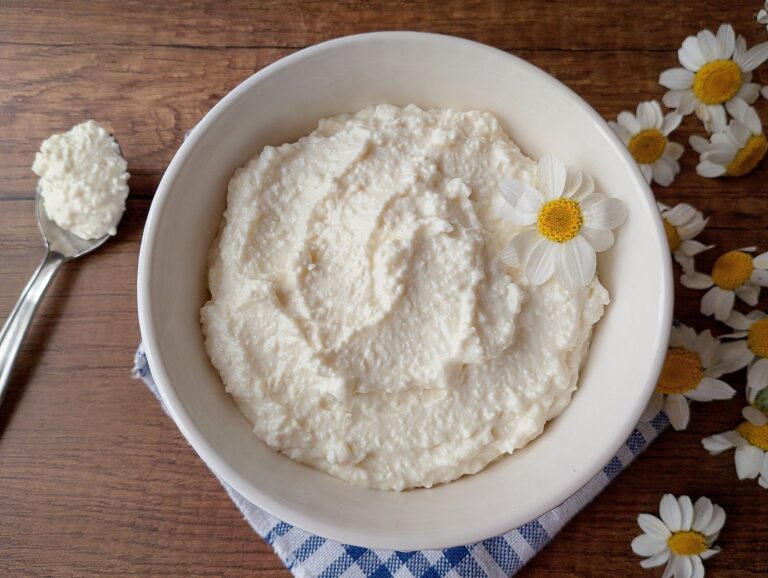
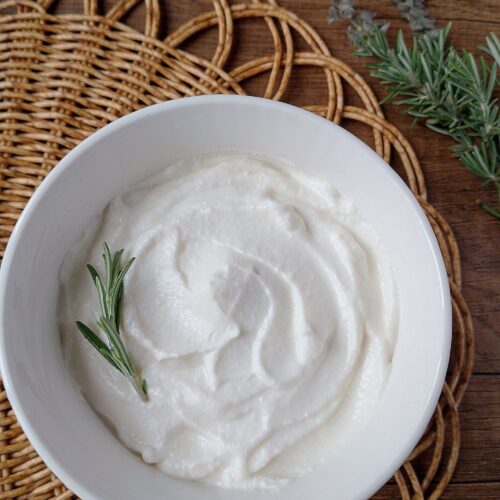
Transfer your ricotta to a serving bowl and stir in a little salt, if desired. You’ll usually get a small amount (often around a cup or less from a large pot of whey) and that’s completely normal, since most of the proteins have already been used in the original cheese the whey came from.
Tips For The Best Whey Ricotta
- For the best separation of curds and whey, heat the whey until it is just below boiling. You do not need a thermometer for this — when the surface looks shimmery and the whey starts to rise, it is ready for the vinegar.
- Do not add more vinegar than necessary. Too much acid can give the ricotta a vinegary flavor and make the curds tough. Once you see fluffy white curds forming and rising to the surface, stop adding acid.
- Avoid overly sour whey if possible. Very acidic whey usually produces a smaller ricotta yield. You’ll get the best yield from whey left after making rennet cheeses.
- Use fresh whey whenever possible. It is delicate, creamy, and at its best shortly after making it. That said, I usually collect whey in the refrigerator for about a week until I have enough for making ricotta, and I still get a decent amount of cheese from it.
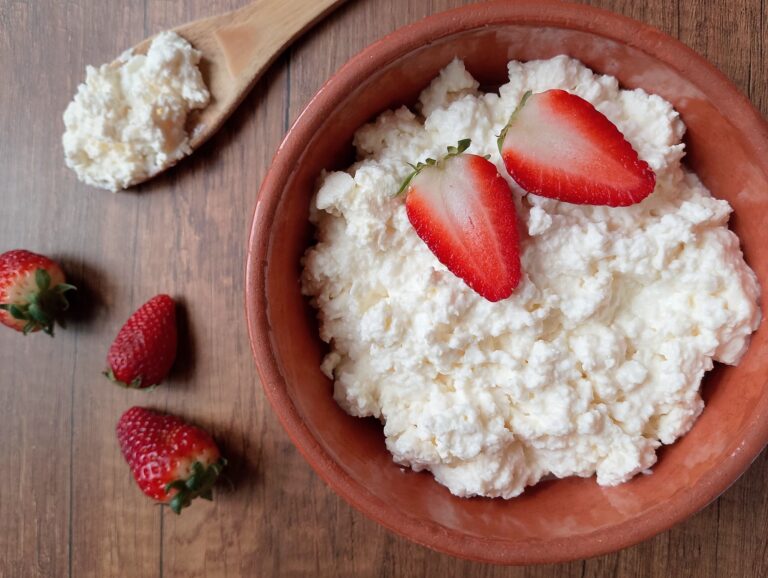
How to Use Homemade Whey Ricotta
- Spread it on sourdough with a drizzle of honey for a simple, delicious snack.
- Stir it into eggs or scrambled dishes for an easy protein boost.
- Fold it into pancake or dumpling fillings.
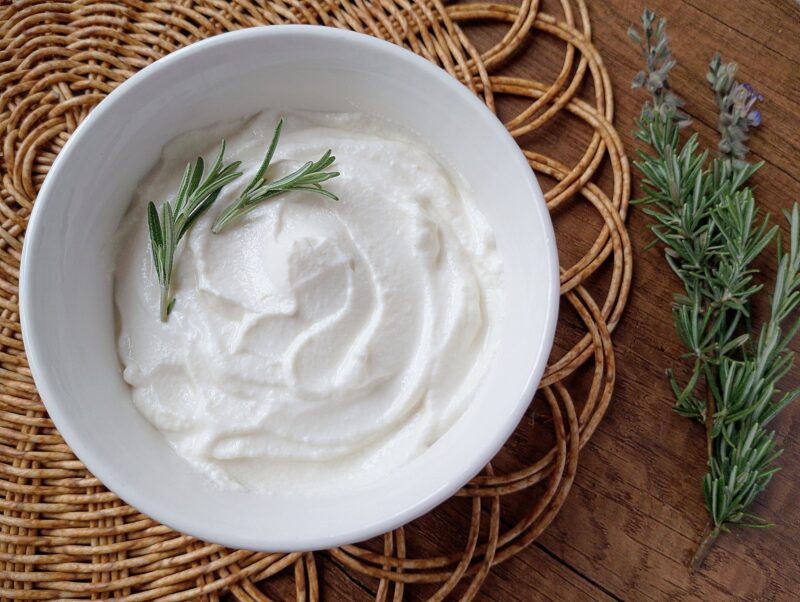
- Mix it with fresh herbs for a simple homemade cheese spread.
- Add it to homemade dips for extra creaminess.
What to Do With Leftover Whey (Don’t Waste It!)
The leftover whey is still very useful in the kitchen. You can use it in bread or pizza dough instead of water, add it to crêpe batter, or even use it for cooking pasta. You can also dilute it and use in the garden as a fertilizer or give as a feed supplement for backyard chickens.
If you want more ideas for using up whey, check out my post on 20 Easy Ways to Use Whey.
Recipe FAQ
Storage Tips
Store whey ricotta in an airtight container in the refrigerator and use it within 3–5 days for the best flavor and texture. Whey ricotta is delicate and is best enjoyed fresh. If it becomes watery during storage, simply pour off the excess whey or give it a gentle stir before using.
Final Thoughts
I hope you enjoyed making your whey ricotta! I usually like to add any leftover whey to bread or pizza dough, but this ricotta recipe is especially useful for times when you have more whey than you know what to do with. It gives you a mild, creamy cheese with very little extra work involved.
If you loved this recipe, come back and leave a 5-star rating! And for more old-fashioned real food recipes, tips, and homemaking inspiration, subscribe to my weekly newsletter.
More Simple Raw Milk Cheeses
Whey Ricotta
Equipment
- Large pot
- ladle or slotted spoon
- Cheesecloth or cotton tea towel
- colander
- Large bowl (to catch the whey)
Ingredients
- 1 gallon (4.5 liters) whey
- 1-2 Tbsp vinegar
- A pinch of salt (optional)
Instructions
- Pour the whey into a large, heavy-bottomed pot. Slowly heat it to about 85–93°C (185–200°F) or near boiling point, avoiding a rapid boil. Stir occasionally as it heats to prevent scorching on the bottom.
- As the whey nears a boil, watch for fine white clouds rising to the surface — this is your ricotta forming. If it does not separate well, add 1–2 tablespoons of vinegar and give it a gentle stir. Remove from the heat and let it sit undisturbed for 10–15 minutes so the curds can fully gather.
- Line a colander with cheesecloth and gently ladle or spoon the curds into it. Allow them to drain for about 15 minutes for a soft, spreadable ricotta, or up to 1 hour for a firmer texture.
- Transfer the ricotta to a serving bowl and stir in a little salt, if desired. Use immediately or store as needed.
Notes
- You’ll get a small amount of ricotta from whey (often just a cup or less from a big pot of whey). This is normal as most of the milk proteins have already been used in the first cheese.
- Store whey ricotta in an airtight container in the refrigerator and use it within 3–5 days for the best flavor and texture.