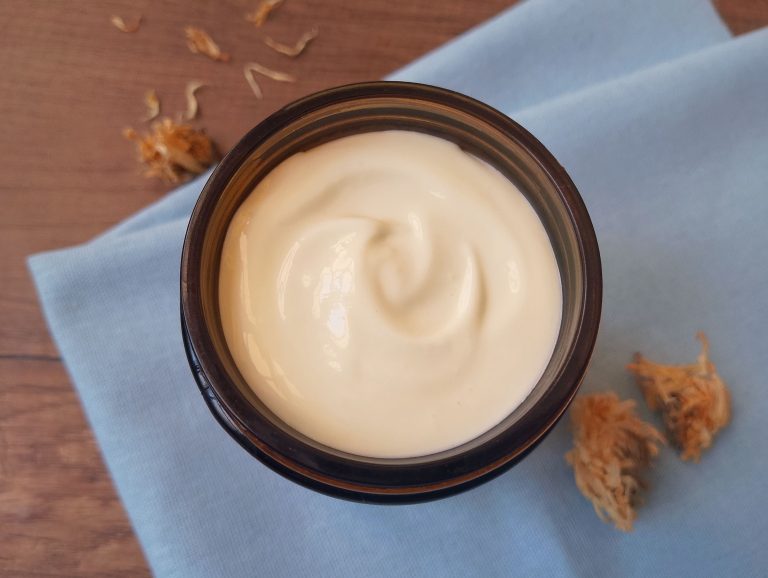
How to Make Cold Process Coconut Oil Soap: Easy, Hard Bars Every Time
Soapmaking is one of those old-fashioned kitchen crafts I truly love. For years I made soap using the hot process method, and it worked so well that I didn’t try cold process soapmaking until we moved to North Africa and I no longer had a slow cooker — a key tool for hot process soap. Once I switched, though, cold process quickly became my favorite. The silky texture, the gentle cure, and the ability to use artistic techniques like swirling or embossing make it such a satisfying craft.
If you enjoy creating simple, wholesome things from scratch, you’ll fall in love with cold process soapmaking too. And with this cold process coconut oil soap recipe — made with just three ingredients (coconut oil, lye, and water) — you can create a hard, bubbly bar of soap entirely with your own hands.
What Makes Cold Process Soap Unique?
There are two main methods for making soap at home — cold process and hot process — and each has its own pros and cons. When I first learned to make soap, I used the hot process method. It requires a slow cooker to keep the emulsified soap batter heated, but the big advantage is speed: you can have a usable bar within about 24 hours.
Cold process soapmaking, on the other hand, involves no added heat beyond melting any solid oils in your recipe. This method gives you the most control over the soapmaking process and produces smooth, beautiful bars. It’s also the best option if you want your soap to retain its added scent as well as possible. The trade-off is time — cold process soap needs a 4–6 week cure before it’s ready to use. So if you need soap tomorrow, hot process is the quicker choice.
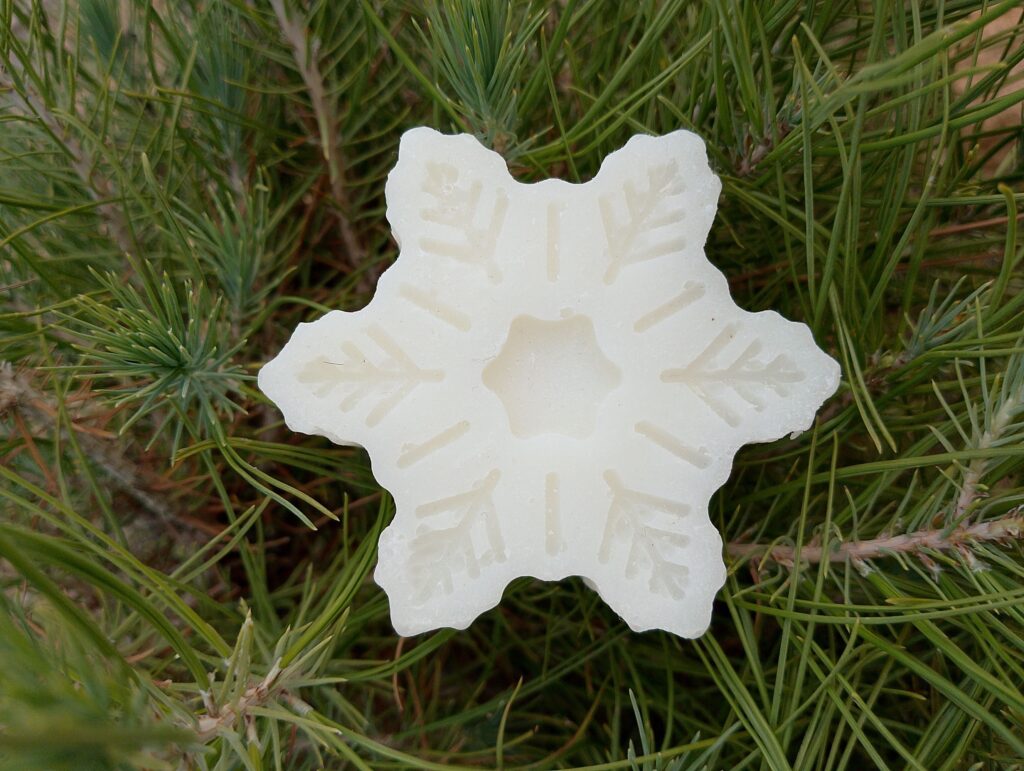
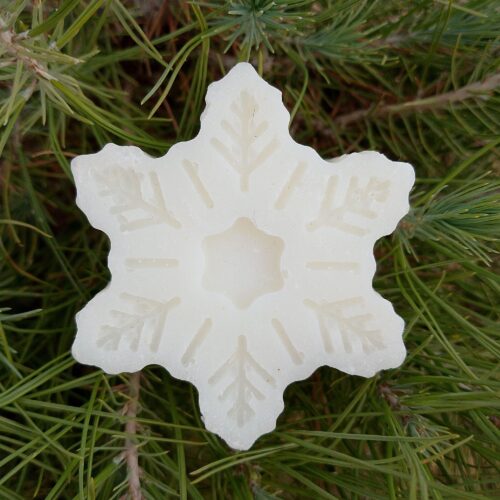
In this tutorial, I’m using the cold process method because I’m working with snowflake-shaped molds and want the bars to come out smooth and gift-worthy. But I’ve made this exact recipe using the hot process method as well, so if you prefer that approach, feel free to use it.
Why Use Coconut Oil in Soap?
Coconut oil is a wonderful addition to handmade soap because it brings excellent cleansing power, creates a rich, bubbly lather, and helps the final bar stay hard and long-lasting. Its cleansing properties do mean it can be a bit drying on its own. That is why most soapmakers balance it with more conditioning oils or increase the superfat. In this recipe, the higher superfat keeps the bar gentle while still giving you all the benefits of a coconut oil soap.
Understanding a 100% Coconut Oil Soap Formula
Coconut oil is the most cleansing of all the oils used in soapmaking. It removes dirt, sweat, and buildup incredibly well — even in hard water. That is why it’s often the main ingredient in handmade laundry soaps. Used on its own, though, it can feel drying unless the recipe is properly superfatted. My coconut oil soap uses a 10% superfat, meaning a small portion of the oil is left unsaponified in the final bar. This extra oil stays on the skin to add gentleness and moisture. The result is a coconut oil soap with a balanced mix of cleansing and conditioning qualities, gentle enough for everyday use on hands and body.
Soapmaking Equipment
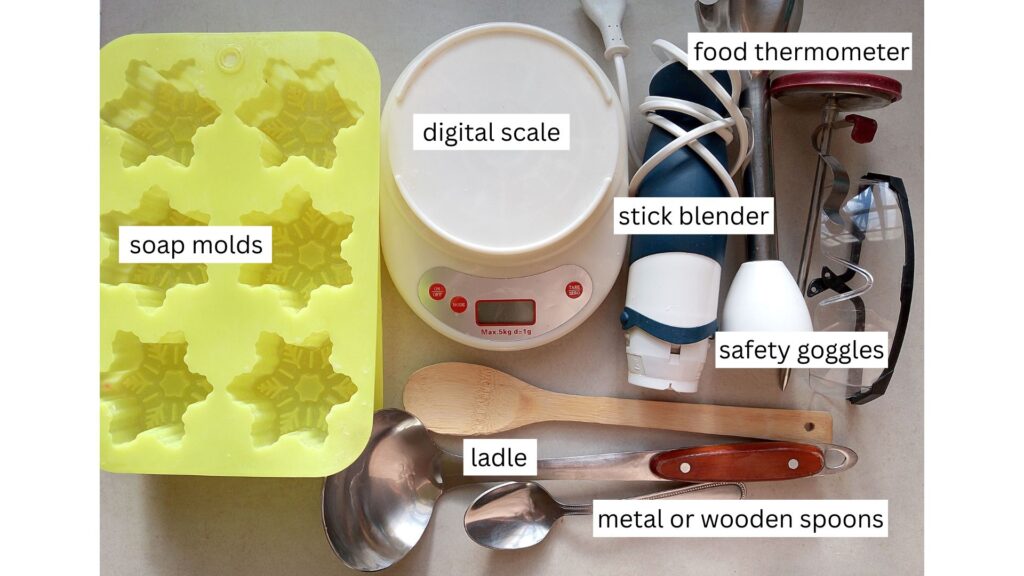
- I always forget to add one thing to the equipment photo – this time it is rubber gloves. You will need those to protect your hands when working with lye.
- Digital scale for weighing out the ingredients. Exact measurements (especially of the amount of lye) are important in soap making.
- Safety goggles to protect your eyes when mixing lye solution. Accidental splashes can occassionally happen – if you do get splashed with lye, dab the spot with white vinegar.
- Metal or wooden spoons for measuring out the lye and mixing the soap.
- Stick blender for blending the soap until it reaches trace.
- Ladle to transfer the liquid soap into molds for hardening.
- Soap molds: you can use silicone molds, wooden molds, or a simple shoebox lined with baking paper. If you do use a cardboard box, you will need to cut your soap into bars after 24-48 hours of pouring it into the mold. Cut it as soon as it becomes hard enough to be removed from its mold. Otherwise it may become too hard to cut.
- Pots and other containers: Use a stainless steel pot for making the soap, and either glass, sturdy plastic or steel container for mixing the lye. Avoid aluminium which is a reactive metal.
Ingredients
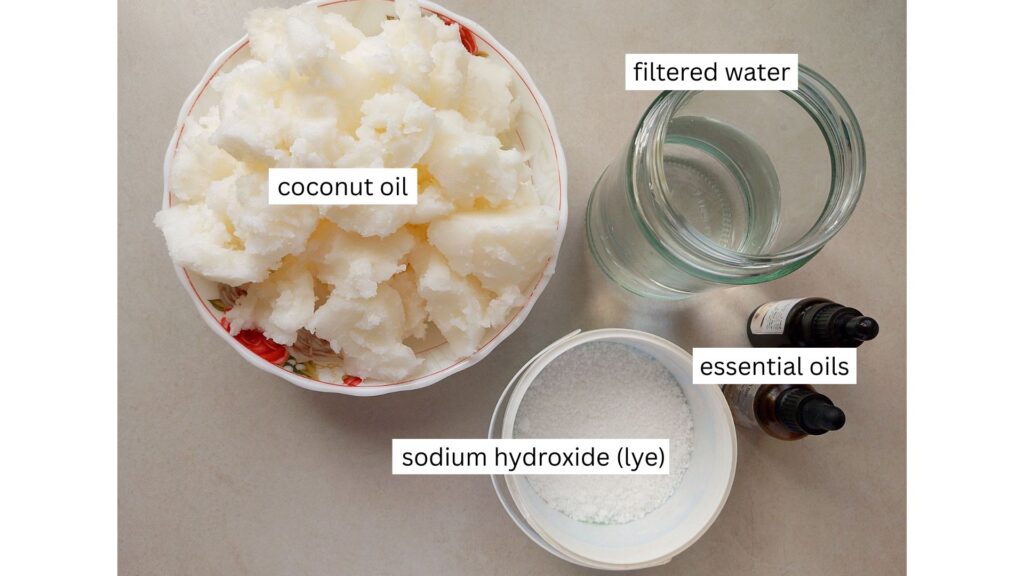
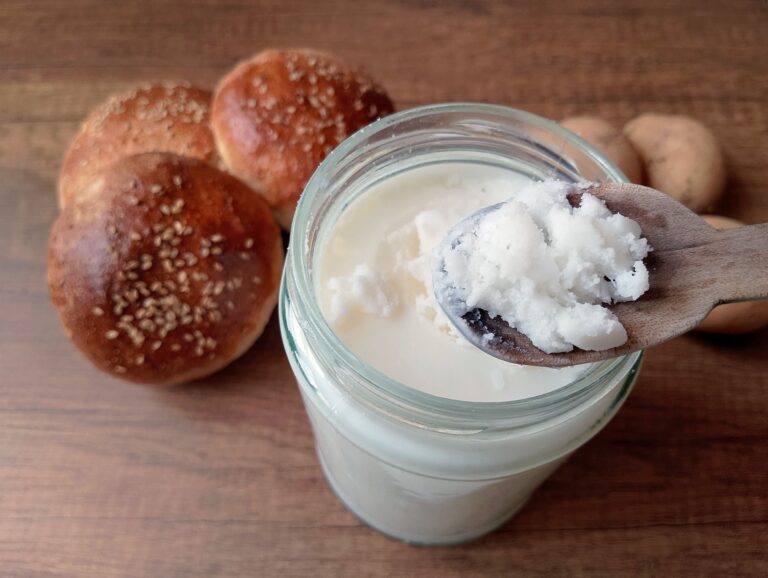
- I always use refined coconut oil for soapmaking. It’s much more affordable, and I have read that it gives more consistent results than virgin coconut oil. That said, if virgin coconut oil is what you have on hand, you can absolutely use it in this recipe. The soap will still turn out beautifully. I simply stick with refined oil because making soap for a whole family can get expensive fast if I’m using premium virgin oils. Virgin coconut oil is wonderful for lotions and balms. However, for soapmaking purposes, refined coconut oil is the more practical choice.
- For a scented bar soap, use 1 ounce of your favorite essential oil in this recipe. If you want to make your soap winter-themed like mine, I recommend 0.5oz of frankincense essential oil and 0.5oz cedarwood essential oil. You can also leave your soap unscented if you prefer.
How to Make 100% Coconut Oil Cold Process Soap
Safety note: Safety is important when making soap. Be sure to wear gloves, goggles, and long sleeves. Work in a well-ventilated area. Get someone to watch your kids or pets while you work – you should not be disturbed while making soap.
Step 1
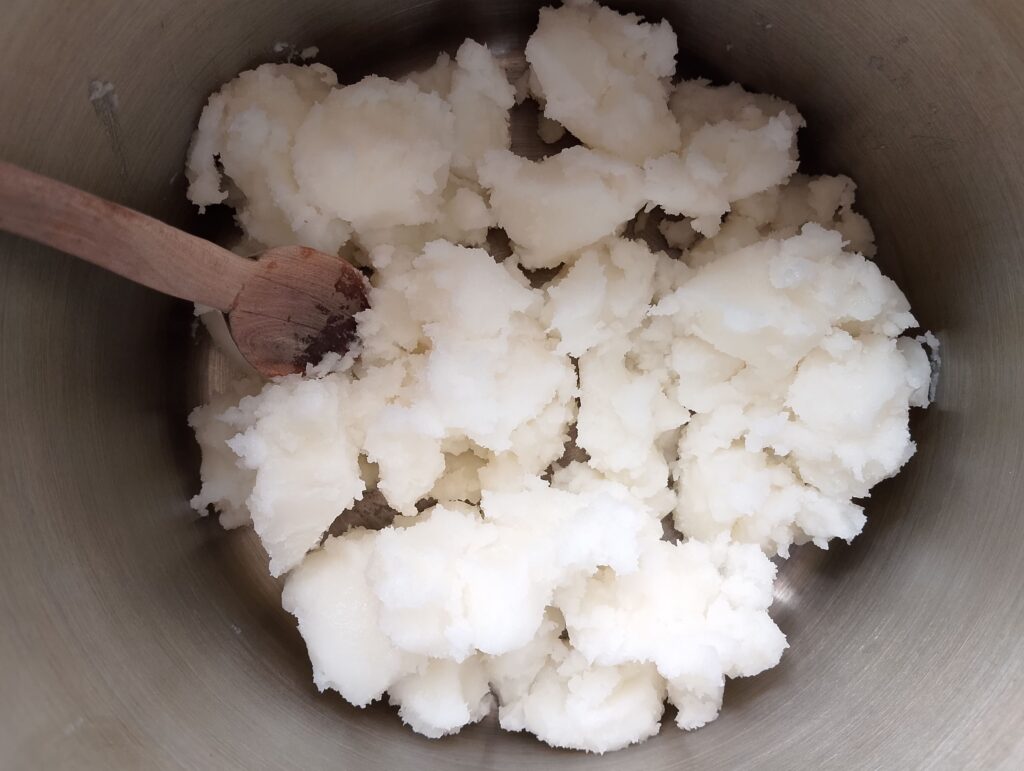
Place the coconut oil in a medium stainless steel pot and warm it over low heat until it’s fully melted. Stir occasionally to help the solid pieces break down evenly. Once the oil is completely clear and liquid, remove the pot from the heat and set it aside.
Step 2
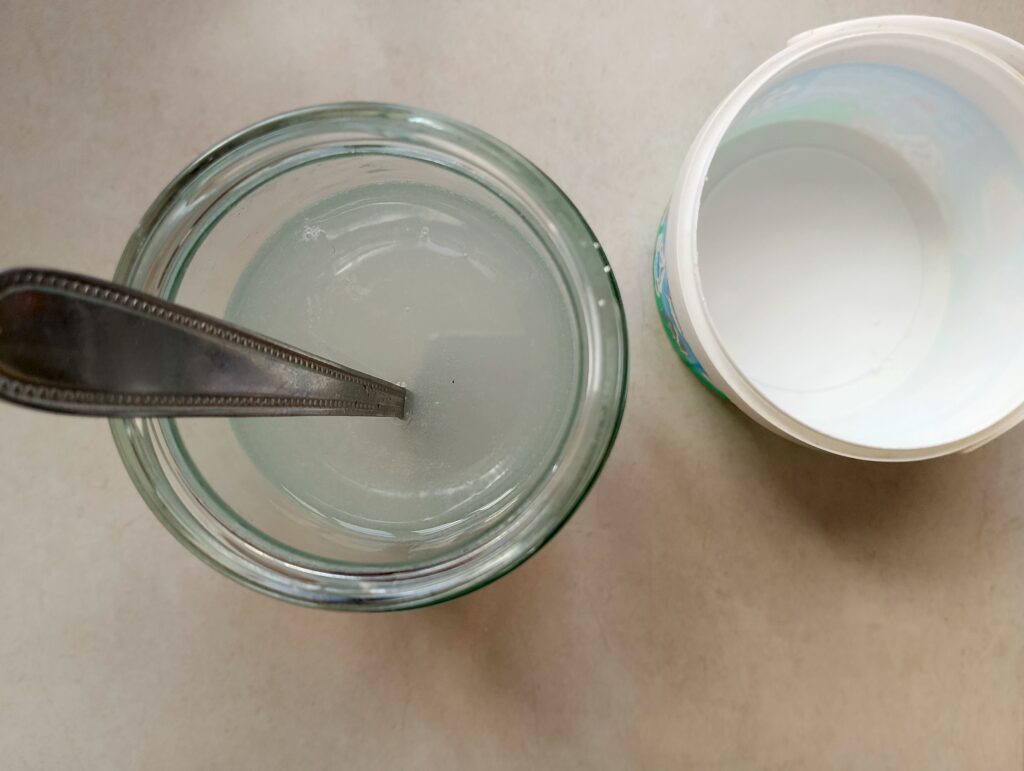
While the coconut oil is melting, you can preparethe lye solution. Either go outside or stand by an open window, and wearing gloves and goggles, slowly sprinkle the lye into the water (never the other way around), stirring gently until it is fully dissolved. The mixture will release strong fumes at first, so keeping your face back and avoiding direct inhalation is important. Once the lye has completely dissolved, the solution can be brought back inside and set aside to cool.
Step 3
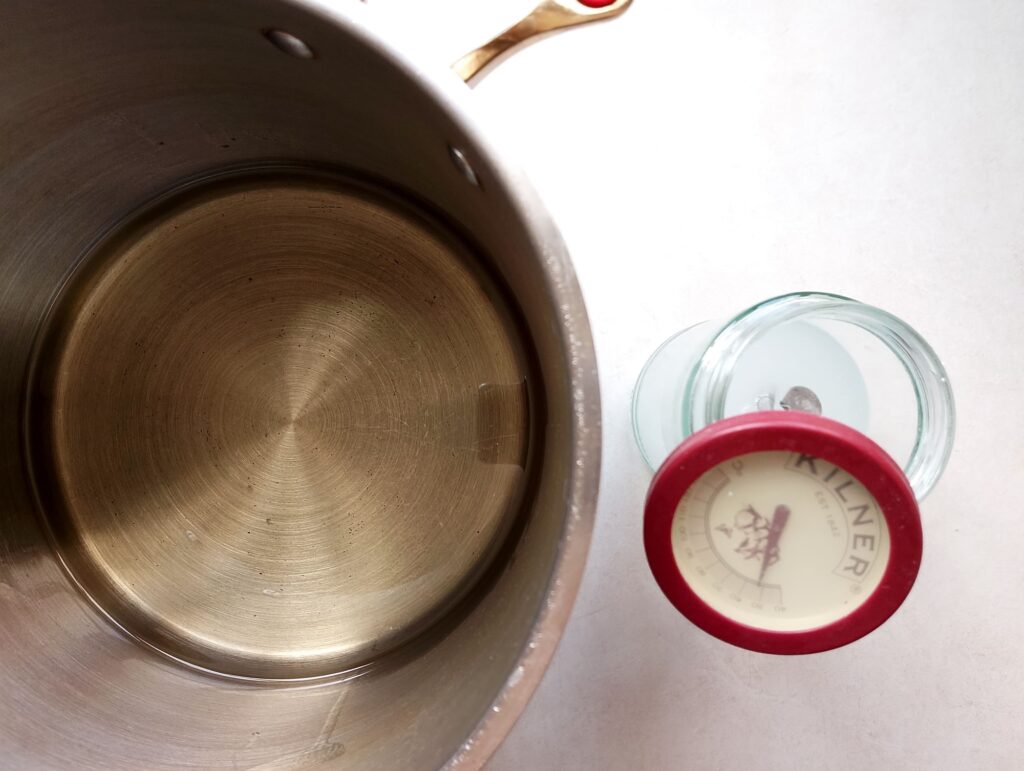
Allow both the melted coconut oil and the lye solution to cool until theyare both about 37–43°C (100–110°F). They don’t need to match exactly, but they should fall within this window before being combined. If you’re using just one thermometer, simply wipe it clean and dry as you move between checking the oil and the lye solution.
Step 4
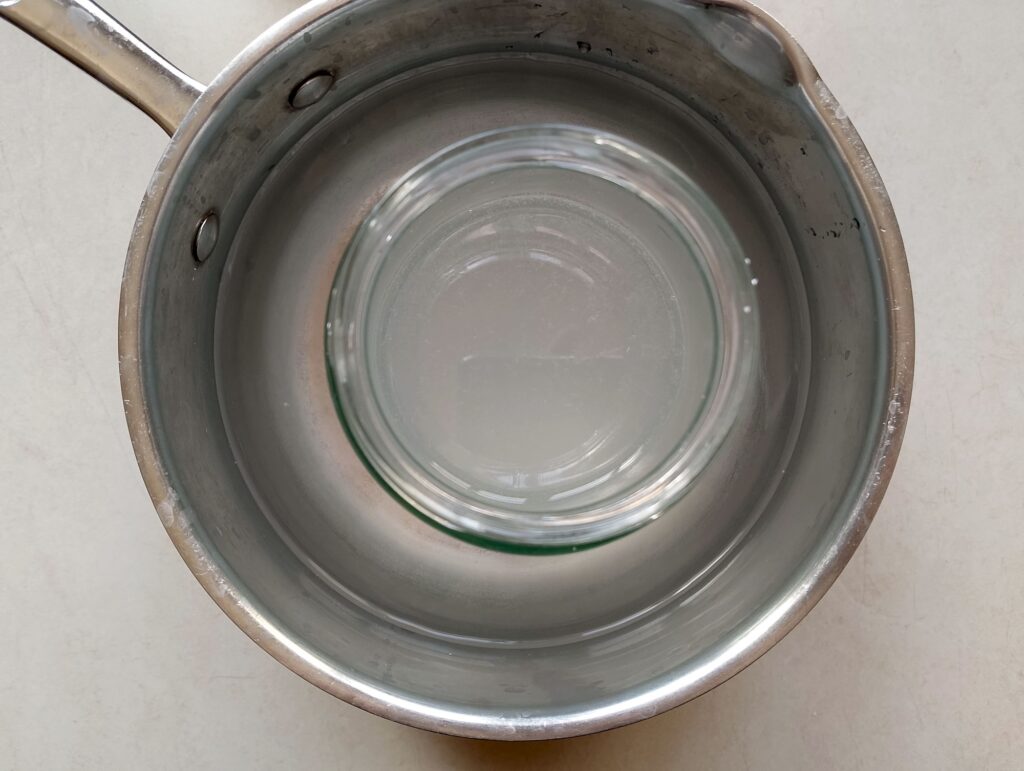
You’ll often notice that either the oils or the lye solution cools more quickly than the other. You can gently adjust the cooling speed by placing the container in warm or cold water as needed. In my case, the lye solution was cooling more slowly than the oil, so I set the jar into a saucepan filled with cold water to help bring the temperature down.
Step 5
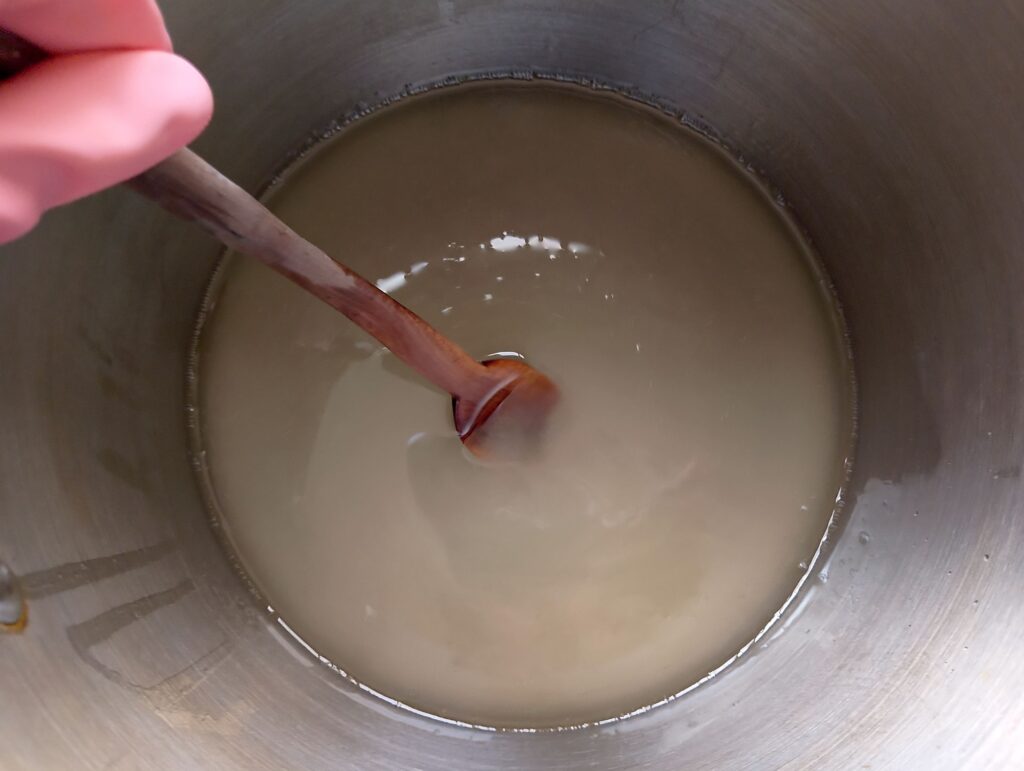
Once both the coconut oil and the lye solution have cooled to about 37–43°C (100–110°F), the lye solution can be gently stirred into the pot of melted oil. The mixture will turn creamy and opaque — this usually happens within seconds.
Step 6
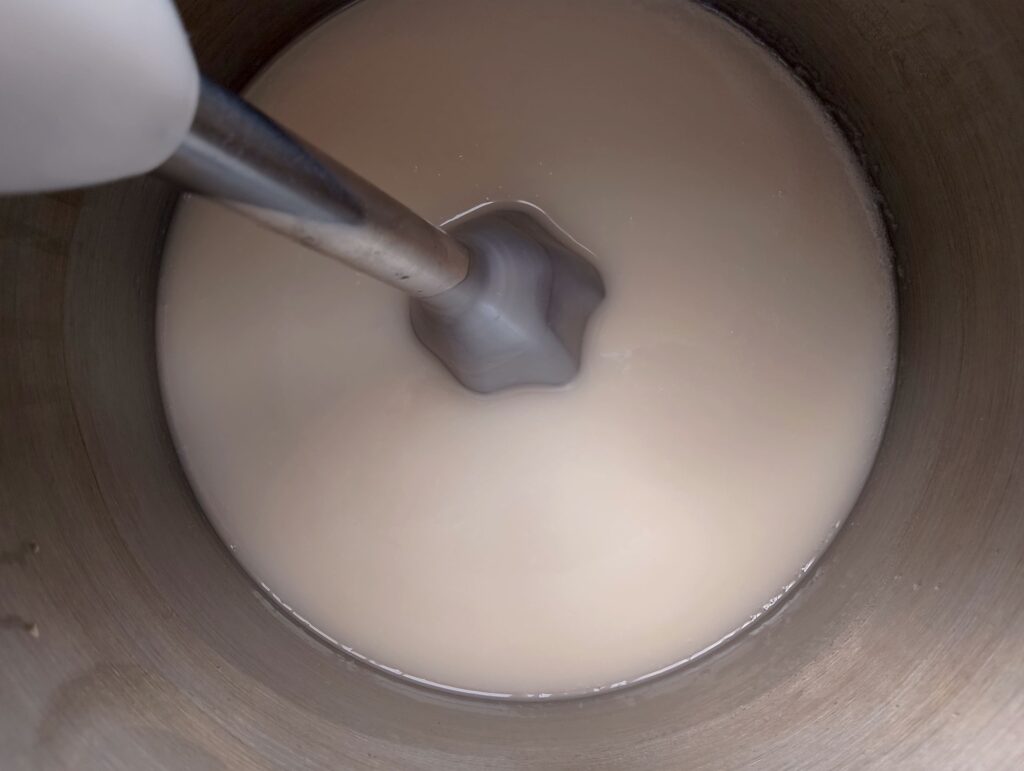
Insert the stick blender into the soap mixture and blend until it reaches a light trace. There’s no need to blend continuously — alternate between short bursts of blending and gentle stirring with the blender for a couple of minutes at a time. When the mixture thickens slightly and a thin trail stays on the surface for a moment when drizzled back into the pot, the batter has reached trace. At this stage, any essential oils being used can be blended in. The soap batter is now ready to be poured into molds.
Step 7
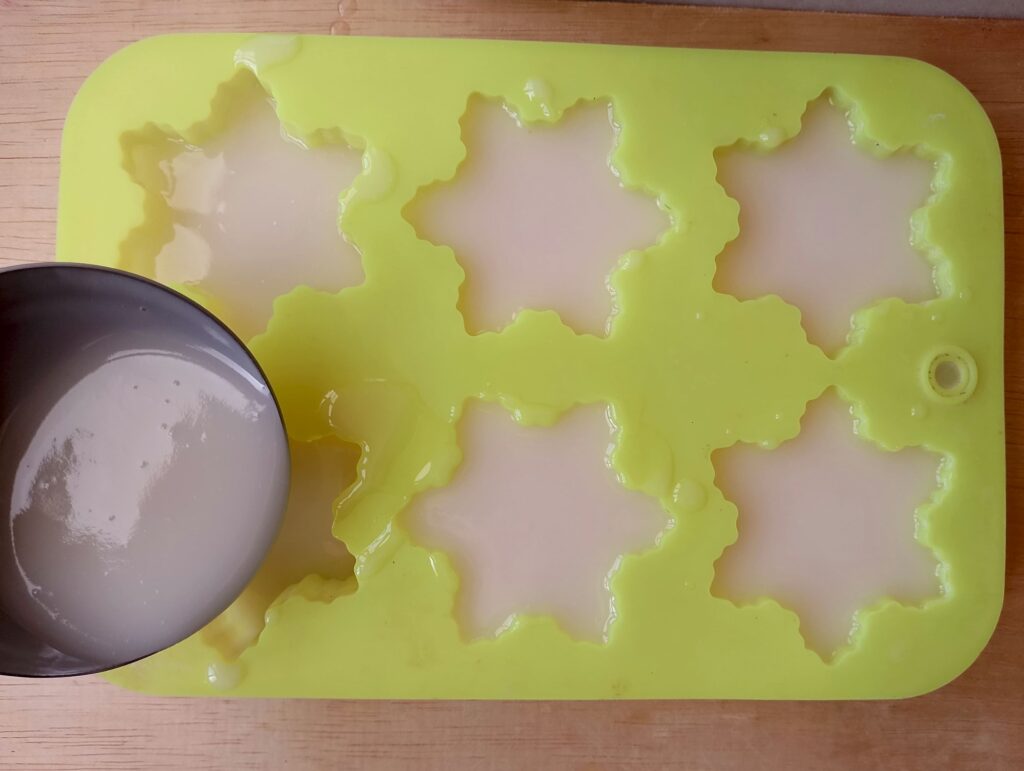
If you’re using silicone molds, set them on a large, sturdy tray. Using a ladle, carefully pour the soap into each mold. Avoid overfilling — leave a little space at the top to prevent the soap from spilling over.
Step 8
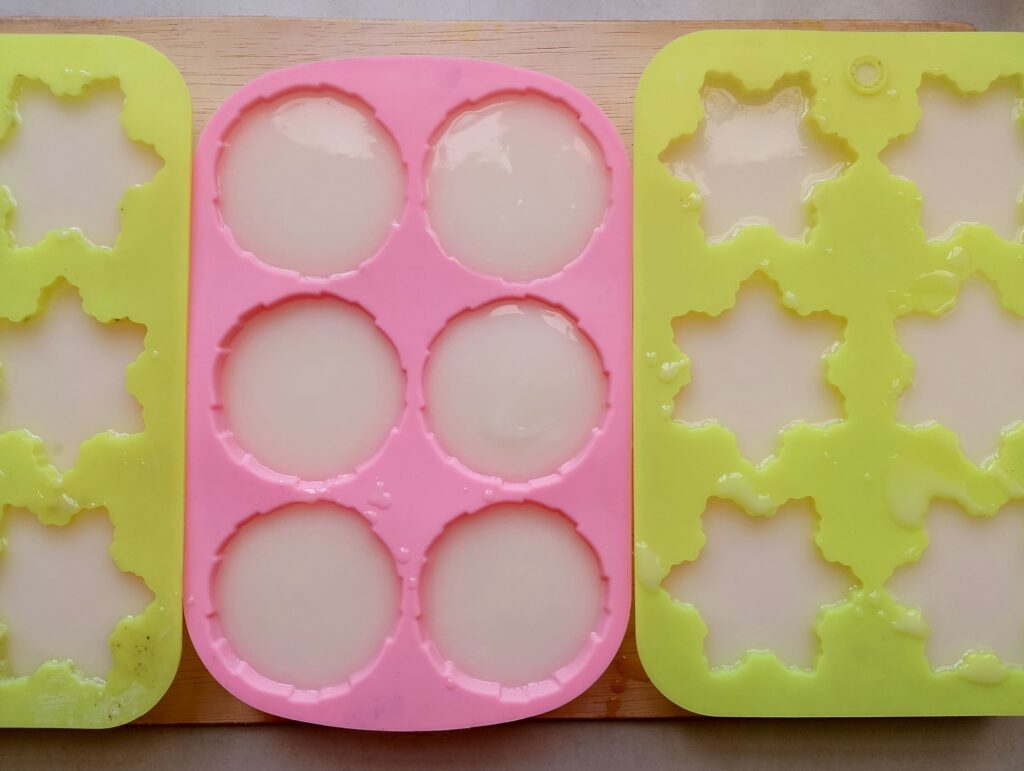
Gently cover your molds with a large piece of plastic wrap or a sheet of baking paper. Then, drape a thick towel or blanket over them to provide insulation.
Step 9
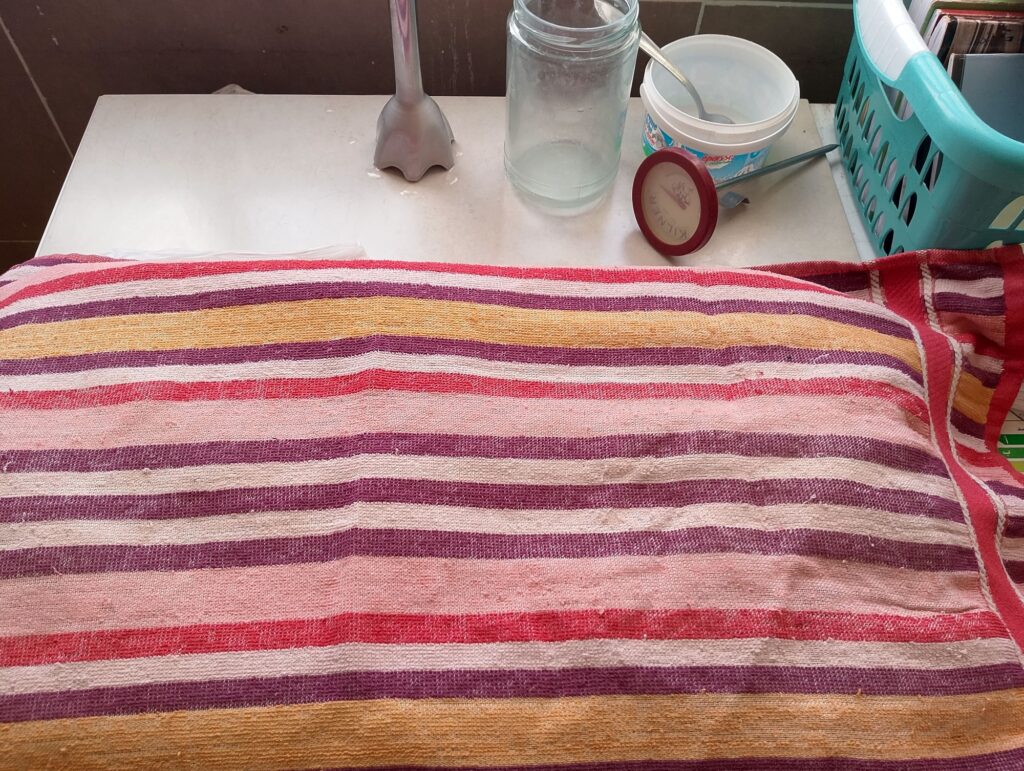
Insulating the soap helps prevent it from cooling too quickly and allows it to go through the gel phase properly. Leave the insulated soap undisturbed for 24 hours — moving the molds during this time could cause the liquid soap to spill. Be sure to wash all your tools immediately with plenty of hot, soapy water. Soap residue hardens quickly and can be very difficult to remove later. It’s best to wash by hand, as placing soapy pots and utensils in the dishwasher could cause clogs.
Step 10
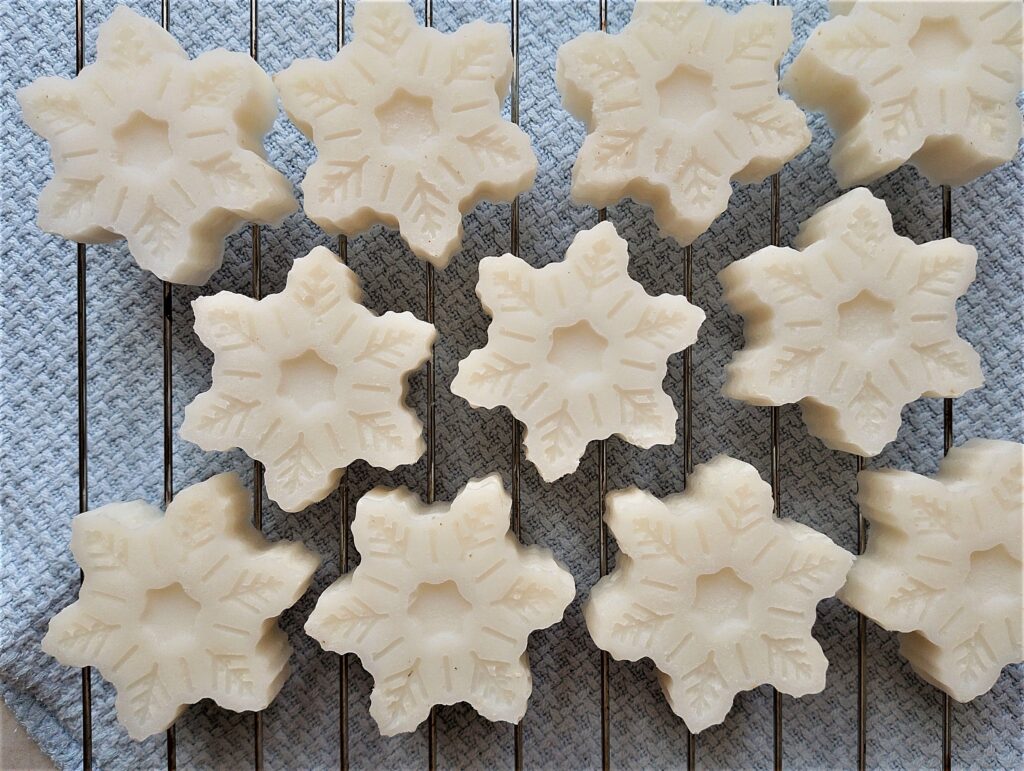
After 24 hours, check on your soap. If you’re using wooden or cardboard molds and need to cut your soap into bars, do so as soon as it is firm enough — pure coconut oil can harden very quickly, so don’t wait too long. Soap in silicone molds may take longer to solidify. For me, it took a full five days before I could remove the bars without accidentally squishing them. Once your bars are out of the molds, place them on a rack or a sturdy piece of cardboard and let them cure in a dry, cool area with good airflow for 4–6 weeks.
When Will My Coconut Oil Soap Be Ready?
- Pure coconut oil soap hardens really fast. If you are using a wooden soap mold or a cardboard box mold, the soap will be ready to remove within 24-48 hours. Don’t wait too long – if it gets too hard, it will be almost impossible to cut into neat bars. If like me you use a silicone mold, it may take a few days more for it to harden. My soap was ready to come out of the molds on day 5.
- For the best quality soap, let your bars cure on a rack or a piece of sturdy cardboard for the full 4-6 weeks. This will give you a hard, long-lasting bar, gentle on the skin, and with a great lather.
Storage, Shelf Life & Usage Tips
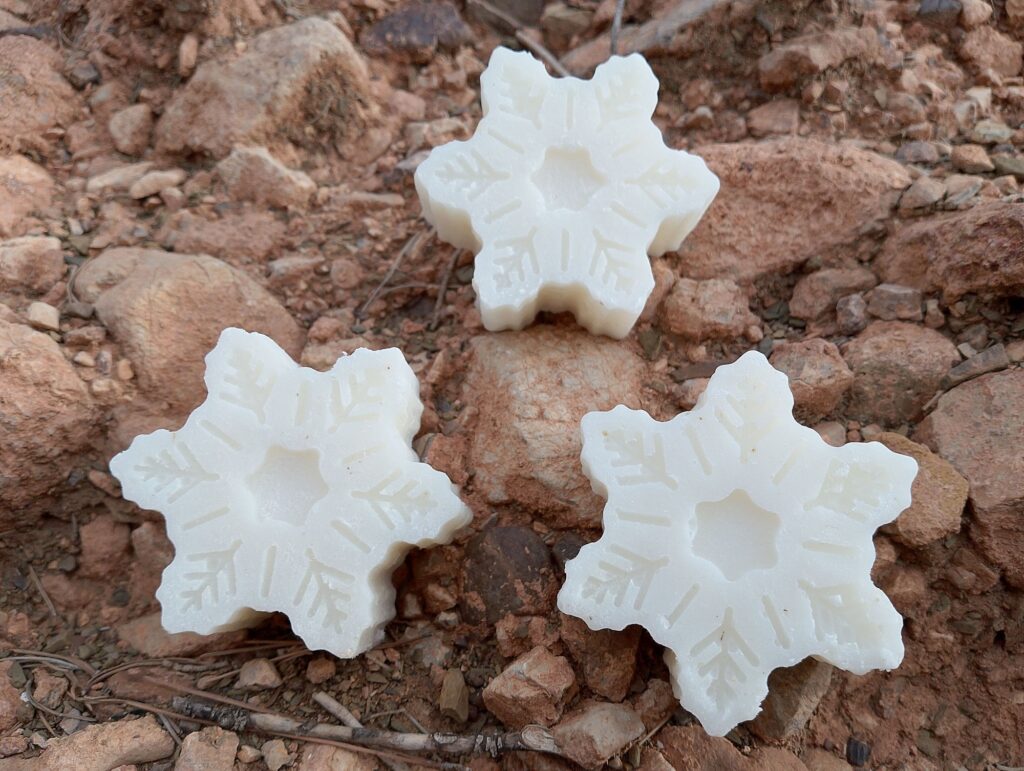
- Keep the cured bars somewhere cool and dry, with a good airflow. Some good options are a shoebox (or any other cardboard box), a wooden drawer, or a basket.
- When stored well, your handmade soap will last a really long time. You can store it for at least 1 year. After that the scent will start to fade, but the soap will still work just fine. The longer you let your soap to cure, the harder and longer-lasting it will be. For the longest-lasting soap, you can cure it for 6-8 weeks.
- When using your soap in the shower, keep it in a draining soap dish, away from the shower spray.
- For gifting, you can wrap your soap bars in kraft paper and tie them with twine. Or seal them in wax paper with a pretty sticker. Packing them in mini boxes or small drawstring bags also looks lovely.
Troubleshooting Common Cold Process Issues
Confident Soapmaking Starts Here
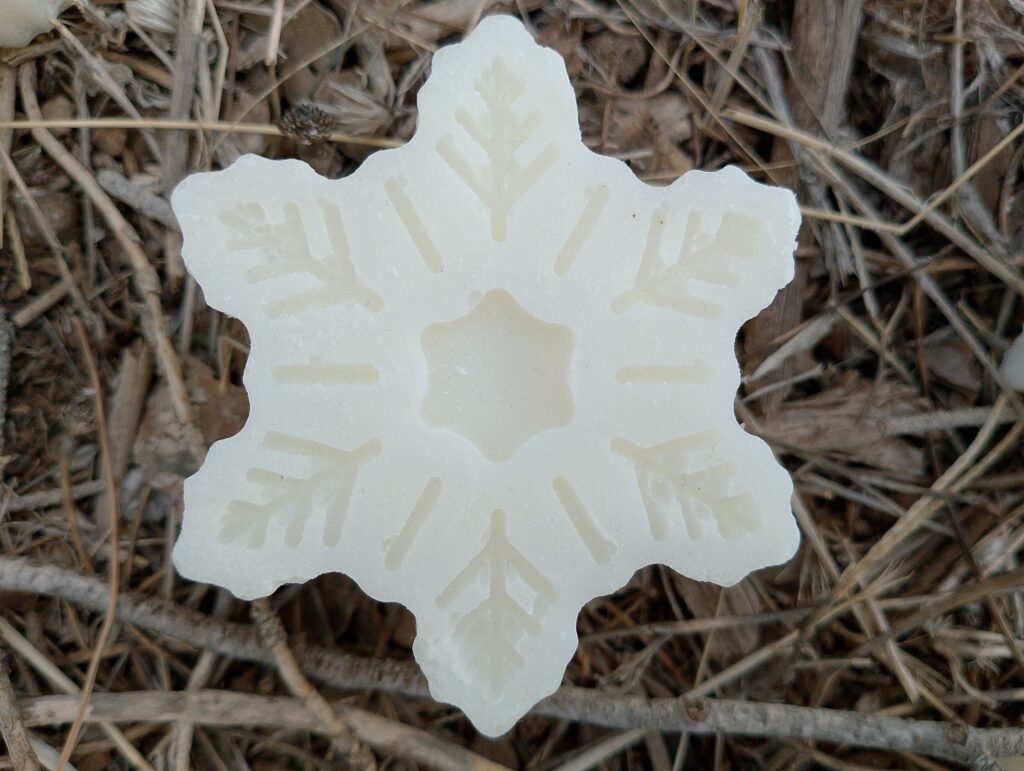
Cold process soapmaking is an old-fashioned craft that may look tricky at first, but it’s actually quite simple to master. Once you understand how the ingredients work together and what happens at each step, you can move on to more complex recipes — or even create your own. I hope this tutorial gives you the confidence to make your own 100% coconut oil soap and enjoy the satisfaction of crafting something that is both beautiful and practical.
If you’d like more tutorials, tips, and seasonal soapmaking ideas delivered straight to your inbox, subscribe to my newsletter and never miss a post!
More Soap Recipes on the Blog
Coconut Oil Soap
Equipment
- digital scale
- medium stainless steel pot
- wooden or metal spoons
- rubber gloves
- safety goggles
- sturdy plastic or glass container (for mixing the lye)
- digital food thermometer
- immersion blender
Ingredients
- 32 oz coconut oil
- 4.56 oz sodium hydroxide (lye)
- 12.16 oz filtered or distilled water
- 0.5 oz frankincense essential oil (optional – see recipe notes)
- 0.5 oz cedarwood essential oil (optional – see recipe notes)
Instructions
- Safety is important when making soap. Be sure to wear gloves, goggles, and long sleeves. Work in a well-ventilated area. Get someone to watch your kids or pets while you work – you should not be disturbed while making soap.
- Place coconut oil in a medium stainless steel pot over low heat. Stir until fully melted. Remove from heat.
- In a well-ventilated area, and with gloves and goggles, slowly add lye to water, stirring until fully dissolved. Let it cool.
- Allow both the oil and lye solution to cool to 37–43°C (100–110°F). They don’t need to match exactly.
- Once cooled, slowly stir the lye solution into the melted oil. The mixture will turn creamy and opaque.
- Use a stick blender in short bursts, alternating with stirring, until the soap thickens to light trace (thin ribbons remain briefly on the surface). Blend in essential oils if using.
- Place silicone molds on a sturdy tray. Ladle soap into molds, leaving a little space at the top.
- Cover molds with plastic or baking paper, then wrap with a towel or blanket. Let rest 24 hours.
- Wash all tools immediately with hot, soapy water by hand.
- After 24 hours have passed, check your soap. Wooden/cardboard molds: cut when firm. Silicone molds: may take several days to remove.
- Place bars on a rack in a dry, cool area with good airflow. Cure 4–6 weeks.
Notes
- Always measure ingredients by weight for accuracy and safety.
- Lye is caustic — never pour water into lye. Always add lye to water.
- Trace can happen quickly with 100% coconut oil; work efficiently.
- You can add 1 ounce of your favorite essential oil to this soap or you can leave it unscented. For a winter-themed soap like mine, I recommend adding 0.5oz frankincense and 0.5oz cedarwood essential oils.