DIY Hair and Scalp Oil: A Simple Herbal Treatment for Growth and Dryness
This DIY hair and scalp oil is a simple, gentle way to care for your hair—especially during the busy seasons of homemaking, homeschooling, and caring for little children. When life feels full, self-care is often the first thing to slip away. Before we realize it, a dry scalp, slow hair growth, or hair that feels dull and neglected can quietly creep in.
This hair and scalp oil recipe is perfect if you want healthier hair without adding extra work to your day. Made with nourishing oils and herbs, it takes only minutes of active time and makes enough to care for your hair for the next few months. A small batch, a few thoughtfully chosen herbs, and a quiet moment of care once a week are often all that’s needed to restore balance and health to your hair and scalp.
Why You’ll Love This Recipe
- It’s a gentle, nourishing recipe without complicated steps.
- Uses simple, traditional ingredients you may already have in your pantry.
- Flexible timing — you can either let the oil infuse in a warm water bath for a few hours or leave it at room temp for several weeks for a slower, but more hands off infusion.
- If you are new to herbal skincare, this recipe will teach you a simple, but foundational herbal skill (herbal oil infusion).
- It’s an easy way to care for your hair on a weekly (or monthly) basis if you are a busy mom with little free time on your hands.
Who This Hair and Scalp Oil Is For
- Normal to dry hair that needs nourishment and softness.
- Dry or flaky scalps needing soothing and hydration.
- Hair in need of strengthening, supporting growth or preventing breakage.
- Curly, wavy, or coarse hair that benefits from richer oils.
- Ideal for seasonal shedding, postpartum hair, or stressed hair.
Who Should Modify This Recipe
- If you have very fine or oily hair, this recipe may be too heavy and greasy for you. Either use it very lightly (1 teaspoon per application) or use argan or grapeseed oil instead of castor oil in this recipe.
- If you have a scalp condition such as severe dandruff or eczema, you should consult a dermatologist before using this hair and scalp oil regularly.
Ingredients
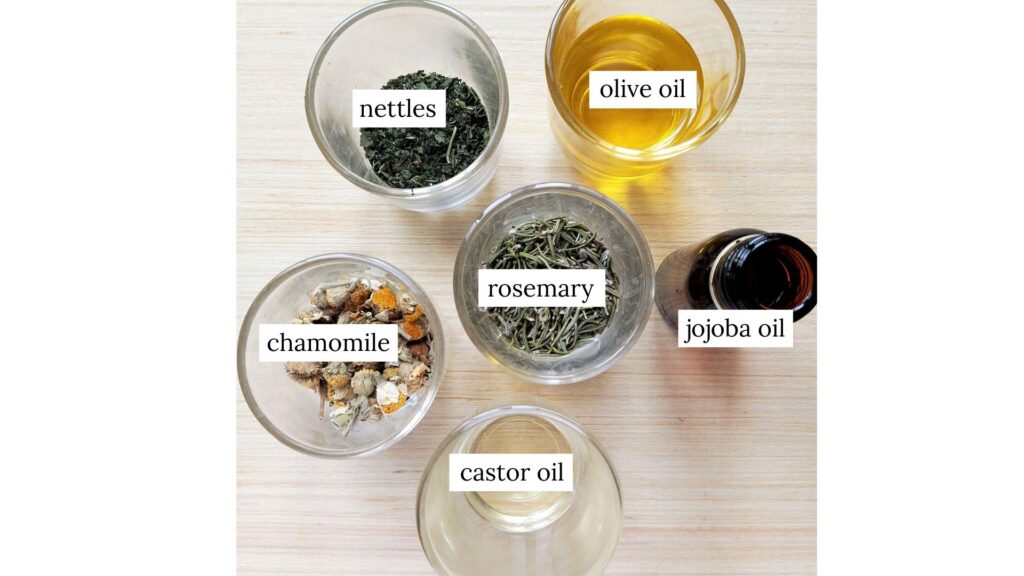
- Olive oil nourishes and protect hair and the skin of your scalp.
- Jojoba oil mimics scalp’s natural sebum and balances the skin.
- Castor Oil supports thicker-looking hair, it’s great for edges & roots.
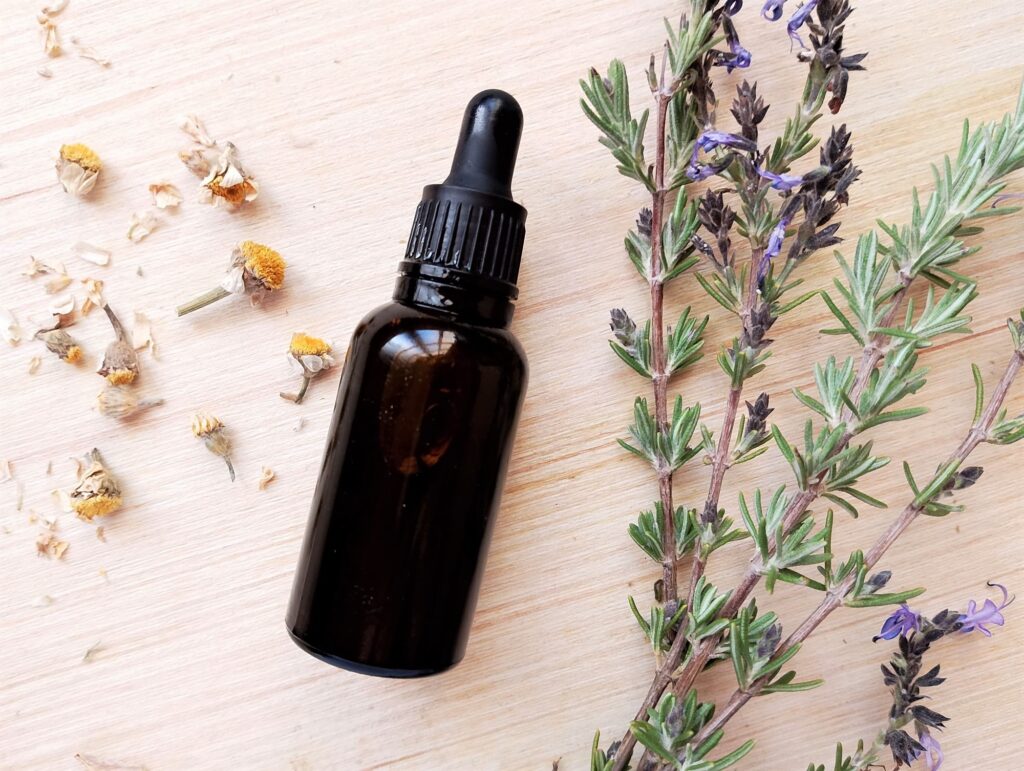
- Dried rosemary supports circulation and hair growth.
- Dried nettles is rich in minerals and strengthens roots.
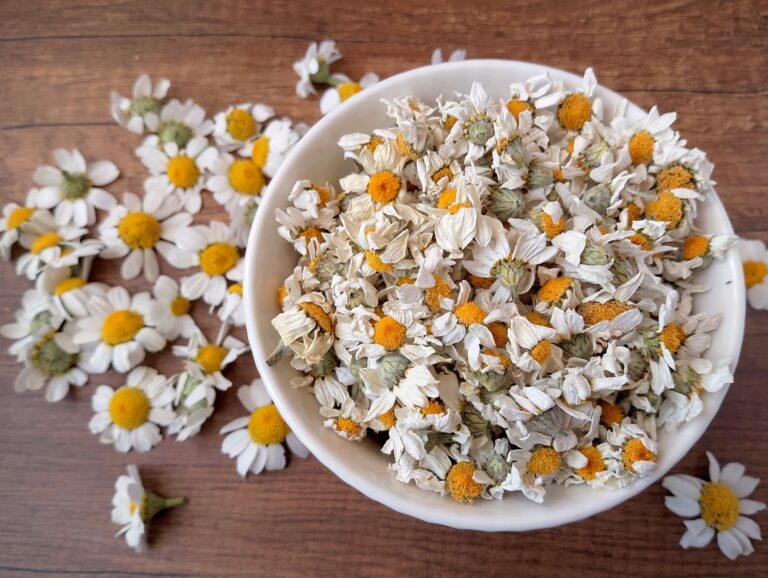
- Dried chamomile soothes scalp and adds shine (great for lighter hair).
- Optional add ins: vitamin E oil to extend the shelf life, rosemary EO and lavender EO for scent.
Tools & Equipment
- Small jar with lid for infusing the herbs.
- Pestle and mortar or spice grinder for crushing the herbs (you could also crush them lightly in your own hands).
- Measuring cup and spoon.
- Fine mesh strainer or a piece of cheesecloth.
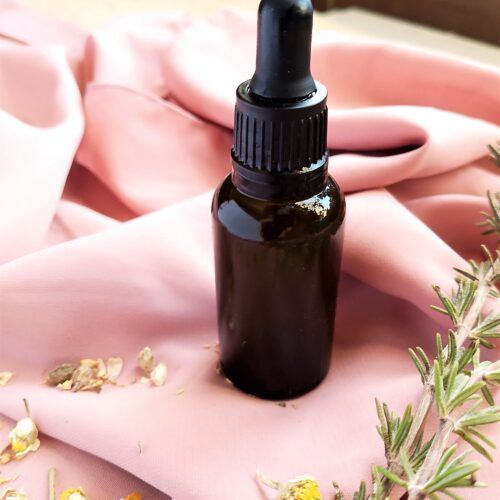
- Small dark glass jar or amber dropper bottle.
Step-by-Step Method
Step 1
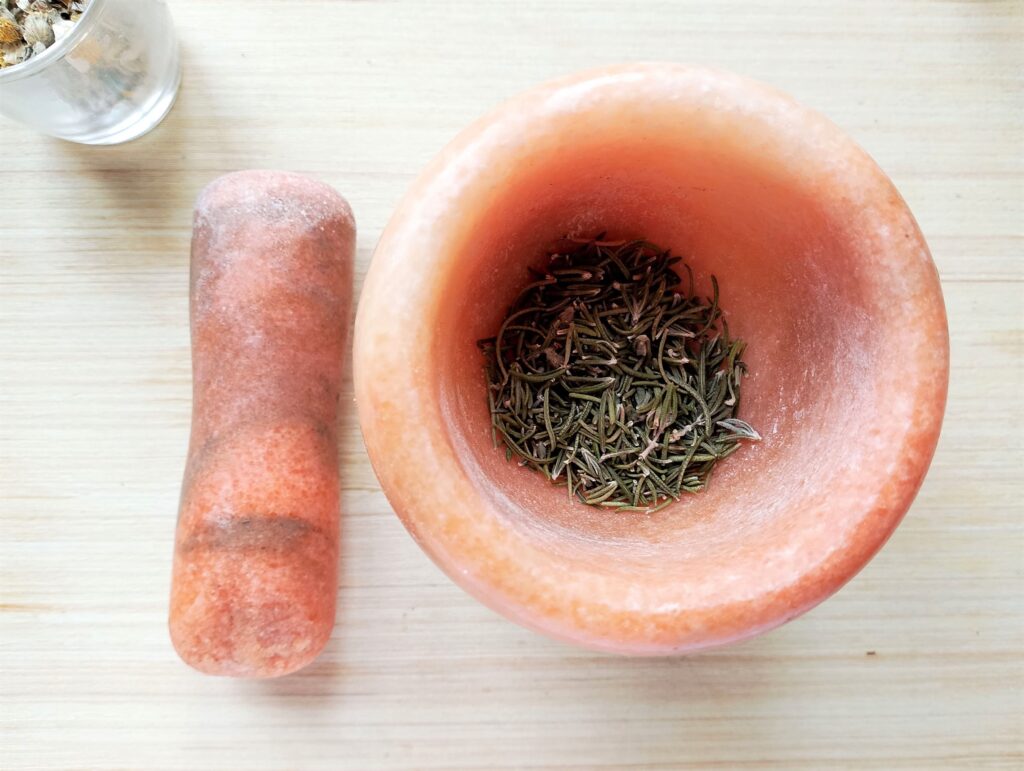
Use a pestle and mortar or a spice grinder to gently bruise the herbs. If you don’t have either of those, no problem—you can even crush the herbs between your hands. The goal isn’t to turn them into a powder, but to break up larger pieces so the oils and herbs infuse more effectively.
Step 2
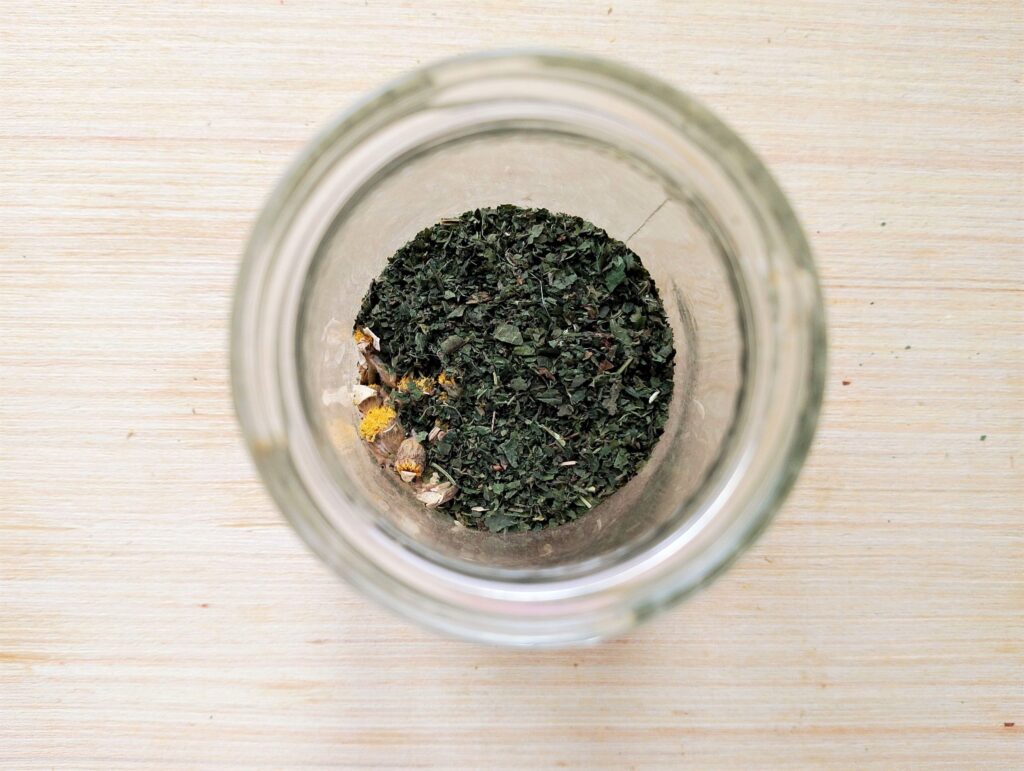
Place the lightly crushed herbs into a clean, heatproof glass jar or container. Using glass helps preserve the delicate oils and ensures your infusion stays pure and chemical-free.
Step 3
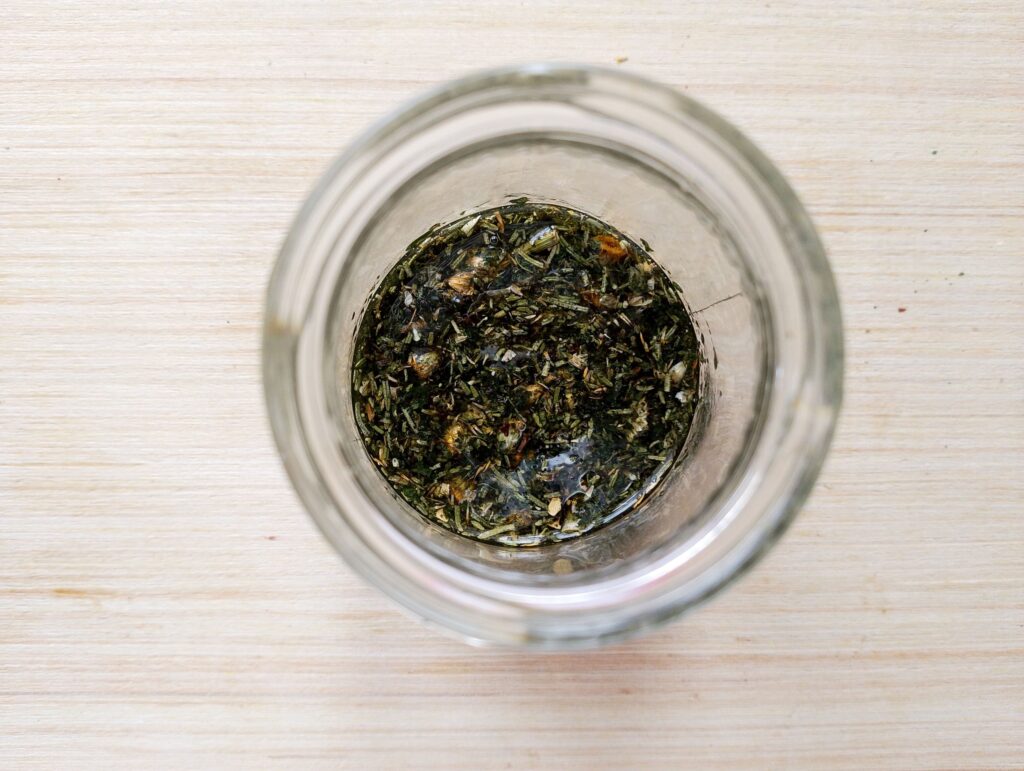
Pour the olive, jojoba, and castor oils over the herbs, then gently stir or poke with a spoon to ensure all the herbs are fully submerged. If any herbs are sticking out, add a little more oil until everything is completely covered.
Step 4

Screw the lid onto your jar and place it in a small saucepan. Fold a tea towel and set it underneath the jar to keep it stable, then add enough water to reach about halfway up the jar. This DIY water bath (also called a bain-marie) gently warms the oils, helping the herbs release their nutrients. Turn the heat to very low and let the herbs infuse for 2–4 hours. The oil should feel warm, never hot—check carefully with your finger if needed. This slow, gentle heat preserves the delicate properties of your oils and herbs.
Step 5
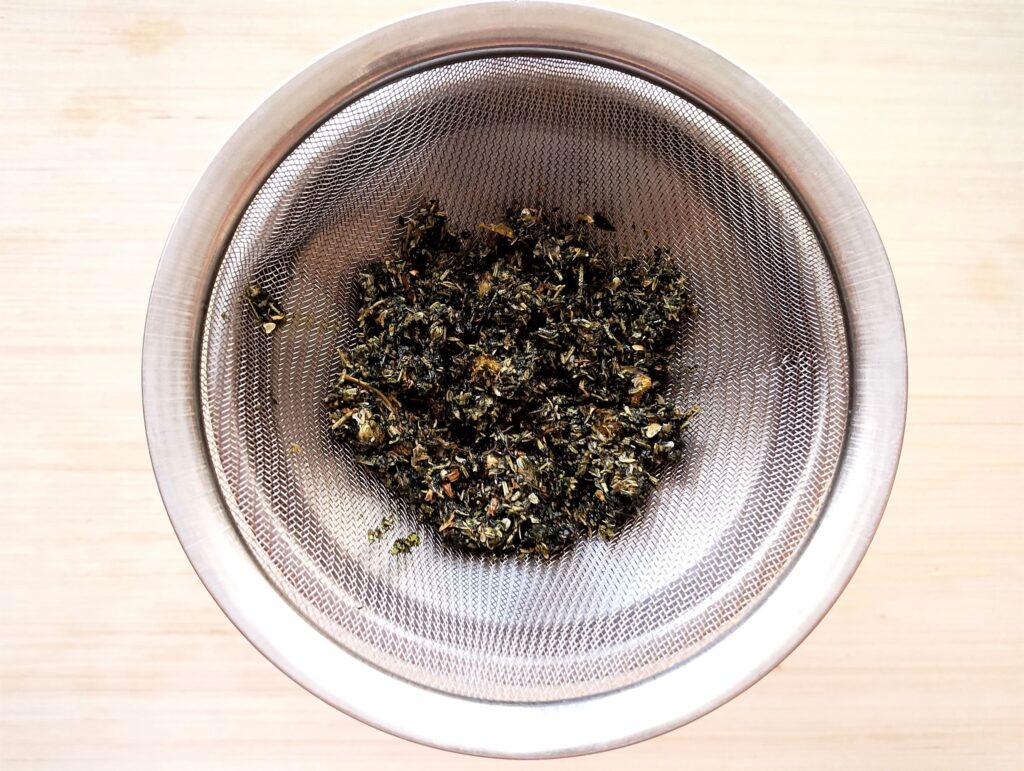
Once your herbs have infused, place a fine-mesh sieve over a clean jar or cup. For an extra-clear oil, line the sieve with a piece of cheesecloth. Pour the infused oil through the sieve, then gently press the herbs with the back of a spoon to release any remaining oil. Let the herbs sit in the sieve for about 30 minutes so every last drop can drip through.
Step 6
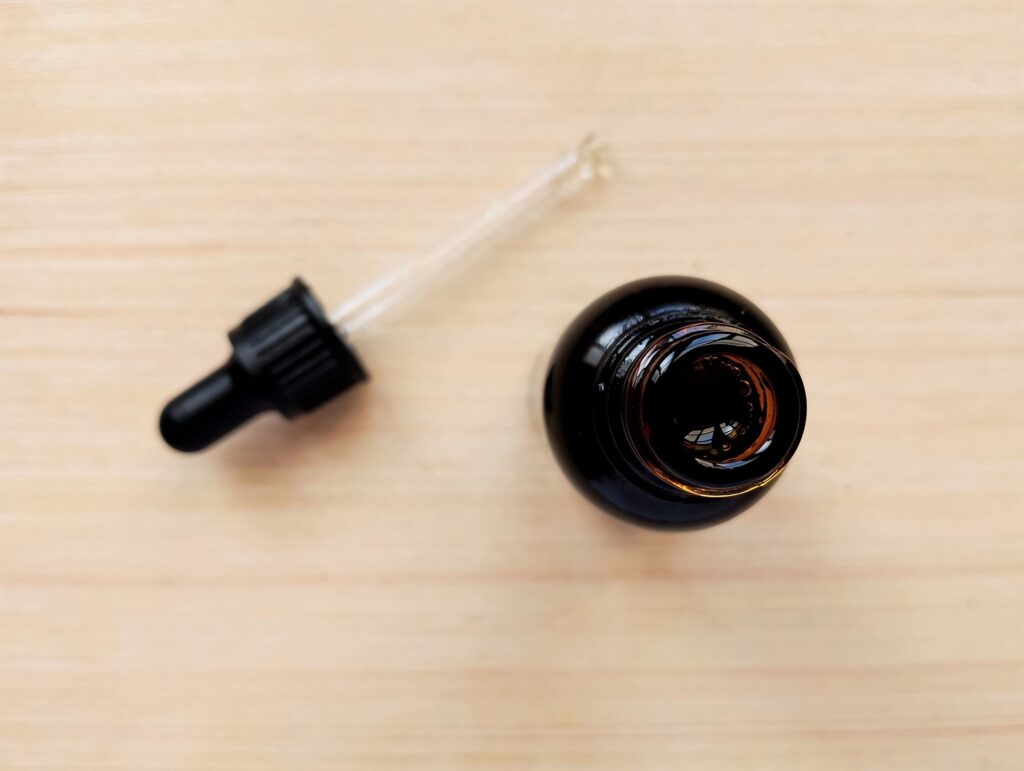
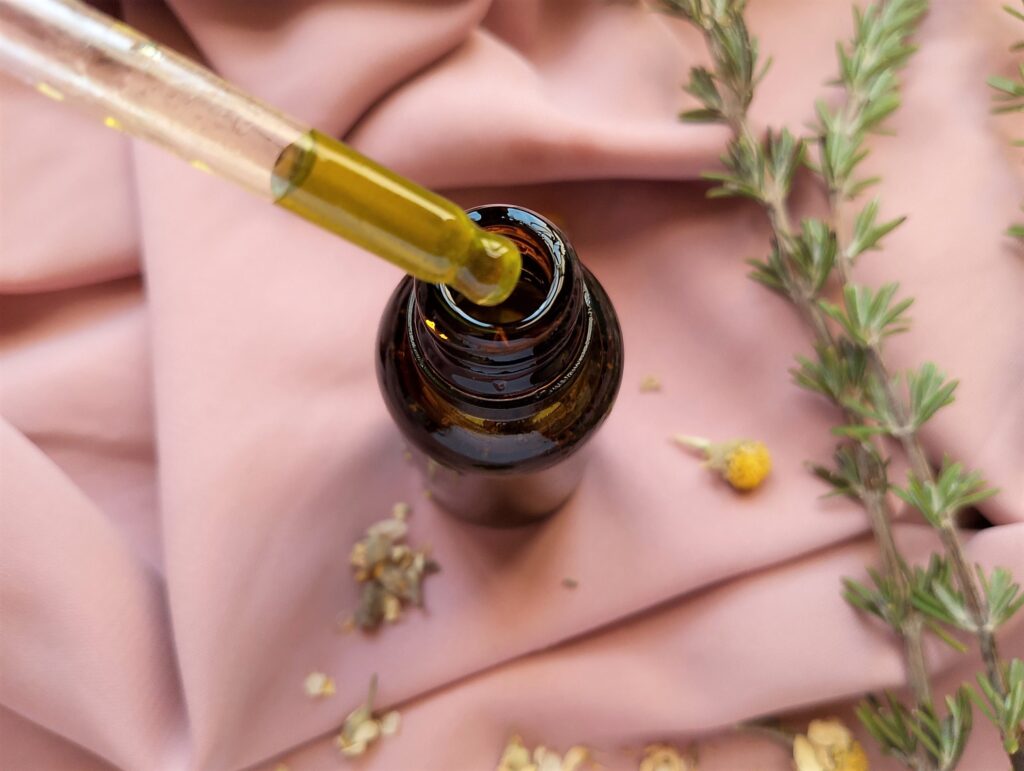
Stir in the vitamin E oil and the essential oils (if using). Pour your finished oil into a small dark glass jar or a dropper bottle. A dropper bottle is ideal, as it lets you apply just a few drops at a time—perfect for keeping your DIY hair and scalp oil mess-free while maximizing every nourishing drop.
How to Use This Hair & Scalp Oil
- This oil will work best when used on dry hair and scalp.
- Use 1-2 teaspoons of oil per application. Warm the oil slightly between your hands before applying for better spread.
- Part hair in sections and apply the oil directly to the scalp using fingertips or a dropper.
- Massage your scalp for 3-5 minutes using small, circular motions.
- Pull any remaining oil through the lengths of your hair (skip this if you have oily hair).
- Let the oil sit in your hair for 30-60 minutes, then wash it off thoroughly with shampoo. You might need to shampoo your hair twice to remove all of the oil.
- You can also leave the oil in your hair overnight for deeper conditioning. If you do, wear a shower cap to prevent staining your sheets with oil.
- Using this hair and scalp oil once per week is plenty for maintenance. If your hair needs strengthening, you can use it twice per week. Using it consistently over several weeks will give you the best results.
Timing & Flexibility Options
- Instead of keeping the oil in a warm water bath for 2-4 hours, you could also leave the herbs to infuse in the oil for 2-4 weeks at room temp, somewhere warm, dry and away from direct sunlight. Shake the jar once every couple of days (or whenever you remember).
Troubleshooting Your Hair and Scalp Oil
- Using too much or too little herbs: using too little herbs will give you a less potent infusion (but still usable!). If you use too much herbs, the oil may not be able to cover them fully and you’ll need to add more oils (the herbs should be fully submerged in oil while infusing).
- Oil looks cloudy or darker than expected: cloudiness is often caused by tiny herb particles remaining in the oil after straining and is not by itself a sign that the oil has spoiled. If you store your oil in the refrigerator, it can also become cloudy from the low temp. Because nettles are used in this recipe, the oil will have a dark green color when infused.
- Forgetting the jar in the water bath for longer than planned: leaving the oil to infuse for longer is not an issue, unless your heat is too high and you accidentally overheat the oils (heat can damage the healing properties of herbs and oils).
Storage, Shelf Life & Safety
- Store in a dark glass bottle (amber with dropper or cap) to protect from light.
- Keep in a cool, dry place away from direct sunlight and heat. Avoid storing it in your bathroom as the warmth and moisture typical of bathrooms will shorten its shelf life.
- When stored properly, this hair and scalp oil will keep for 6–12 months with vitamin E added in or for 3–6 months without it.
- Discard your oil if it develops a strong, sharp, or crayon-like smell.
- Because you only need a little oil per use, make it in small batches to keep it fresh and effective.
Variations
- Hair growth-focused blend: keep the base oils and essential oils the same. Infuse rosemary, nettles, and burdock root or horsetail (2 tbsp).
- Dry scalp/itchy scalp blend: keep olive oil and jojoba oil but reduce the castor oil slightly. Infuse calendula, chamomile, and plantain leaf (or marshmallow root). Skip the essential oils or only use 4 drops of lavender EO. Apply gently and avoid over-massaging. Leave on 30–60 minutes rather than overnight.
- Gentle version for sensitive skin: only use olive oil (or sweet almond oil) and jojoba as base oils. Infuse equal parts of chamomile and calendula. Skip the essential oils. This version is ideal for children or people with very sensitive skin.
- If you have sensitive skin, it is important to do a patch test when using any skincare products, even natural, homemade ones.
Recipe FAQ
Start Your Herbal Hair Care
I hope you enjoy making this DIY hair and scalp oil and that it brings new life to your scalp and hair. Learning to make your own skincare is a wonderful skill—it lets you care for your body with simple, natural ingredients and without the harsh chemicals found in many commercial products.
As with any new skill, start small and practice slowly, repeating a few trusted recipes until you feel confident. This recipe concludes my 7 Weeks to Glow: Weekly Home Spa Treats to Relax, Refresh & Radiate series, designed for busy moms who want to feel nourished, cared for, and pampered right in their own homes. Repetition is key, and I hope these recipes become staples you return to again and again.
If you love learning traditional homemaking skills, old-fashioned remedies, and simple ways to care for yourself and your family, my weekly newsletter is made for you. Each issue is packed with practical tips, seasonal recipes, and tried-and-true techniques to help you cultivate a home that’s nourishing, intentional, and joyful. Sign up today and bring the art of traditional homemaking into your weekly rhythm.
More Nourishing Skincare Recipes
Natural Clay and Oatmeal Face Mask
Lemon and Peppermint Foot Scrub
DIY Hair and Scalp Oil
Ingredients
- 4 Tbsp coconut or olive oil
- 2 Tbsp jojoba oil
- 2 Tbsp castor oil (or argan for lighter feel)
- 2 Tbsp dried rosemary
- 2 Tbsp dried nettle
- 2 Tbsp dried chamomile
- ½ tsp vitamin E oil (optional)
- 6 drops rosemary EO (optional)
- 4 drops lavender EO (optional)
Instructions
- Lightly crush the herbs. Gently bruise the herbs using a pestle and mortar, spice grinder, or even your hands. You don’t need a powder—just break up larger pieces so they infuse better.
- Add the herbs to a jar. Place the crushed herbs in a clean, heatproof glass jar or container.
- Pour in the oils. Add olive, jojoba, and castor oils over the herbs. Stir or poke with a spoon to make sure all the herbs are fully submerged. Add a little extra oil if needed.
- Infuse with gentle heat. Screw the lid on and place the jar in a small saucepan with a folded tea towel underneath. Fill the pan with water halfway up the jar. Heat on very low for 2–4 hours, keeping the oil warm but never hot.
- Strain the herbs. Pour the oil through a fine-mesh sieve into a clean jar or cup. For a clearer oil, line the sieve with cheesecloth. Press the herbs gently with a spoon and let them sit in the sieve for 30 minutes to release all remaining oil.
- Transfer and store. Stir in the vitamin E oil and the essential oils (if using). Pour the oil into a small dark glass jar or dropper bottle. A dropper bottle makes it easy to apply just a few drops per use, keeping your DIY hair and scalp oil mess-free.
Notes
- Store in a dark glass bottle (amber with dropper or cap) to protect from light.
- Keep in a cool, dry place away from direct sunlight and heat. Avoid storing it in your bathroom as the warmth and moisture typical of bathrooms will shorten its shelf life.
- When stored properly, this hair and scalp oil will keep for 6–12 months with vitamin E added in or for 3–6 months without it.