How to Make Traditional Milk Kefir at Home
Making your own milk kefir gives you a fresh, living probiotic drink at a fraction of the cost of store-bought versions, often with far more active cultures. What I love most about kefir is that it’s much easier to make at home than yogurt. It ferments beautifully in both raw and pasteurised milk, and unlike yogurt, it doesn’t require any special equipment or a warm incubation temperature — just your kitchen counter.
Kefir is also incredibly versatile and one of my most-used dairy staples — perhaps even the most used. I use it in all kinds of recipes that call for sour milk or buttermilk, blend it into smoothies and popsicles, and drink it ice cold on hot summer days.
In this post, I’ll show you exactly how to make milk kefir at home, how to store it, and plenty of ways to use it both fresh and in cooking. Let’s make some kefir!
How to Make Milk Kefir (Quick Overview)
- Add kefir grains to milk in a clean jar.
- Cover loosely and leave at room temperature for 12–24 hours.
- Once thickened and tangy, strain out the grains.
- Store the finished kefir in the refrigerator.
- Use the grains to start another batch.
What Is Milk Kefir?
Milk kefir is a traditional fermented milk drink made by adding kefir grains — a living culture of beneficial bacteria and yeast — to milk. As the milk ferments, it transforms into a tangy, slightly fizzy, probiotic-rich drink with a creamy texture and a long history of traditional use.
Kefir has been enjoyed for centuries and is especially popular in Eastern Europe, where I grew up. You can buy it in almost any larger supermarket there, and I still remember my grandparents drinking it regularly.
Despite the name, kefir grains are not actual grains. They look a bit like small cauliflower florets and they can be reused again and again to make fresh batches of kefir. In fact, the kefir grains I use today are descendants of the very same grains I bought online back in 2011. They’ve multiplied many times over and have been faithfully making kefir for our family for more than 15 years!
Why Make Your Own Milk Kefir?
Making your own milk kefir gives you a fresh, living probiotic drink which is not only healthy but also super frugal to make, with far more active cultures than store-bought kefir. It also allows you to control the fermentation time, milk quality, and flavour. This way you can make a kefir that truly suits your and your family’s preferences.
One of the things that makes kefir so unique is the diversity of beneficial bacteria and yeasts it contains. Traditional milk kefir can contain around 30–60+ strains of beneficial bacteria and yeasts working together in a symbiotic culture. Most shop-bought yogurt contains only a few bacterial strains (1-2 strains is typical).
Kefir is also incredibly versatile, and I use it in my kitchen every single week. It works beautifully in recipes that call for sour milk or buttermilk. It can be blended into smoothies and popsicles, and is wonderfully refreshing served ice cold on hot summer days.
Milk Kefir vs Yogurt
Milk kefir and yogurt are both traditional fermented dairy foods. However, they differ quite a bit in both texture and the way they’re made.
Kefir is fermented using kefir grains, which contain a wide variety of beneficial bacteria and yeasts working together in a living symbiotic culture. This gives kefir its tangy flavour, thinner consistency, slight fizz, and greater microbial diversity. Yogurt, on the other hand, is usually fermented with only a few specific bacterial cultures. It tends to be thicker, milder in flavour, and creamier in texture.
Kefir is also generally much easier to make at home. It ferments beautifully at room temperature and works well with both raw and pasteurised milk. Yogurt is a little more hands-on — traditional yogurt usually requires heating the milk first and keeping it at a steady warm temperature while it cultures (unless you’re making a mesophilic yogurt culture).
Ingredients

Best Milk for Milk Kefir
The best milk for milk kefir is full-fat, minimally processed milk — ideally fresh whole milk from cows, goats, or sheep. The higher fat content and natural proteins help nourish the kefir grains and produce a thicker, creamier kefir.
One of the things I love most about kefir is how well it works with raw milk. Unlike traditional yogurt making, there’s no need to scald the milk first. (With yogurt, raw milk often needs to be heated because the naturally occurring microbes in the milk can interfere with the yogurt cultures.)
Pasteurised milk also works beautifully for making milk kefir. Over the years I’ve successfully used both raw and pasteurised milk without any issues.
I personally avoid ultra-pasteurised (UHT) milk, as it can sometimes weaken grain growth and produce a thinner kefir.
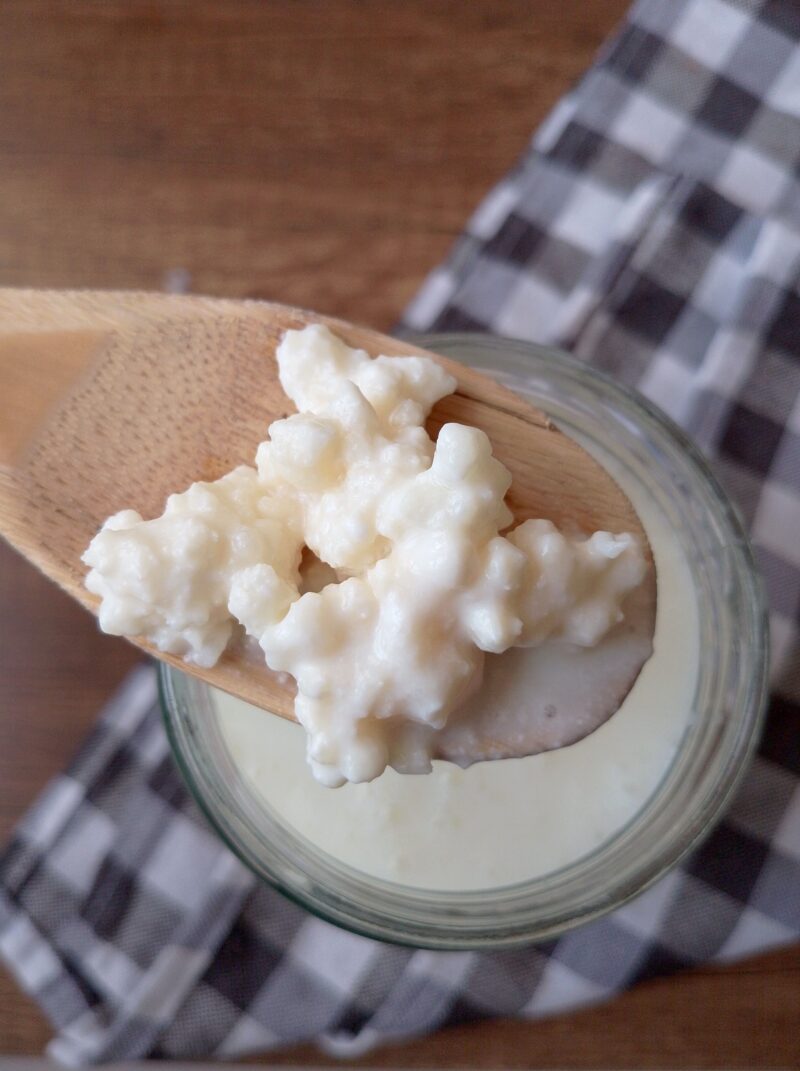
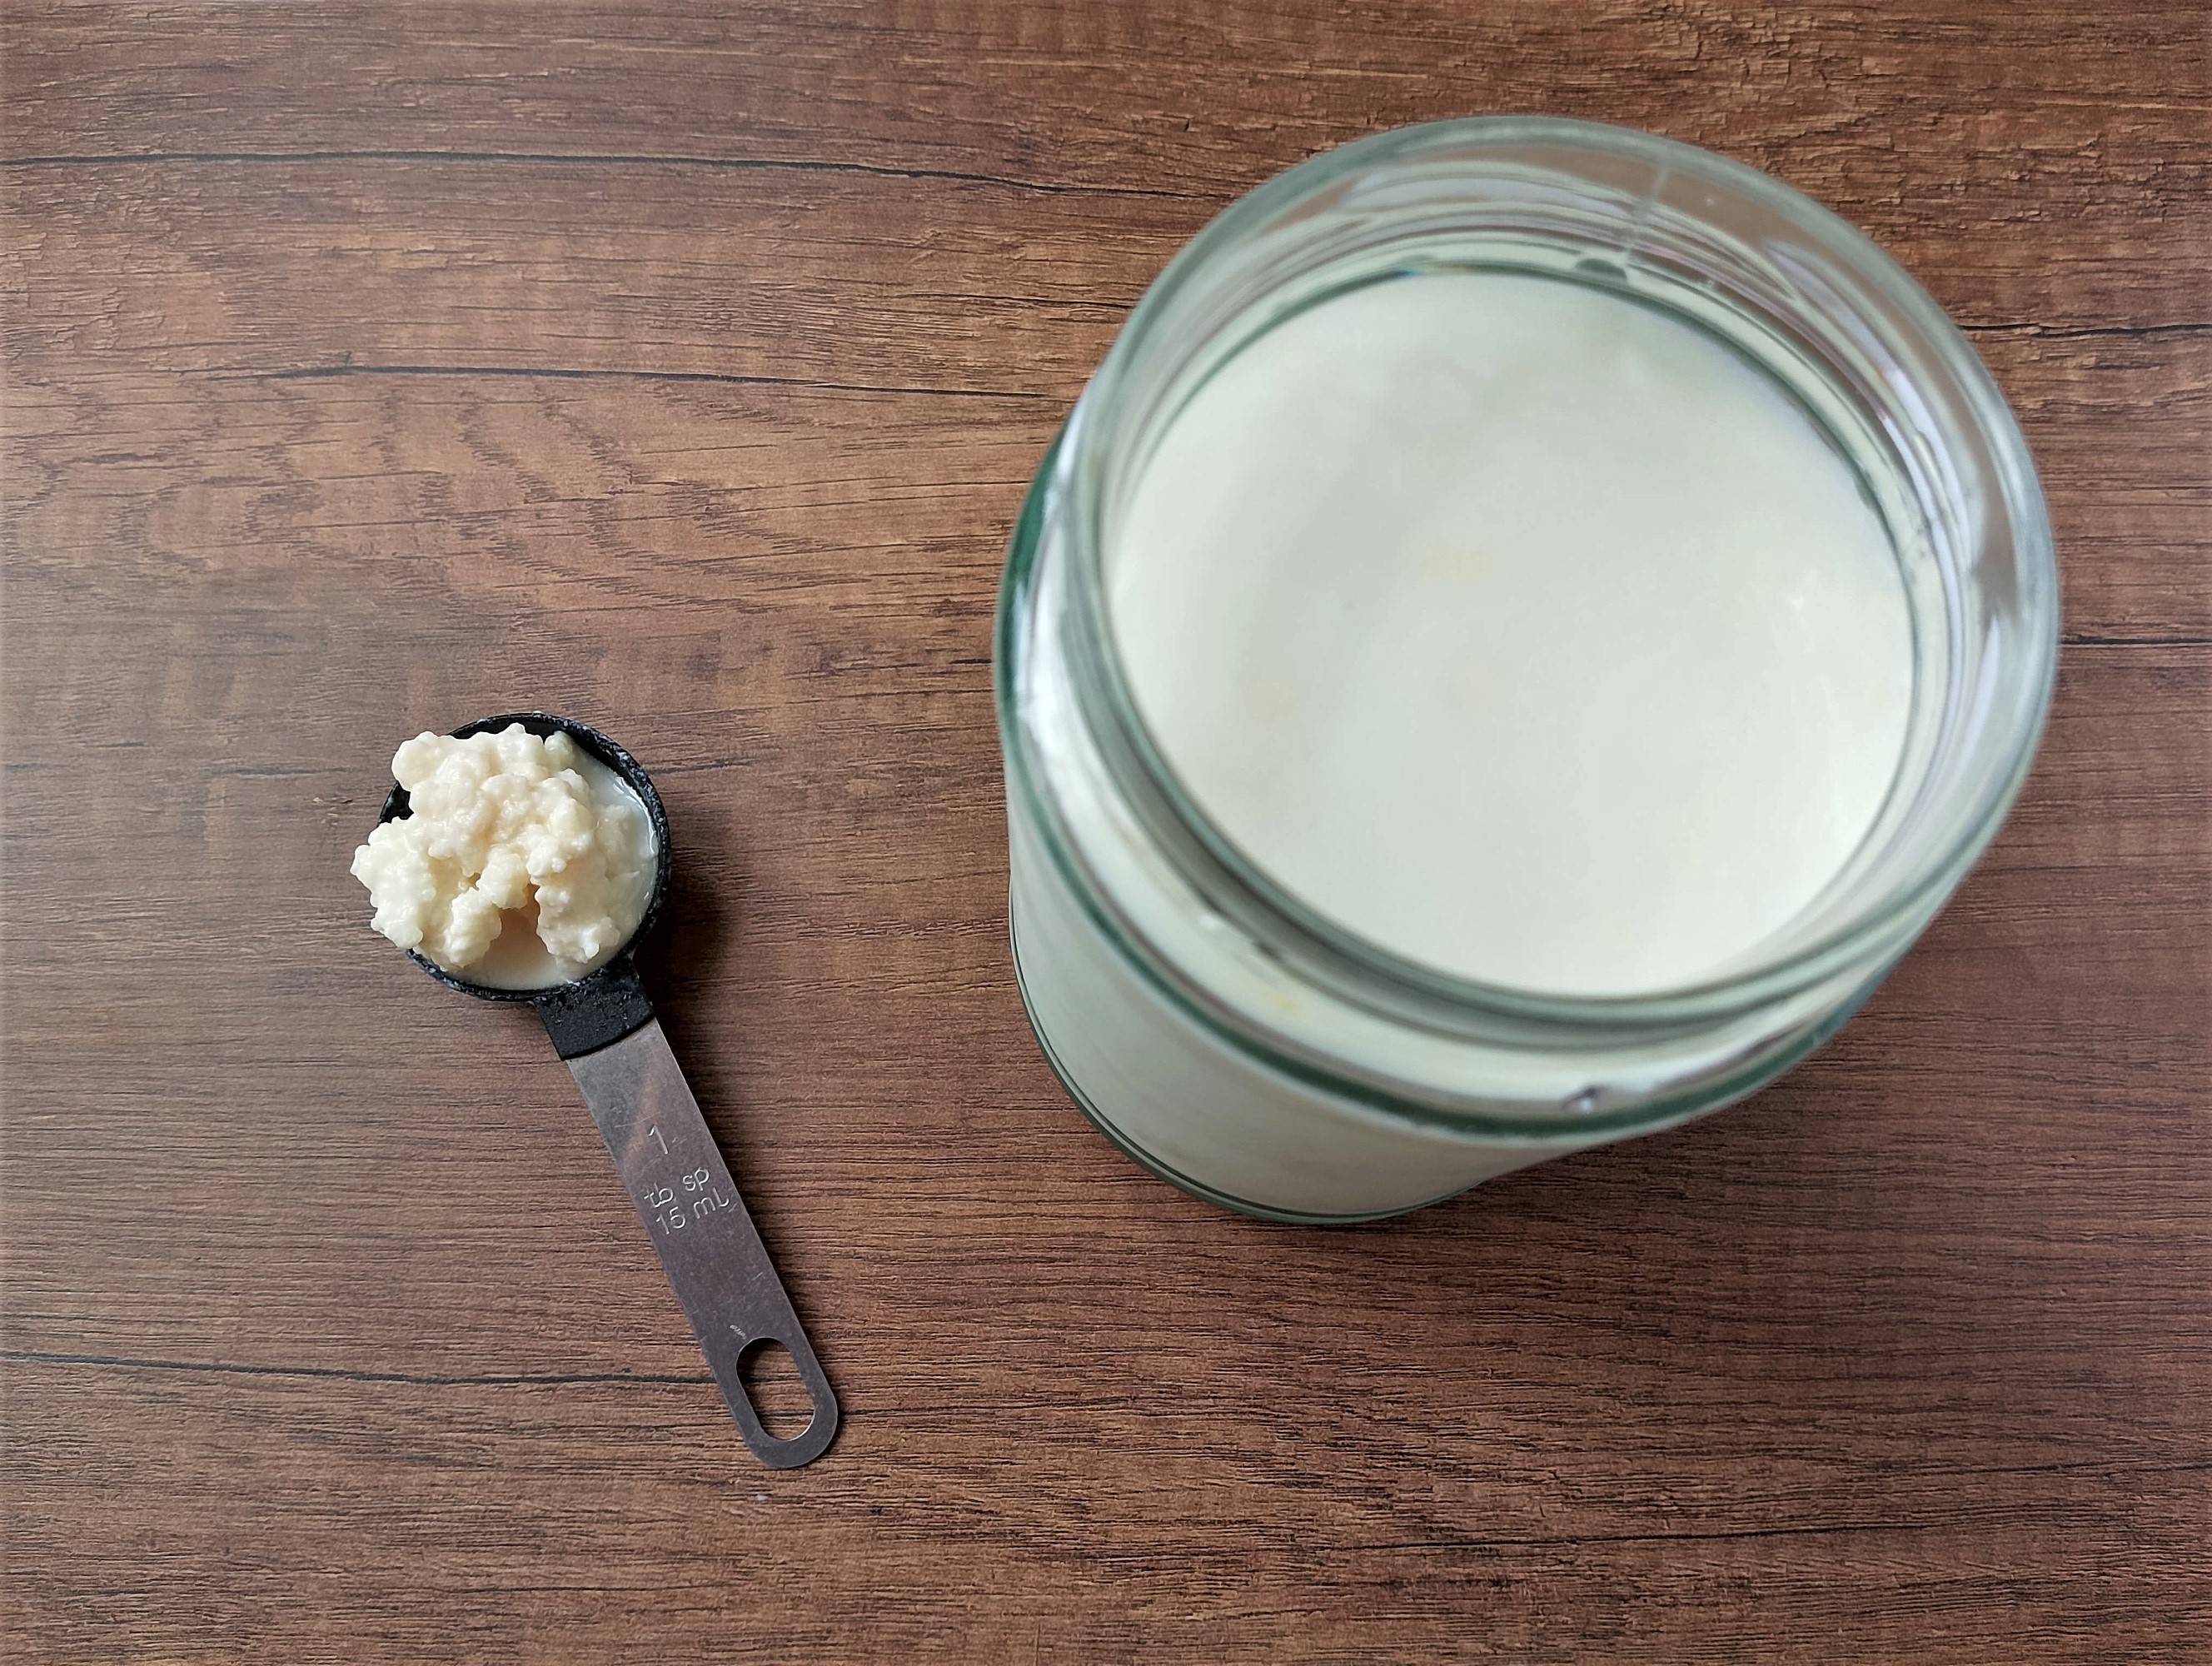
What Are Kefir Grains?
Despite the name, milk kefir grains are not actual grains like wheat or barley. They are living, rubbery clusters of beneficial bacteria and yeast held together in a natural cluster of proteins, fats, and sugars.
Kefir grains look a little like small cauliflower florets and are what transform milk into kefir during fermentation. As they feed on the milk sugars, they culture the milk into a tangy, probiotic-rich drink.
One of the most fascinating things about kefir grains is that they are alive and self-replicating. With proper care, they continue to grow and multiply over time, allowing you to make batch after batch of homemade milk kefir for years. And if you end up with too many, you can either give them away to friends, or eat them. They are perfectly edible, pleasantly chewy, and nice to snack on.
How to Make Milk Kefir Step By Step
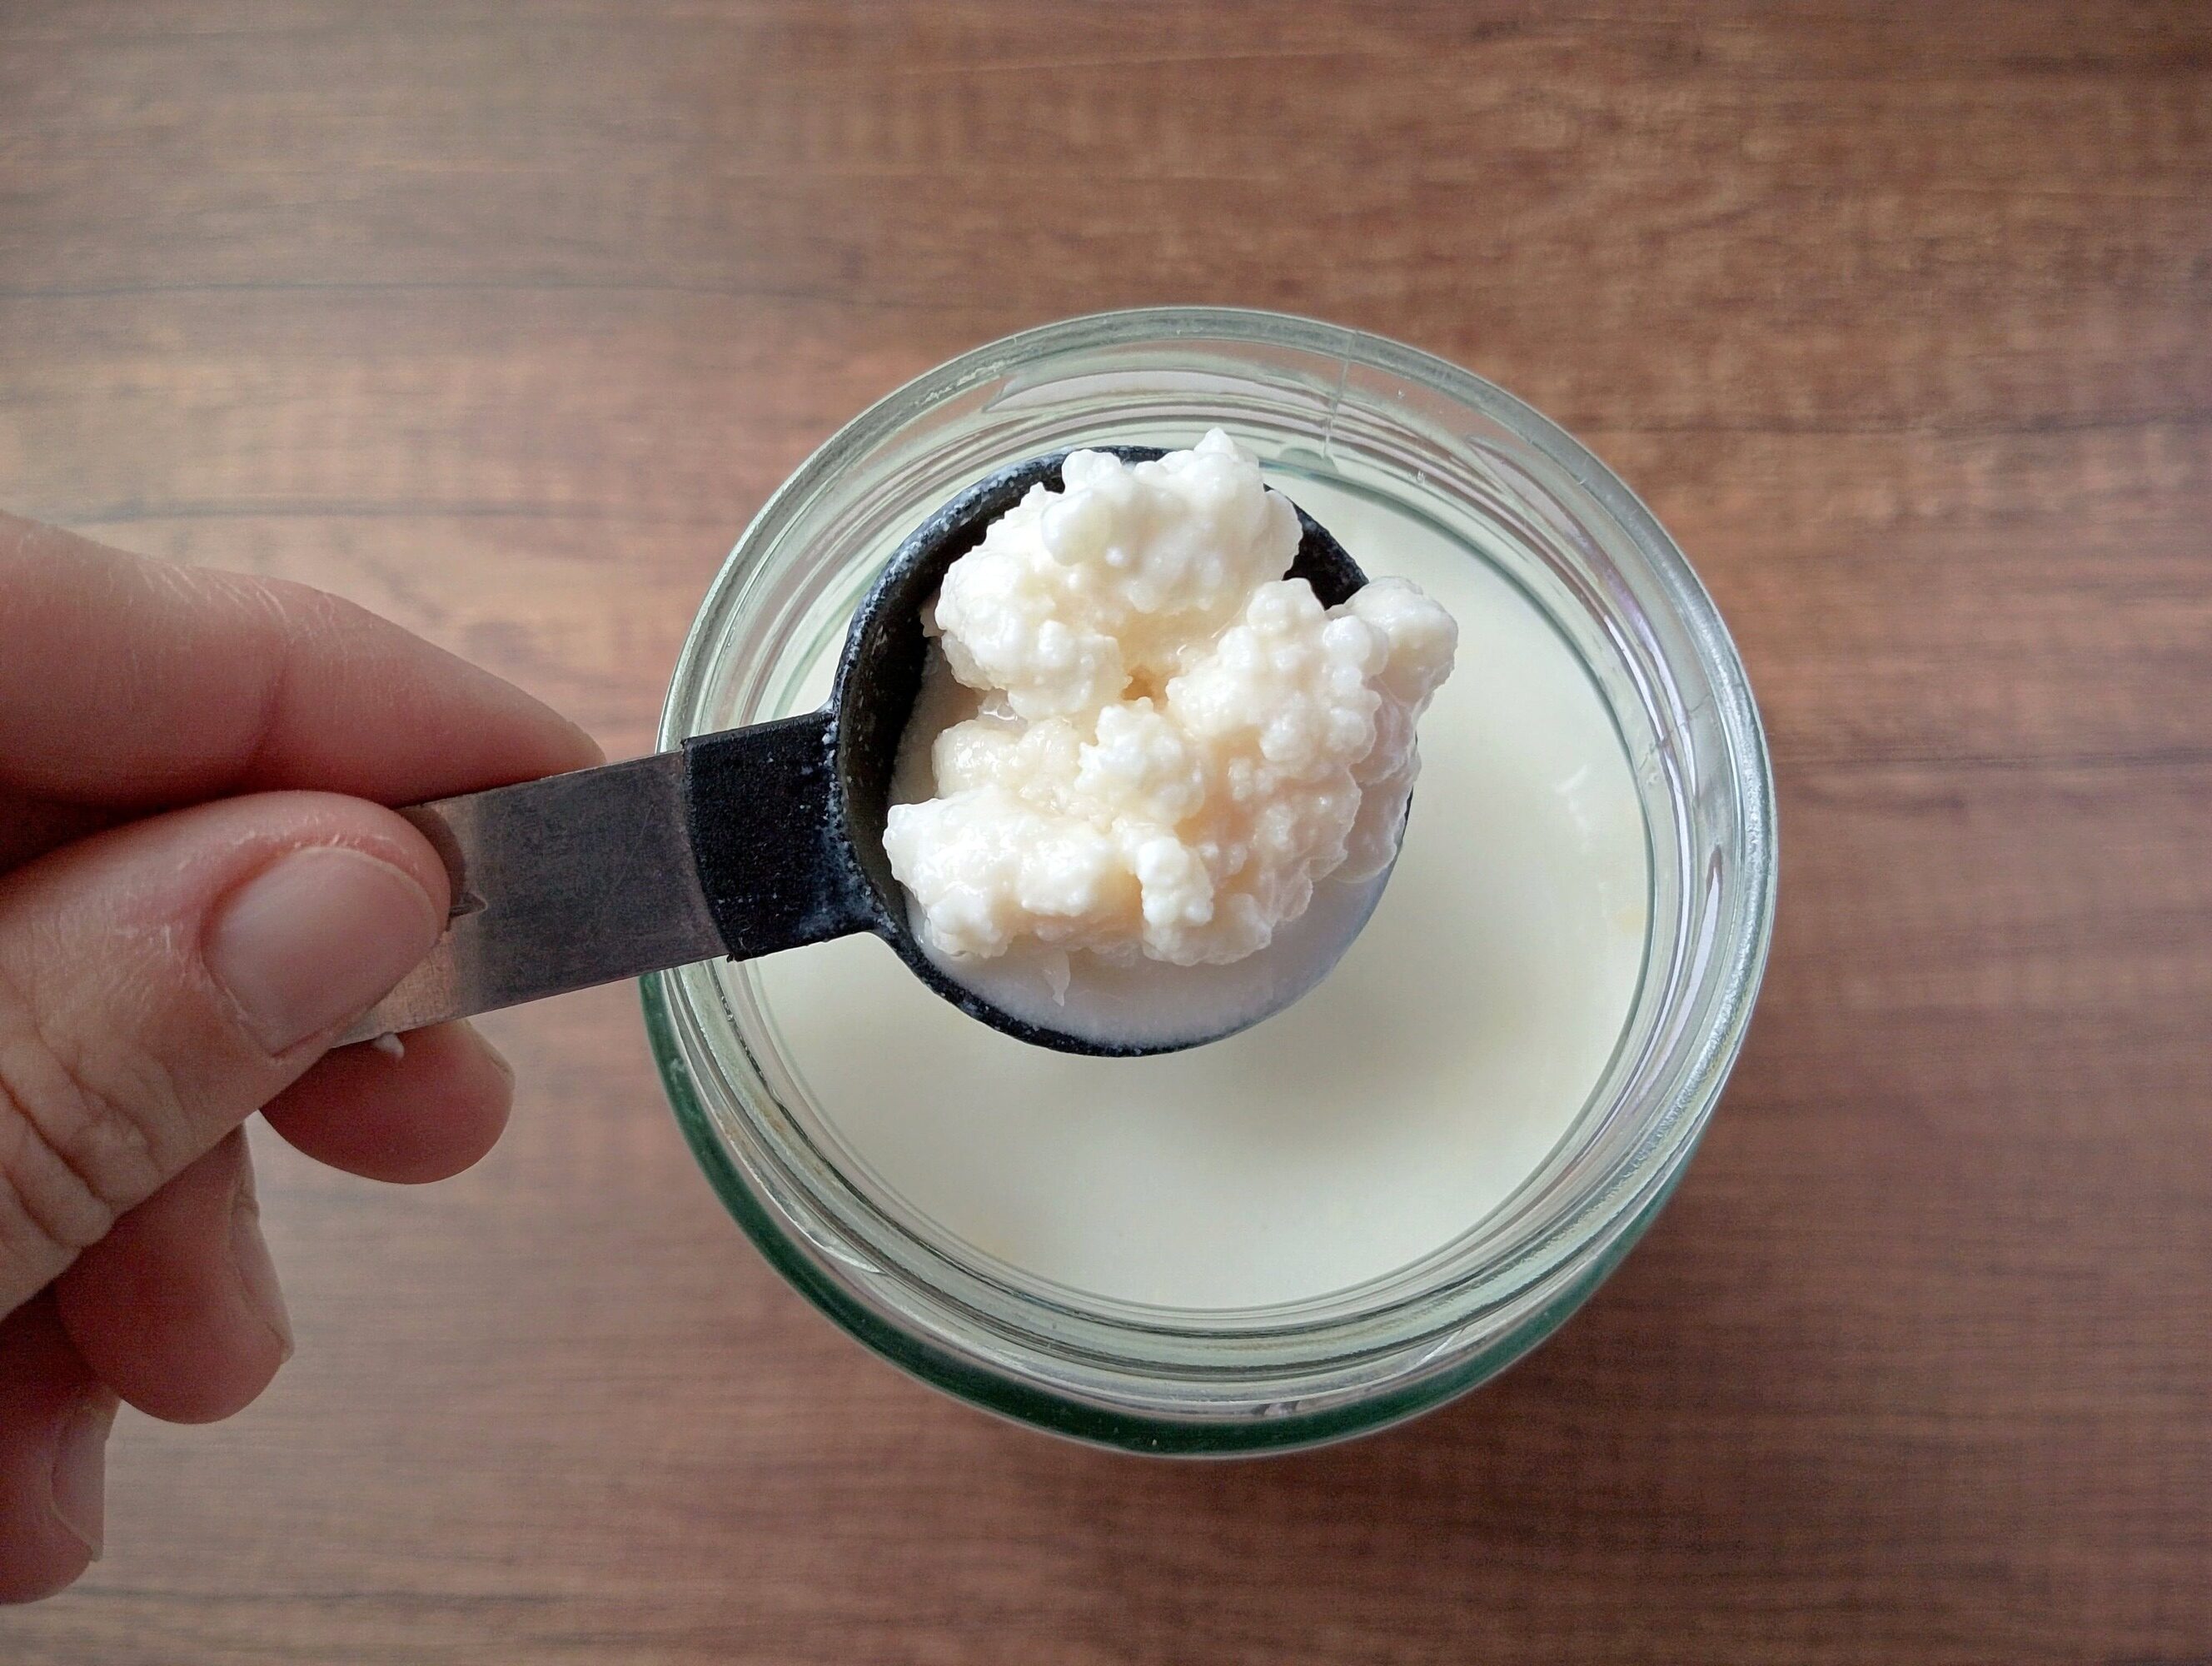
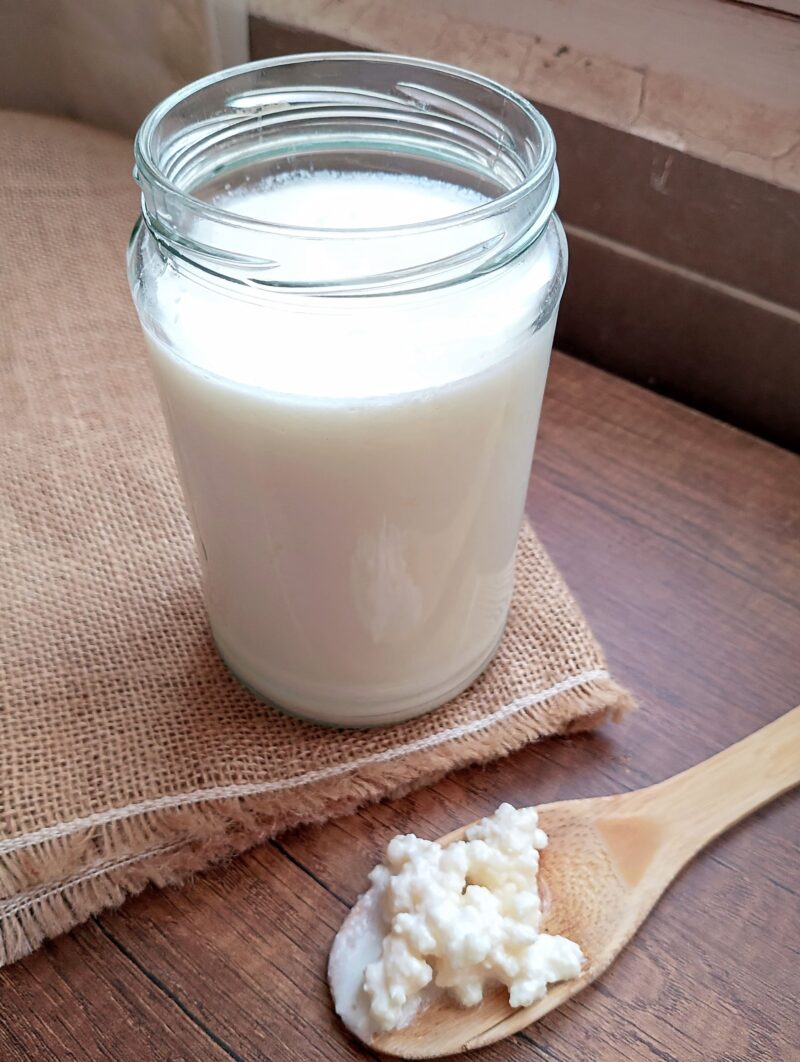
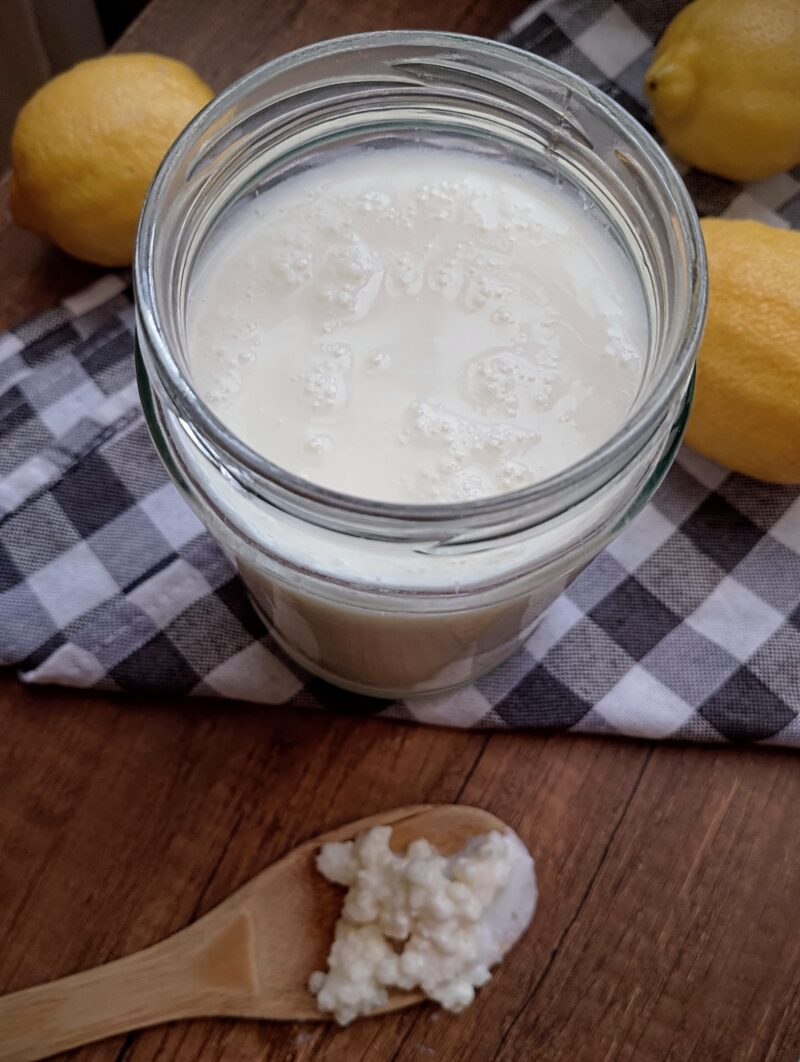
Step 1: Add 1 tablespoon of kefir grains to a clean glass jar, then pour in 2 cups of milk. Cover loosely (a lid or breathable cover is fine) and leave at room temperature for 12–24 hours, until the milk has thickened slightly and tastes pleasantly tangy and creamy.
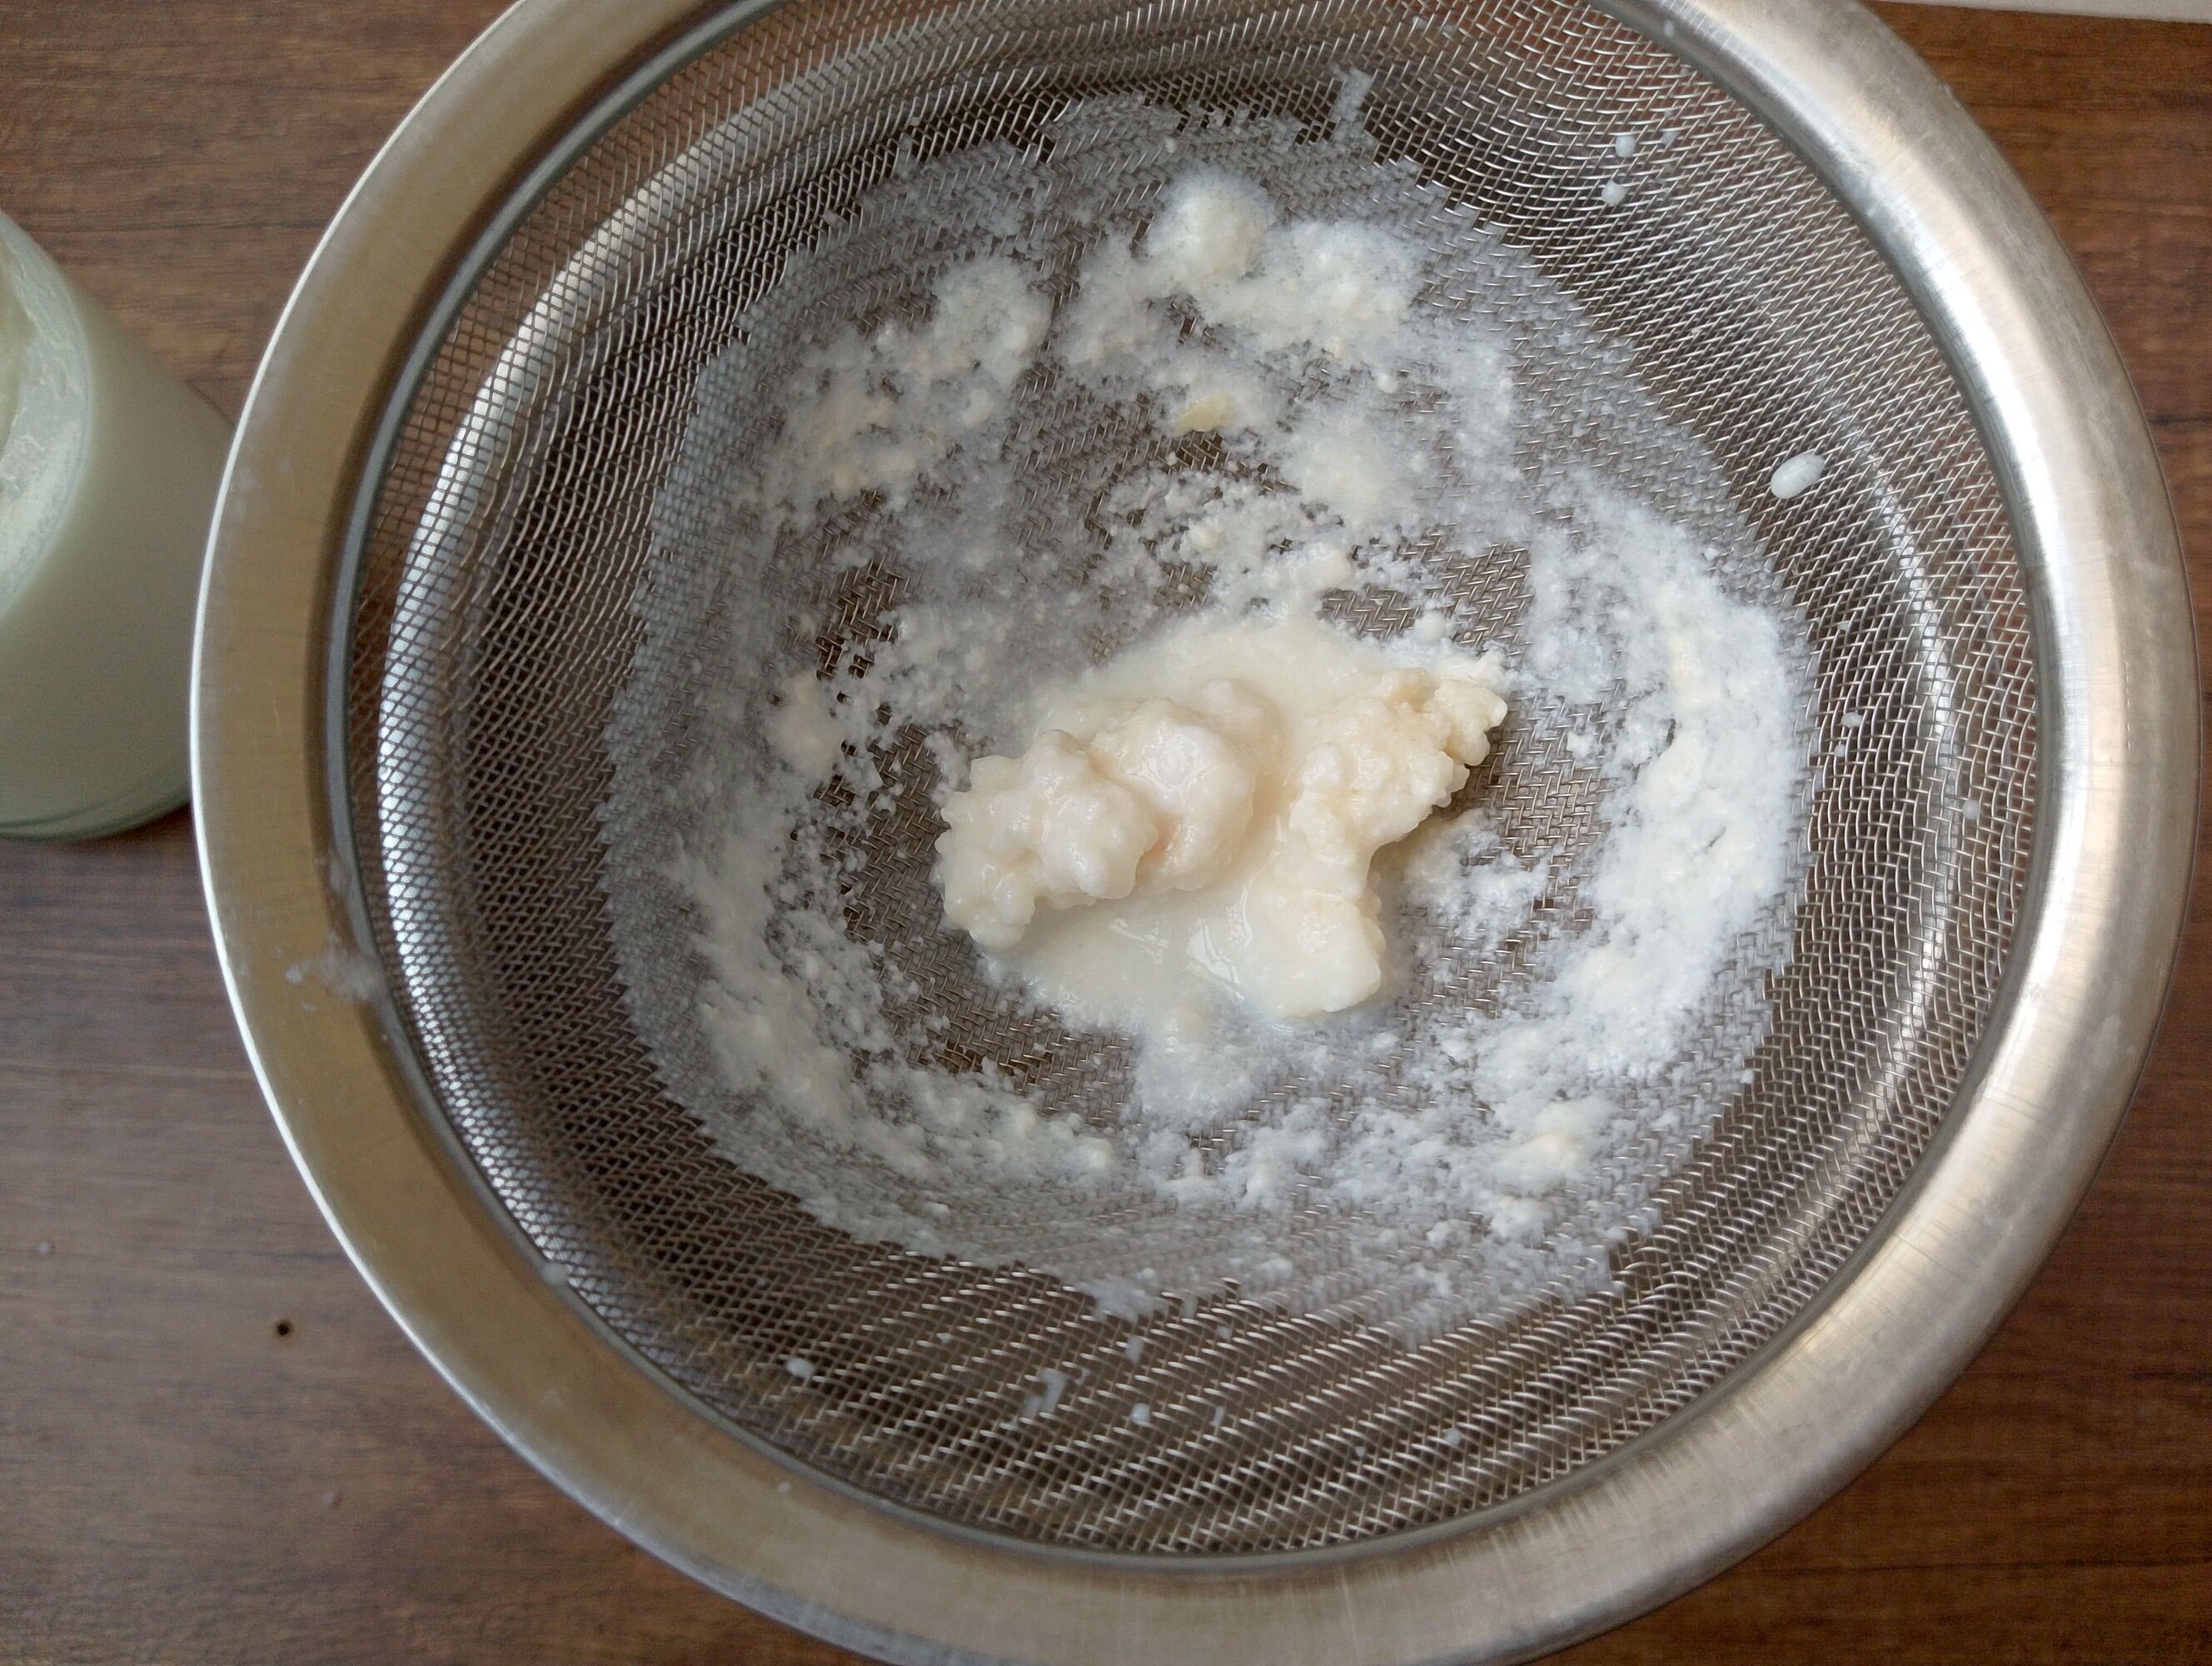
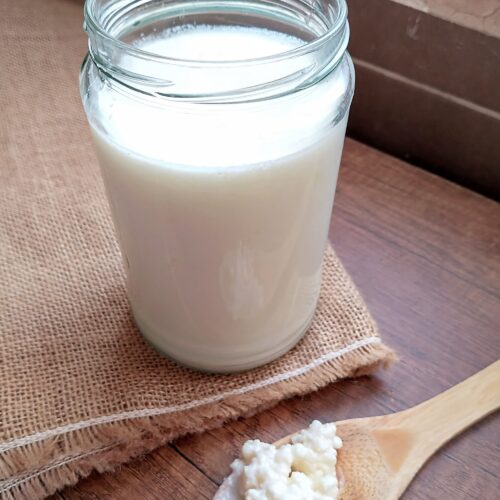
Step 2: Pour the kefir through a fine mesh strainer into a clean jar to separate out the grains. You can also gently lift the grains out with a wooden spoon, although this method may leave behind some of the smaller grains in the kefir.
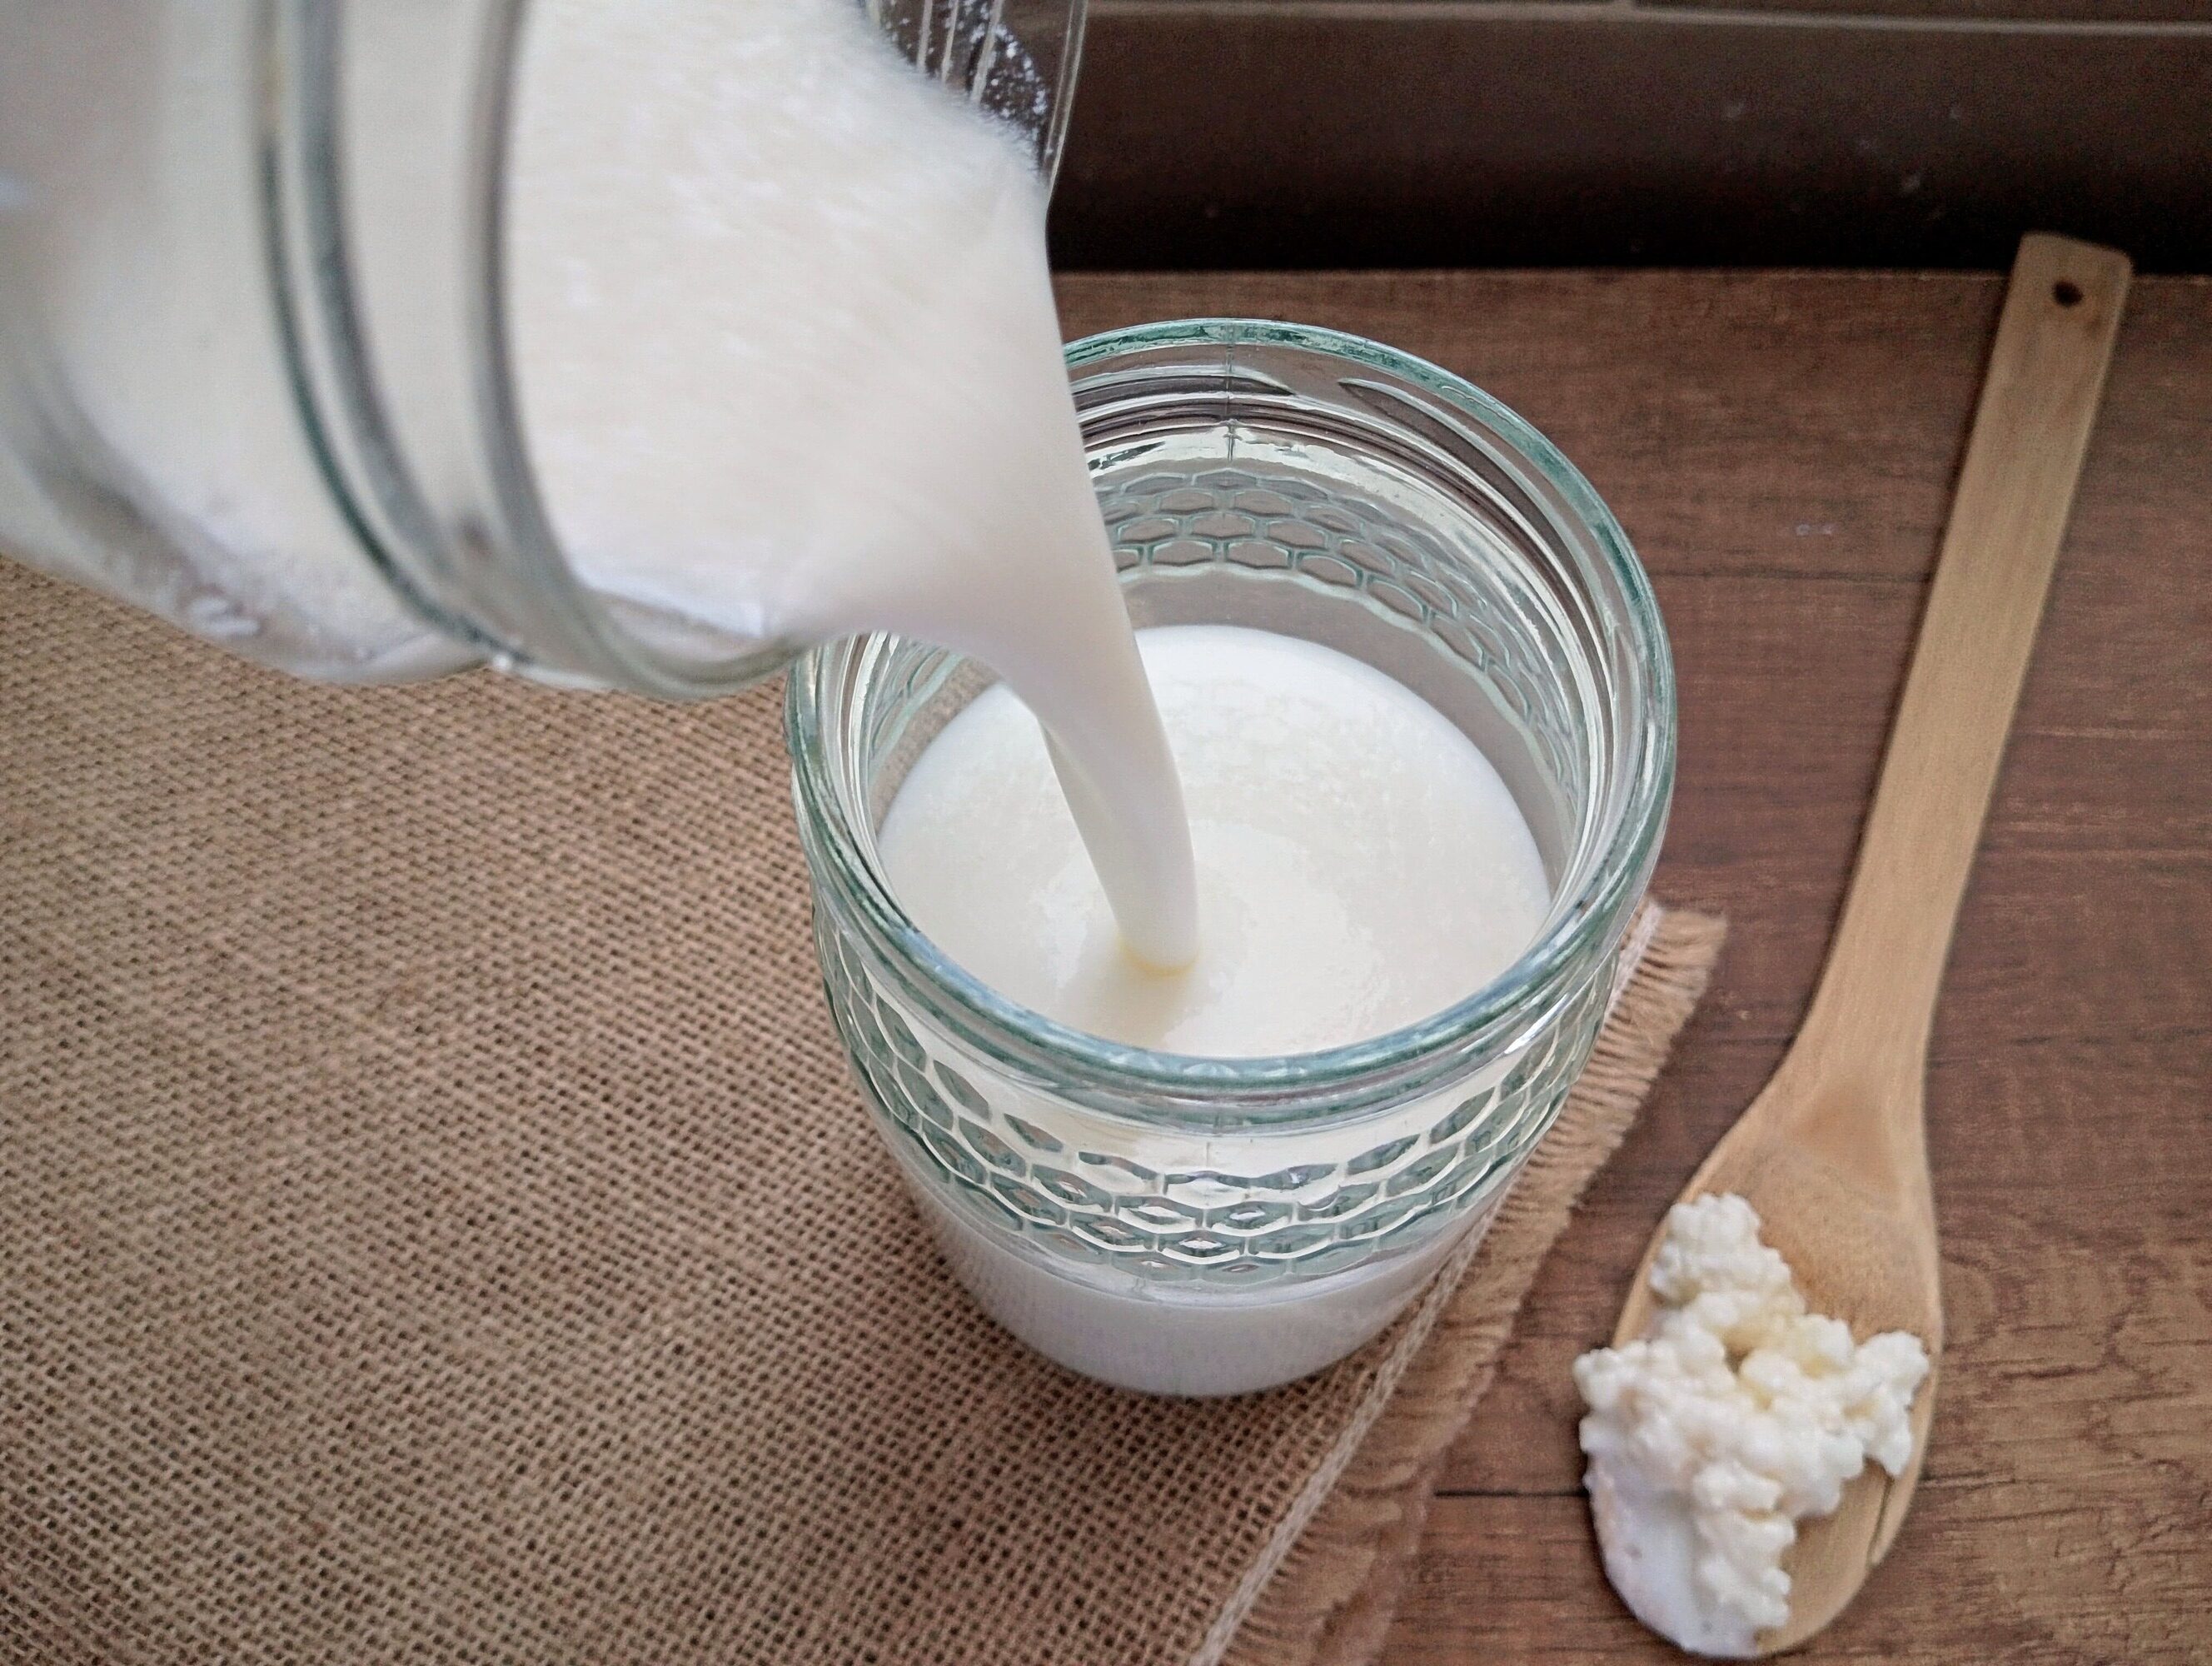
Step 3: Store your finished kefir in a sealed jar in the refrigerator. It will keep well for 1–2 weeks, although the flavour will gradually become more sour and tangy over time.
Step 4: Use your strained-out grains to start a new batch of kefir by placing them straight into a jar of fresh raw or pasteurised milk. If you don’t want to make another batch immediately, store the grains in a small amount of fresh milk in a closed jar in the refrigerator until you’re ready to use them again.
How to Tell When Milk Kefir Is Ready
Milk kefir is ready when it has thickened slightly (the consistency of drinkable yogurt), smells pleasantly tangy, and you can see small pockets of whey beginning to separate from the milk. It should taste creamy and tart, not spoiled or unpleasantly sharp. Don’t wait for your kefir to separate into curds and whey! It’s much more pleasant to drink when it is thick and creamy, rather than separated and grainy. As soon as you notice that it has thickened, strain out the grains and transfer your ready kefir to the refrigerator.
Troubleshooting
Why Is My Milk Kefir Too Sour?
Milk kefir usually becomes too sour when it ferments too long, the room is very warm, or there are too many grains for the amount of milk. Next time try shortening the fermentation time and using more milk per tablespoon of grains. It’s also worth fermenting in a slightly cooler spot for a milder flavor. The most important thing beginners forget is that you only need about 2 tablespoons of grains to ferment a quart (liter) of milk. Using much more than necessary will make your kefir ferment too fast and become overly sour.
Why Is My Milk Kefir Not Thickening?
Milk kefir may not thicken well if the room is too cool, the grains are weak, there aren’t enough grains for the amount of milk used, or the kefir simply hasn’t fermented long enough yet. For thick, creamy milk kefir, use full-fat milk whenever possible, whether raw or pasteurised. Avoid ultra-pasteurised (UHT) milk if you can. It often produces a thinner kefir and may slow grain growth over time. Temperature also makes a big difference. Kefir ferments best in a warm room. During winter I like to keep mine on the counter near the stove, where it cultures much more happily.
Why Did My Kefir Separate?
When milk kefir ferments, it usually goes through a few stages. First, it becomes thick, creamy, and slightly tangy. If it’s left to ferment too long without being strained and moved to the fridge, it can over-ferment and naturally separate into curds and whey. This separation can also happen if your kitchen is very warm, or if you’re using a higher ratio of kefir grains to milk, which speeds up fermentation. The good news is that separated kefir is still perfectly usable. Just give it a good stir or shake to bring it back together. This texture not be ideal for drinking. However, it will still work great blended into smoothies, added to pancake batter, or strained further to make kefir cheese.
Are My Kefir Grains Dead?
Milk kefir grains may be struggling if they stop fermenting milk properly, develop an unpleasant smell, or become overly mushy or discoloured. However, in most cases, grains are not actually dead — they’re simply stressed. Kefir grains are surprisingly resilient. Many will recover after a few batches in fresh milk at room temperature, especially if they’ve just been neglected. I’ve even forgotten my grains before and left them sitting unfed in a jar of finished kefir in the refrigerator for several weeks at a time. They always bounced back after a couple of feedings. In fact, I’m still using the same grains I bought online back in 2011. They’ve just kept going and multiplying ever since. So while I don’t recommend you neglect your grains, it’s usually not too late to bring them back to health!
Why Are My Kefir Grains Not Growing?
Milk kefir grains may stop growing if conditions aren’t quite ideal. Common reasons include over-fermentation, not enough fresh milk, inconsistent feeding, or using very cold or highly processed milk. It’s also worth remembering that milk kefir grains don’t always grow quickly. Compared to something like water kefir grains, they tend to multiply more slowly over time. If your grains are healthy, well-fed, and kept at a steady room temperature, they will usually continue to slowly grow and reproduce. Of course it won’t be immediately obvious from batch to batch.
How to Flavor Milk Kefir
You can flavour milk kefir during a second ferment by adding blended fruit after straining out the grains, then letting it sit at room temperature for another 12–24 hours. You can also simply flavour it just before serving.
It’s worth noting that a second ferment can increase the alcohol content of kefir slightly. This is something to be aware of depending on your preference. I personally prefer to add fruit or other flavourings right before serving for that reason.
Here are some tasty ways to flavour milk kefir:
- Blend in fresh berries like strawberries, raspberries, or blueberries.
- Stir in vanilla extract with a little honey or maple syrup.
- Whisk in cocoa powder and honey for a chocolate version (this also works great as a popsicle mix).
- Banana, mango, and peach blended into kefir make a delicious tropical smoothie.
- For a super quick option, you can also blend in some homemade jam.
How to Use Milk Kefir
Milk kefir is very versatile and can be used in all kinds of recipes, both fresh and in cooking. Here are some of my favourite ways to use milk kefir:
- Blend it into smoothies with fruit, honey, or frozen berries.
- Use it in pancakes, waffles, or muffins instead of buttermilk.
- Stir it into salad dressings or creamy herb dips.
- Add it to popsicle recipes for a probiotic boost.
- Use it in meat marinades – the sourness of kefir helps to tenderize meat.
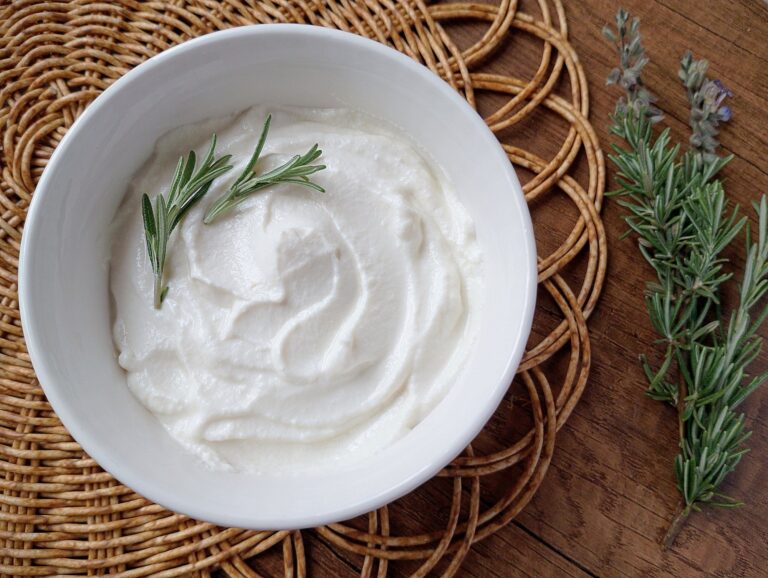
- Make soft kefir cheese by straining it through cloth until thick and spreadable.
- Finally, you can use it in pretty much any recipe that calls for sour milk or buttermilk. I’ve tried it in many different recipes over the years, and it always works beautifully.
Storage Tips
- To store milk kefir, pour the finished kefir into a clean jar with a lid and keep it in the refrigerator.
- Your kefir will stay fresh for about 1–2 weeks, though the flavor will continue to become more tangy over time as it slowly ferments in the fridge.
- Don’t store your finished kefir on the counter. When stored at room temp, it will continue to ferment until it quickly becomes too sour and unappetizing to drink.
Recipe FAQ
Final Thoughts
Milk kefir was one of the first fermented cultures I ever tried when I discovered fermentation, and it remains one of my very favourites. If you take care of your kefir and feed it regularly with fresh milk, it can serve you for many years — mine has been with me for over 15 years and is still going strong!
It even flew with me to Africa (packed carefully in a little jar in my suitcase) when I moved here with my family several years ago.
If you love old-fashioned cultured drinks, sourdough baking, and from-scratch cooking, subscribe to my weekly newsletter! I send it every Sunday with new recipes, tips, and homemaking inspiration for real food moms like you.
More Delicious Cultured Dairy Recipes
6 Simple No Rennet Cheeses to Make At Home
How to Make Milk Kefir
Ingredients
- 1 Tbsp kefir grains
- 2 cups whole milk (raw or pasteurised)
Instructions
- Add 1 tablespoon of kefir grains to a clean glass jar, then pour in 2 cups of milk. Cover loosely (a lid or breathable cover is fine) and leave at room temperature for 12–24 hours, until the milk has thickened slightly and tastes pleasantly tangy and creamy.
- Pour the kefir through a fine mesh strainer into a clean jar to separate out the grains. You can also gently lift the grains out with a wooden spoon, although this method may leave behind some of the smaller grains in the kefir.
- Store your finished kefir in a sealed jar in the refrigerator. It will keep well for 1–2 weeks, although the flavour will gradually become more tangy over time.
- Use your strained-out grains to start a new batch of kefir by placing them straight into a jar of fresh raw or pasteurised milk. If you don’t want to make another batch immediately, store the grains in a small amount of fresh milk in a closed jar in the refrigerator until you’re ready to use them again.