How to Turn Milk Kefir Into Soft Homemade Cheese
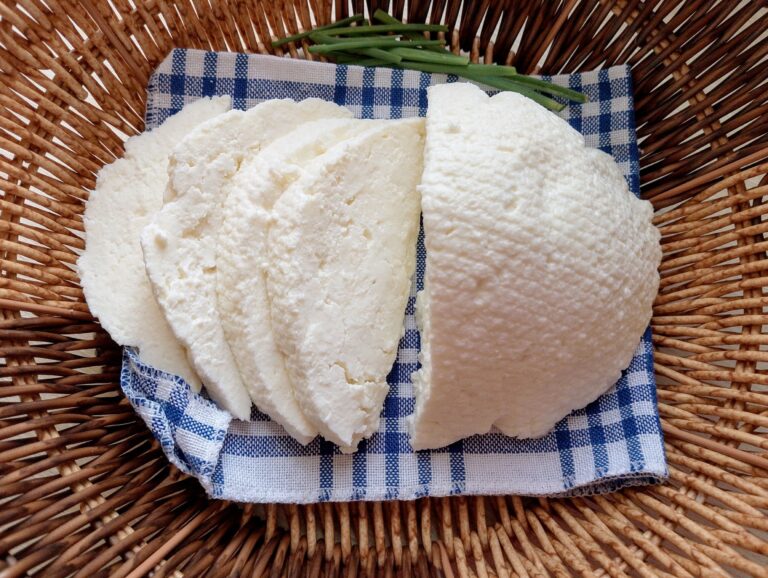
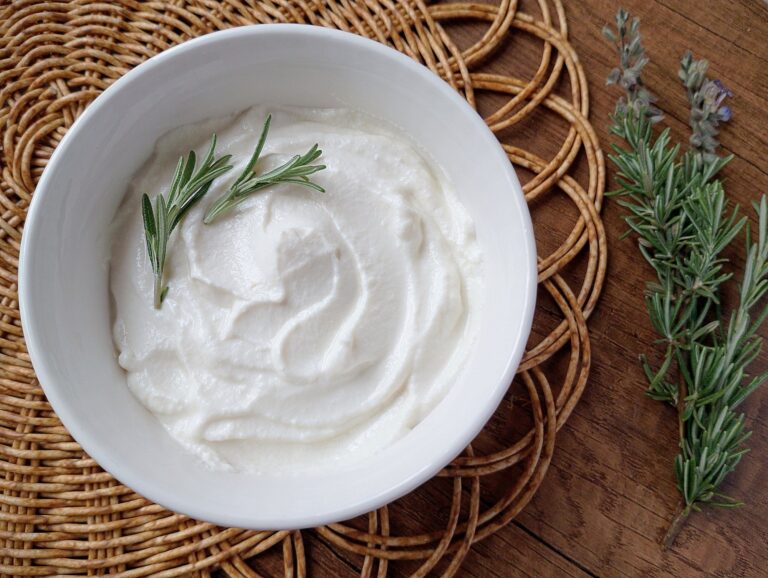
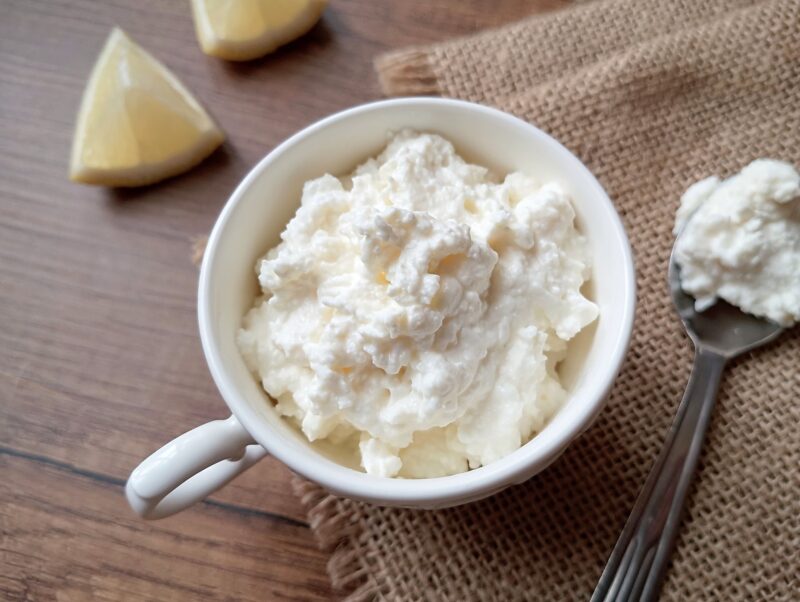
If you want to try making simple homemade cheeses, there’s no easier place to start than kefir cheese. With just kefir (homemade or store-bought) and a cloth, you can make a thick, creamy cheese with a pleasantly tangy flavor. It’s incredibly versatile and makes a wonderful homemade alternative to both cream cheese and cottage cheese. You can spread kefir cheese on bread, stir it into dips, roll it into crepes, or add it to baked dishes for extra richness and nutrition.
In this post, I’ll show you exactly how to make kefir cheese in 3 super simple steps, plus how to store it and use it in everyday family recipes. Let’s go!
Why You’ll Love This Recipe
- Thick, creamy cheese with a pleasantly tangy flavor
- Easy to make at home with no special equipment
- A delicious homemade alternative to cottage cheese or cream cheese
- Rich in protein and fat-soluble vitamins
- Incredibly versatile — enjoy it fresh or use it in dips, breakfast casseroles, pastries, and baked dishes
Ingredients
- 2 quarts (liters) kefir
- Fine salt (optional)
Tools You’ll Need
- Cheesecloth
- Colander
- Large bowl or pot to catch the whey
Tips For The Best Kefir Cheese
- Use fully fermented, thick kefir for the best yield and texture.
- Don’t over-stir before draining — you’ll break up the curds.
- Use a tightly woven cloth (butter muslin, clean tea towel, or several layers of cheesecloth) so you don’t lose some of the soft curds.
- Drain in the fridge for a milder flavor, especially in warm weather.
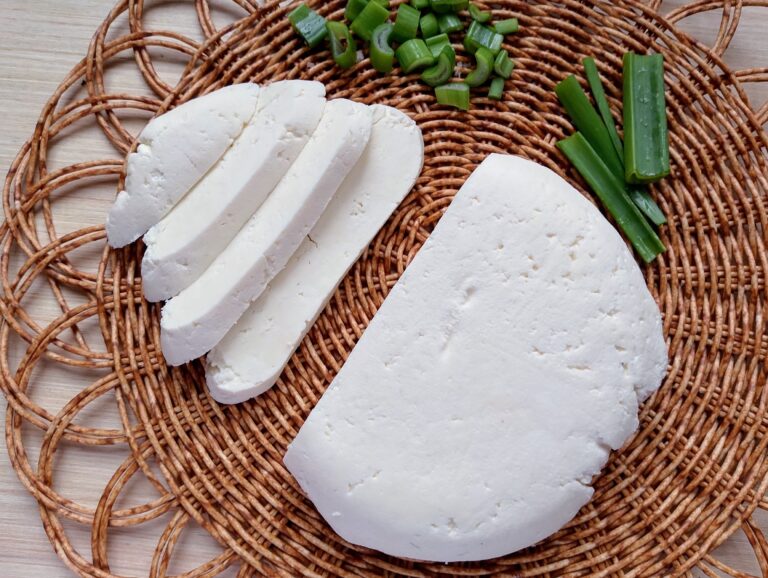
- Drain for a shorter time for soft, spreadable cheese (around 4-6 hours) or for a longer time (up to 24 hours) for a firm, rich cheese. If you leave it too long and it becomes too thick, simply stir back a little of the whey to loosen it.
- Adding salt after draining really improves the flavor and shelf life of your kefir cheese.
How to Make Kefir Cheese Step By Step
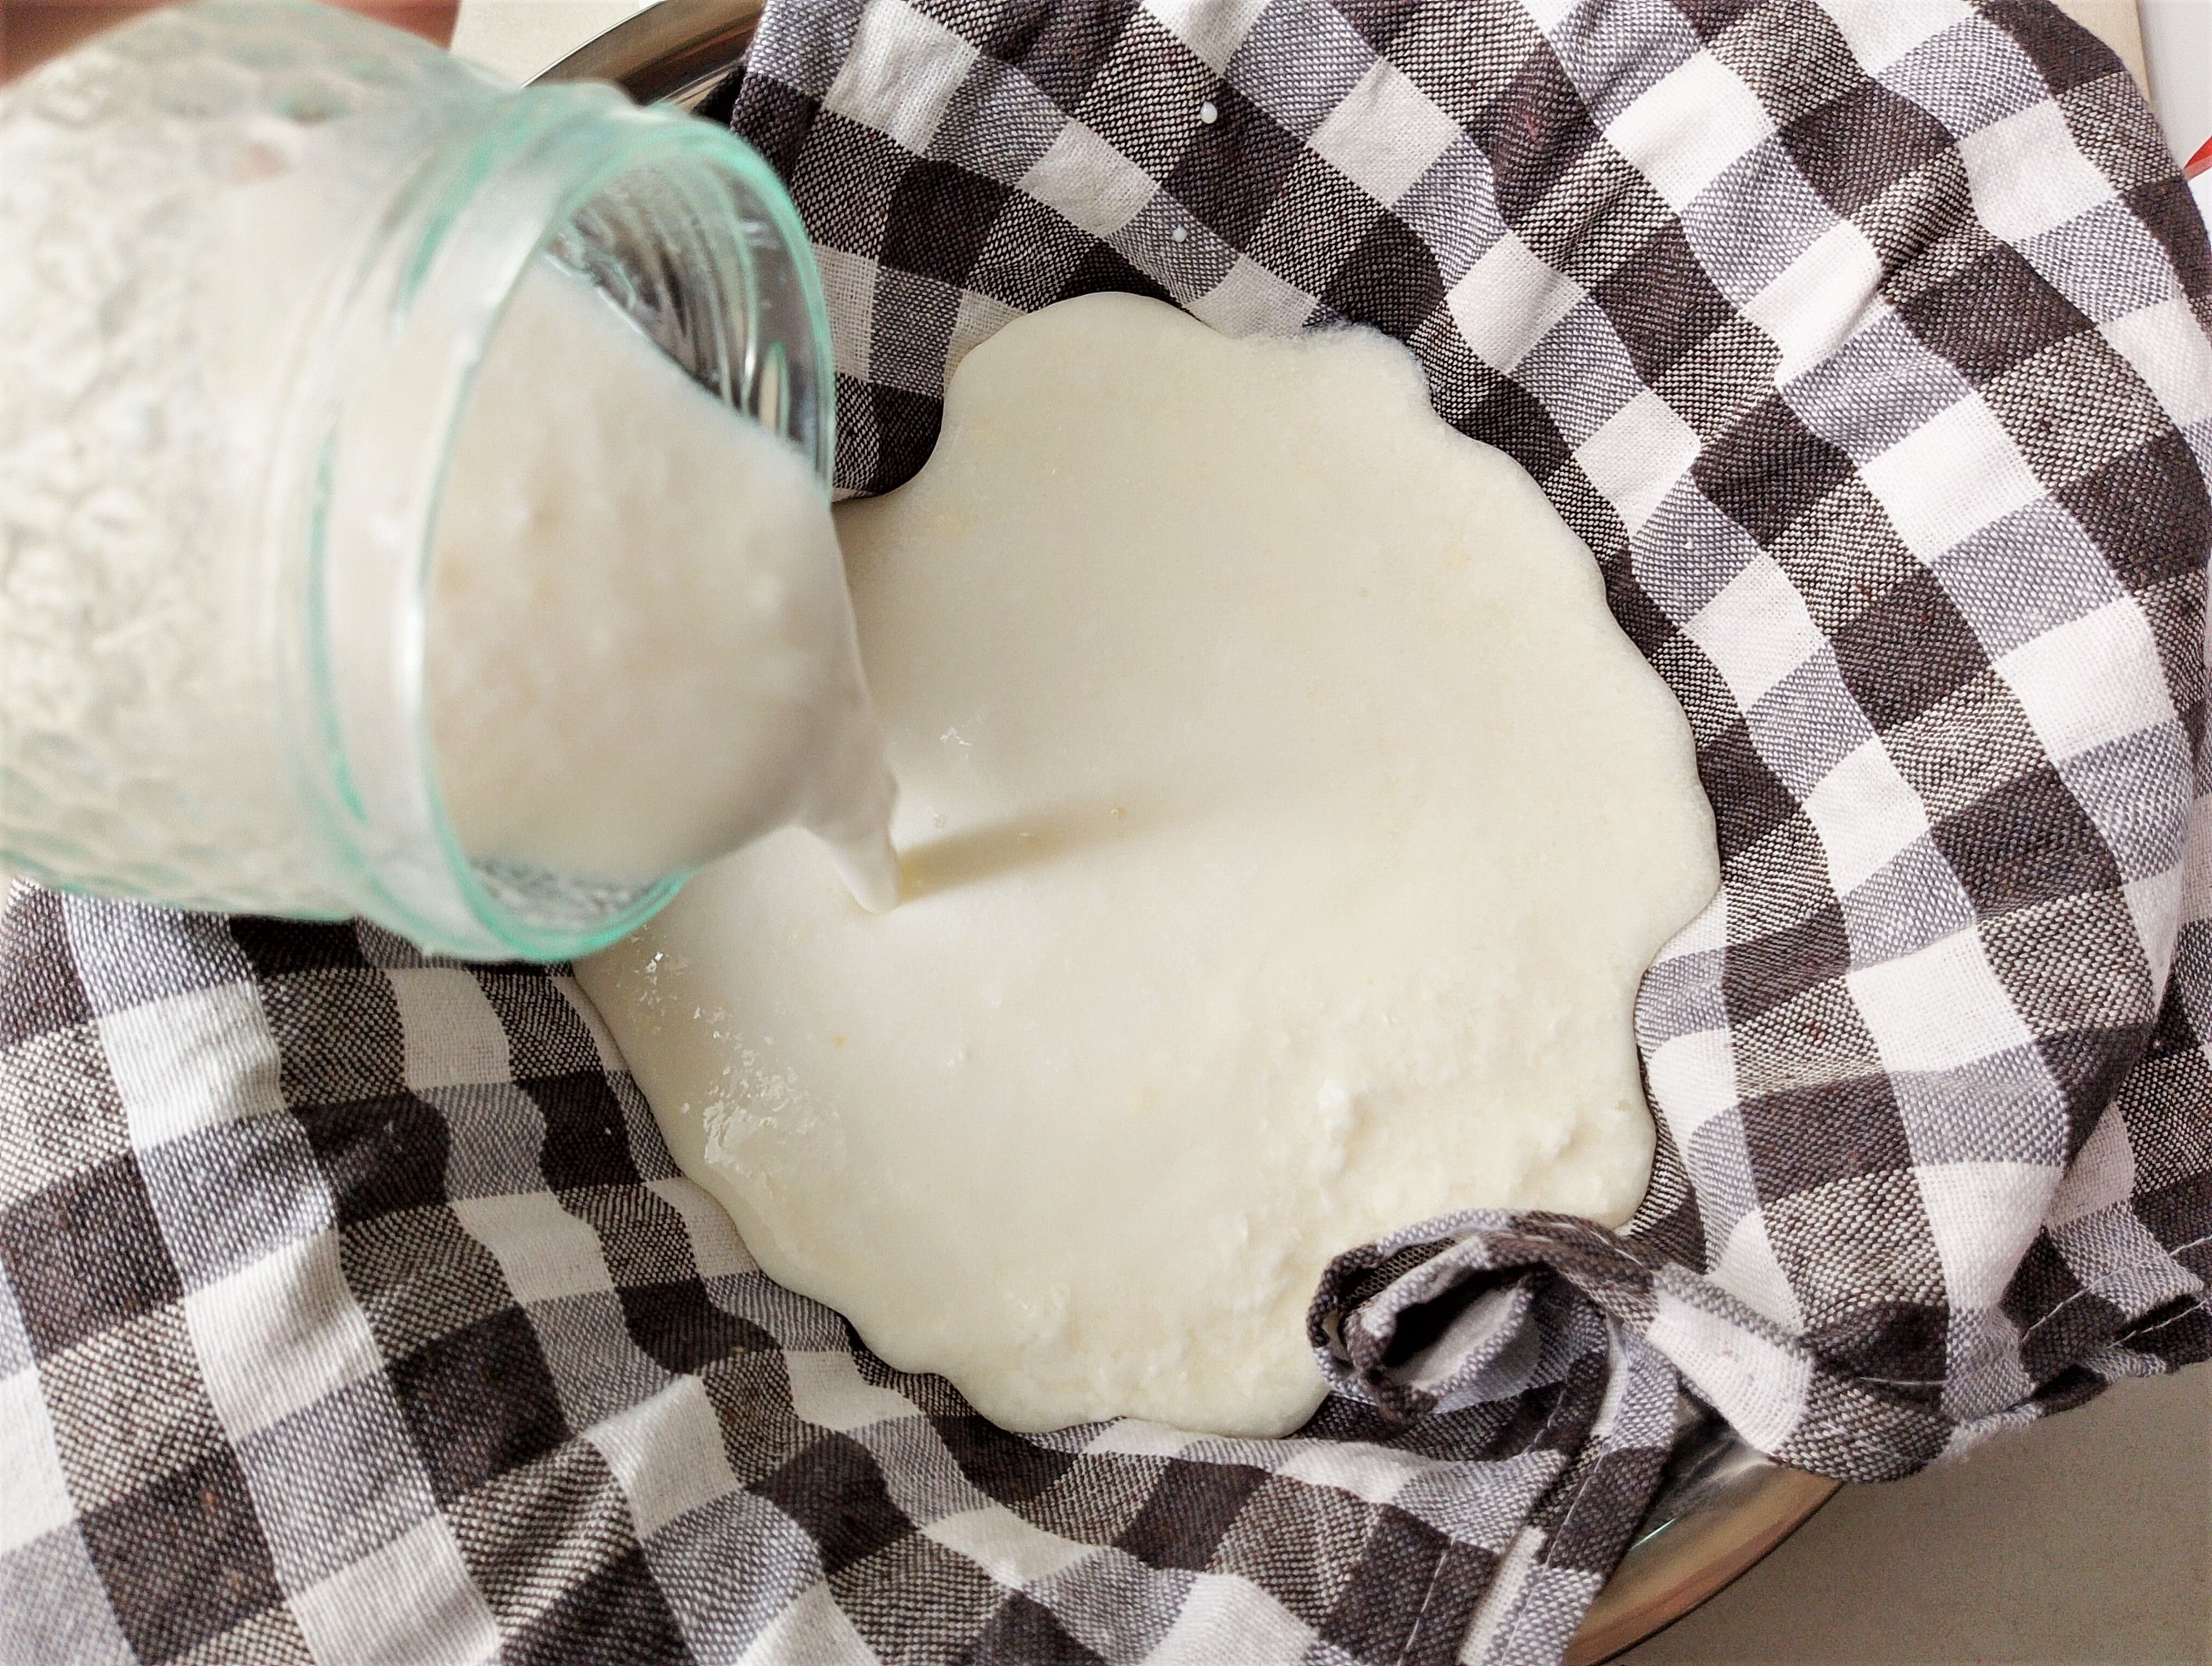
Step 1: Let your kefir ferment until it becomes thick and just begins to separate. You can use homemade kefir or store-bought if that’s what you have on hand.
Line a colander with two layers of cheesecloth (or a clean tea towel, which I use here) and set it over a bowl to catch the whey. Gently pour the kefir into the lined colander.
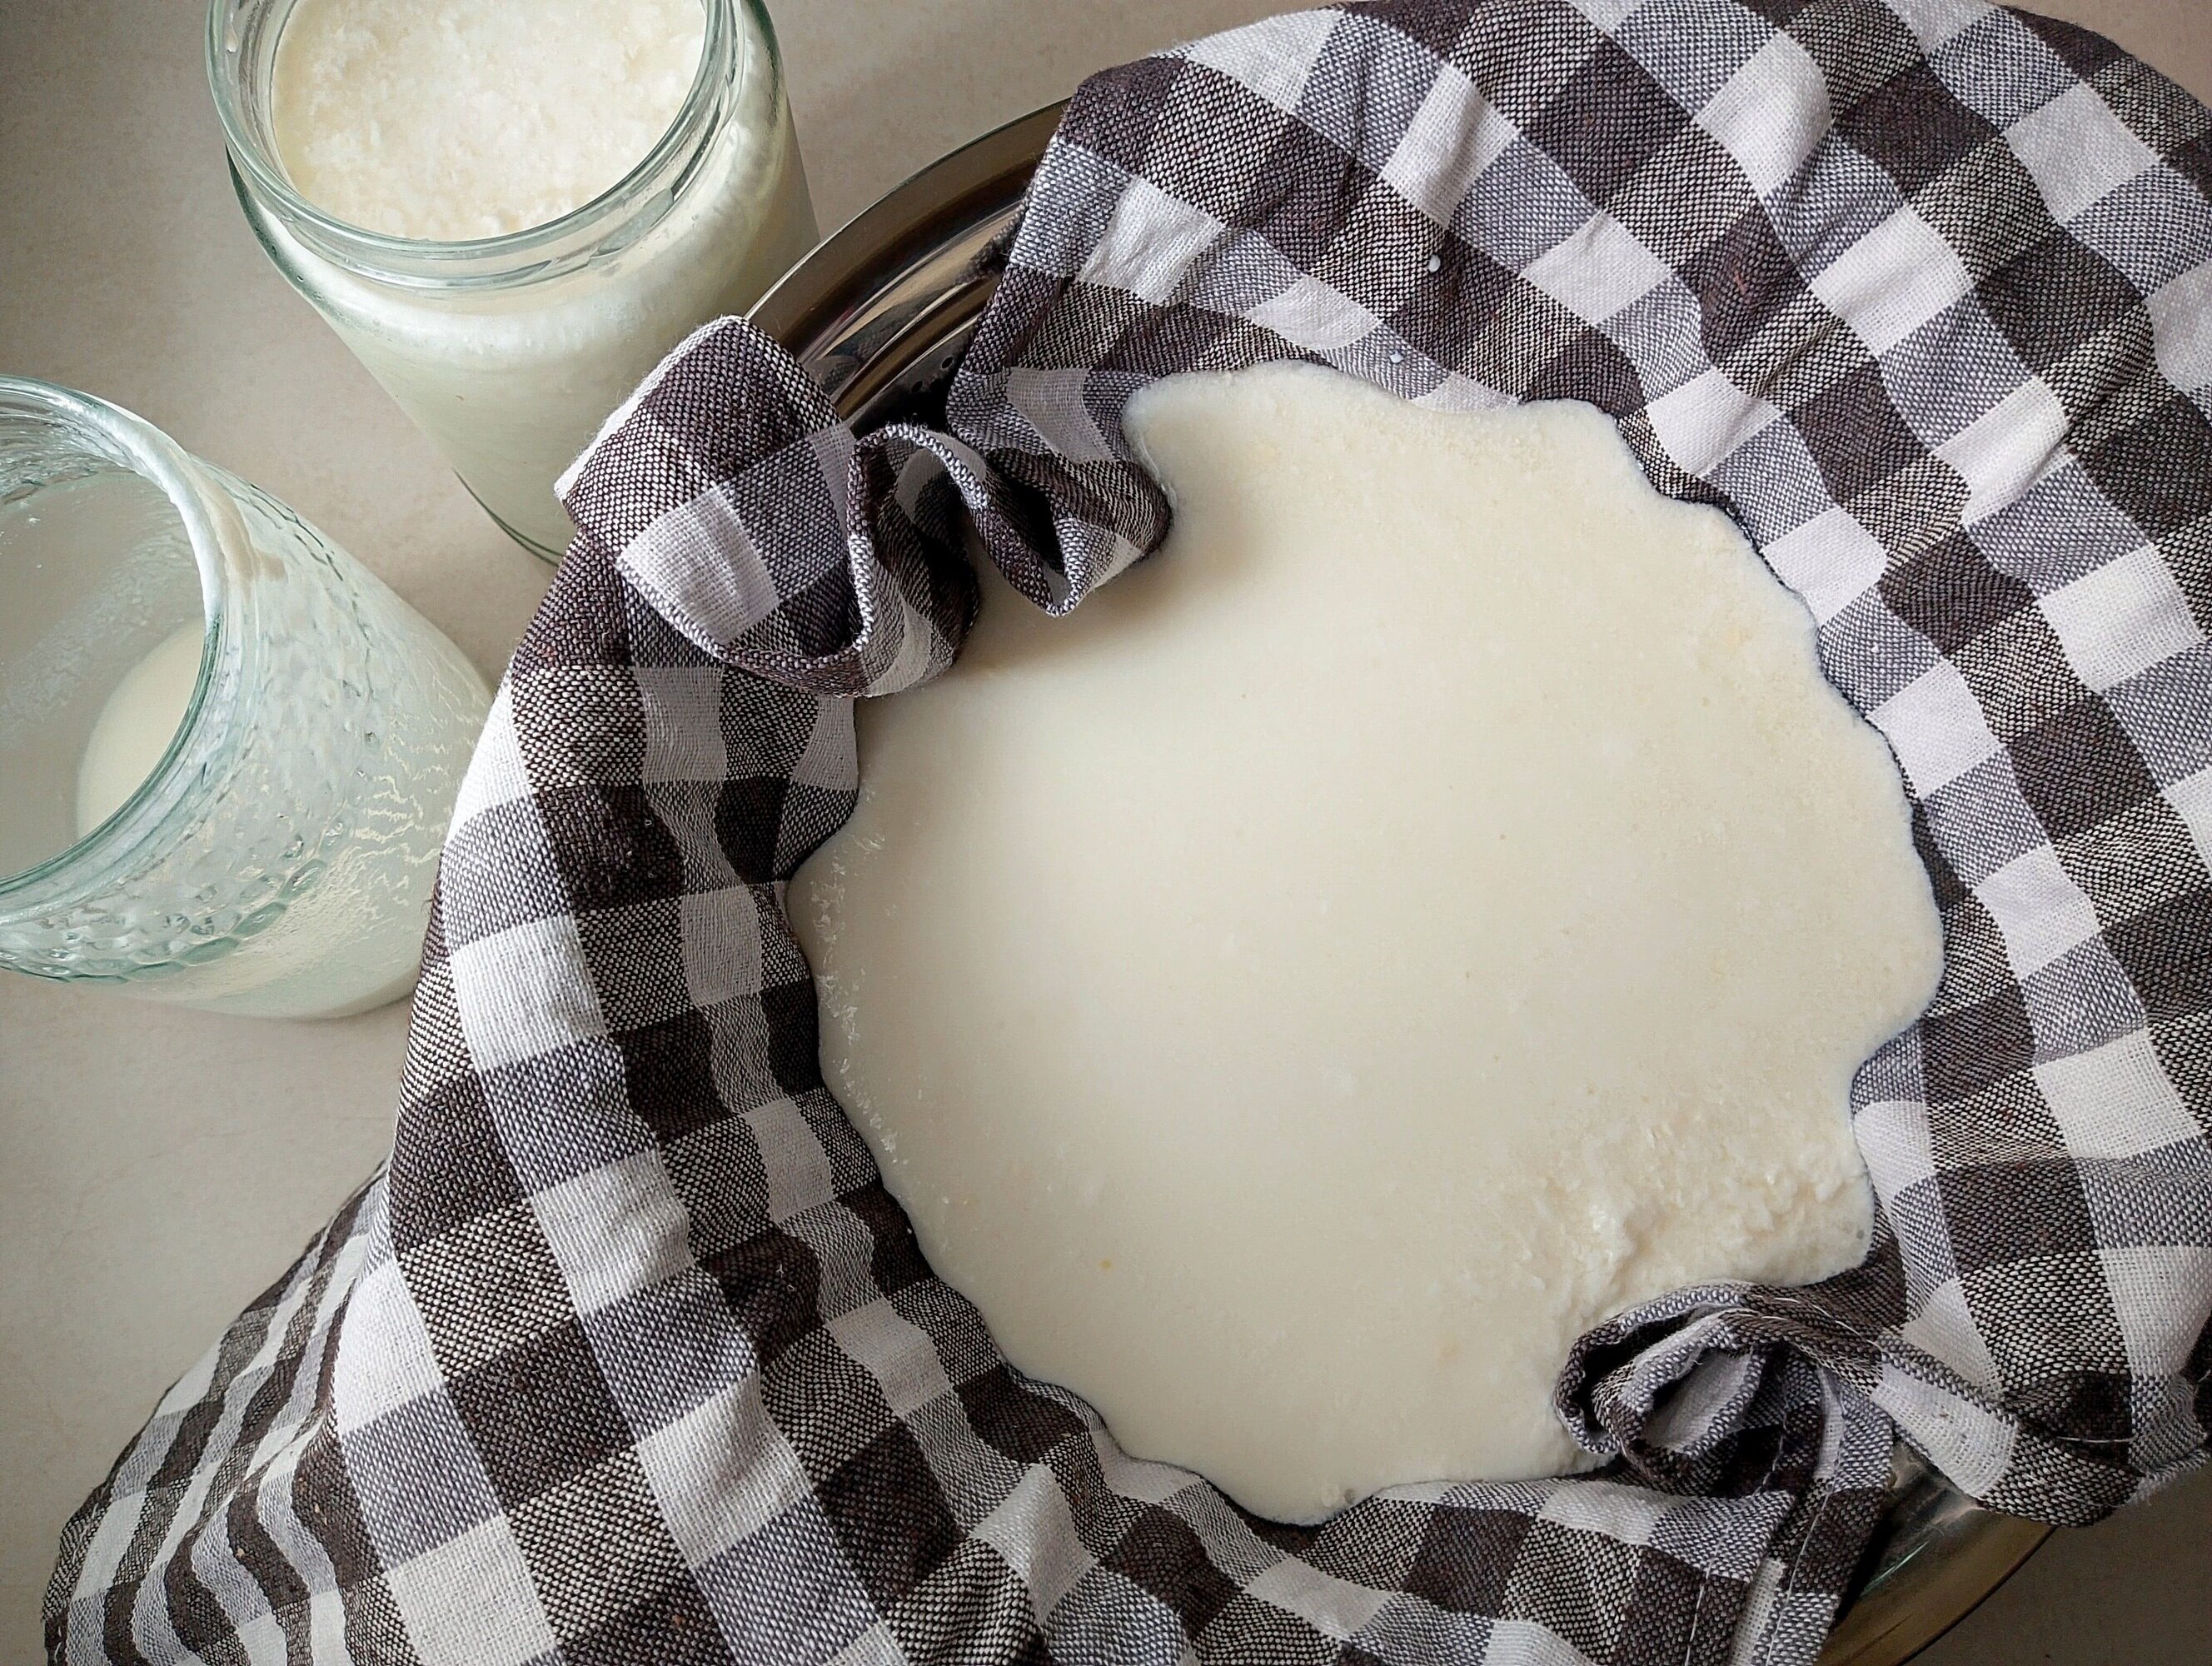
Step 2: Transfer the kefir to the refrigerator and let it drain for about 4–6 hours for a soft, spreadable kefir cheese. For a thicker, more firm cheese, you can leave it up to 24 hours.
I recommend draining it in the refrigerator, as this also gives a milder, less tangy flavor that’s usually more kid-friendly and easier for the whole family to enjoy.
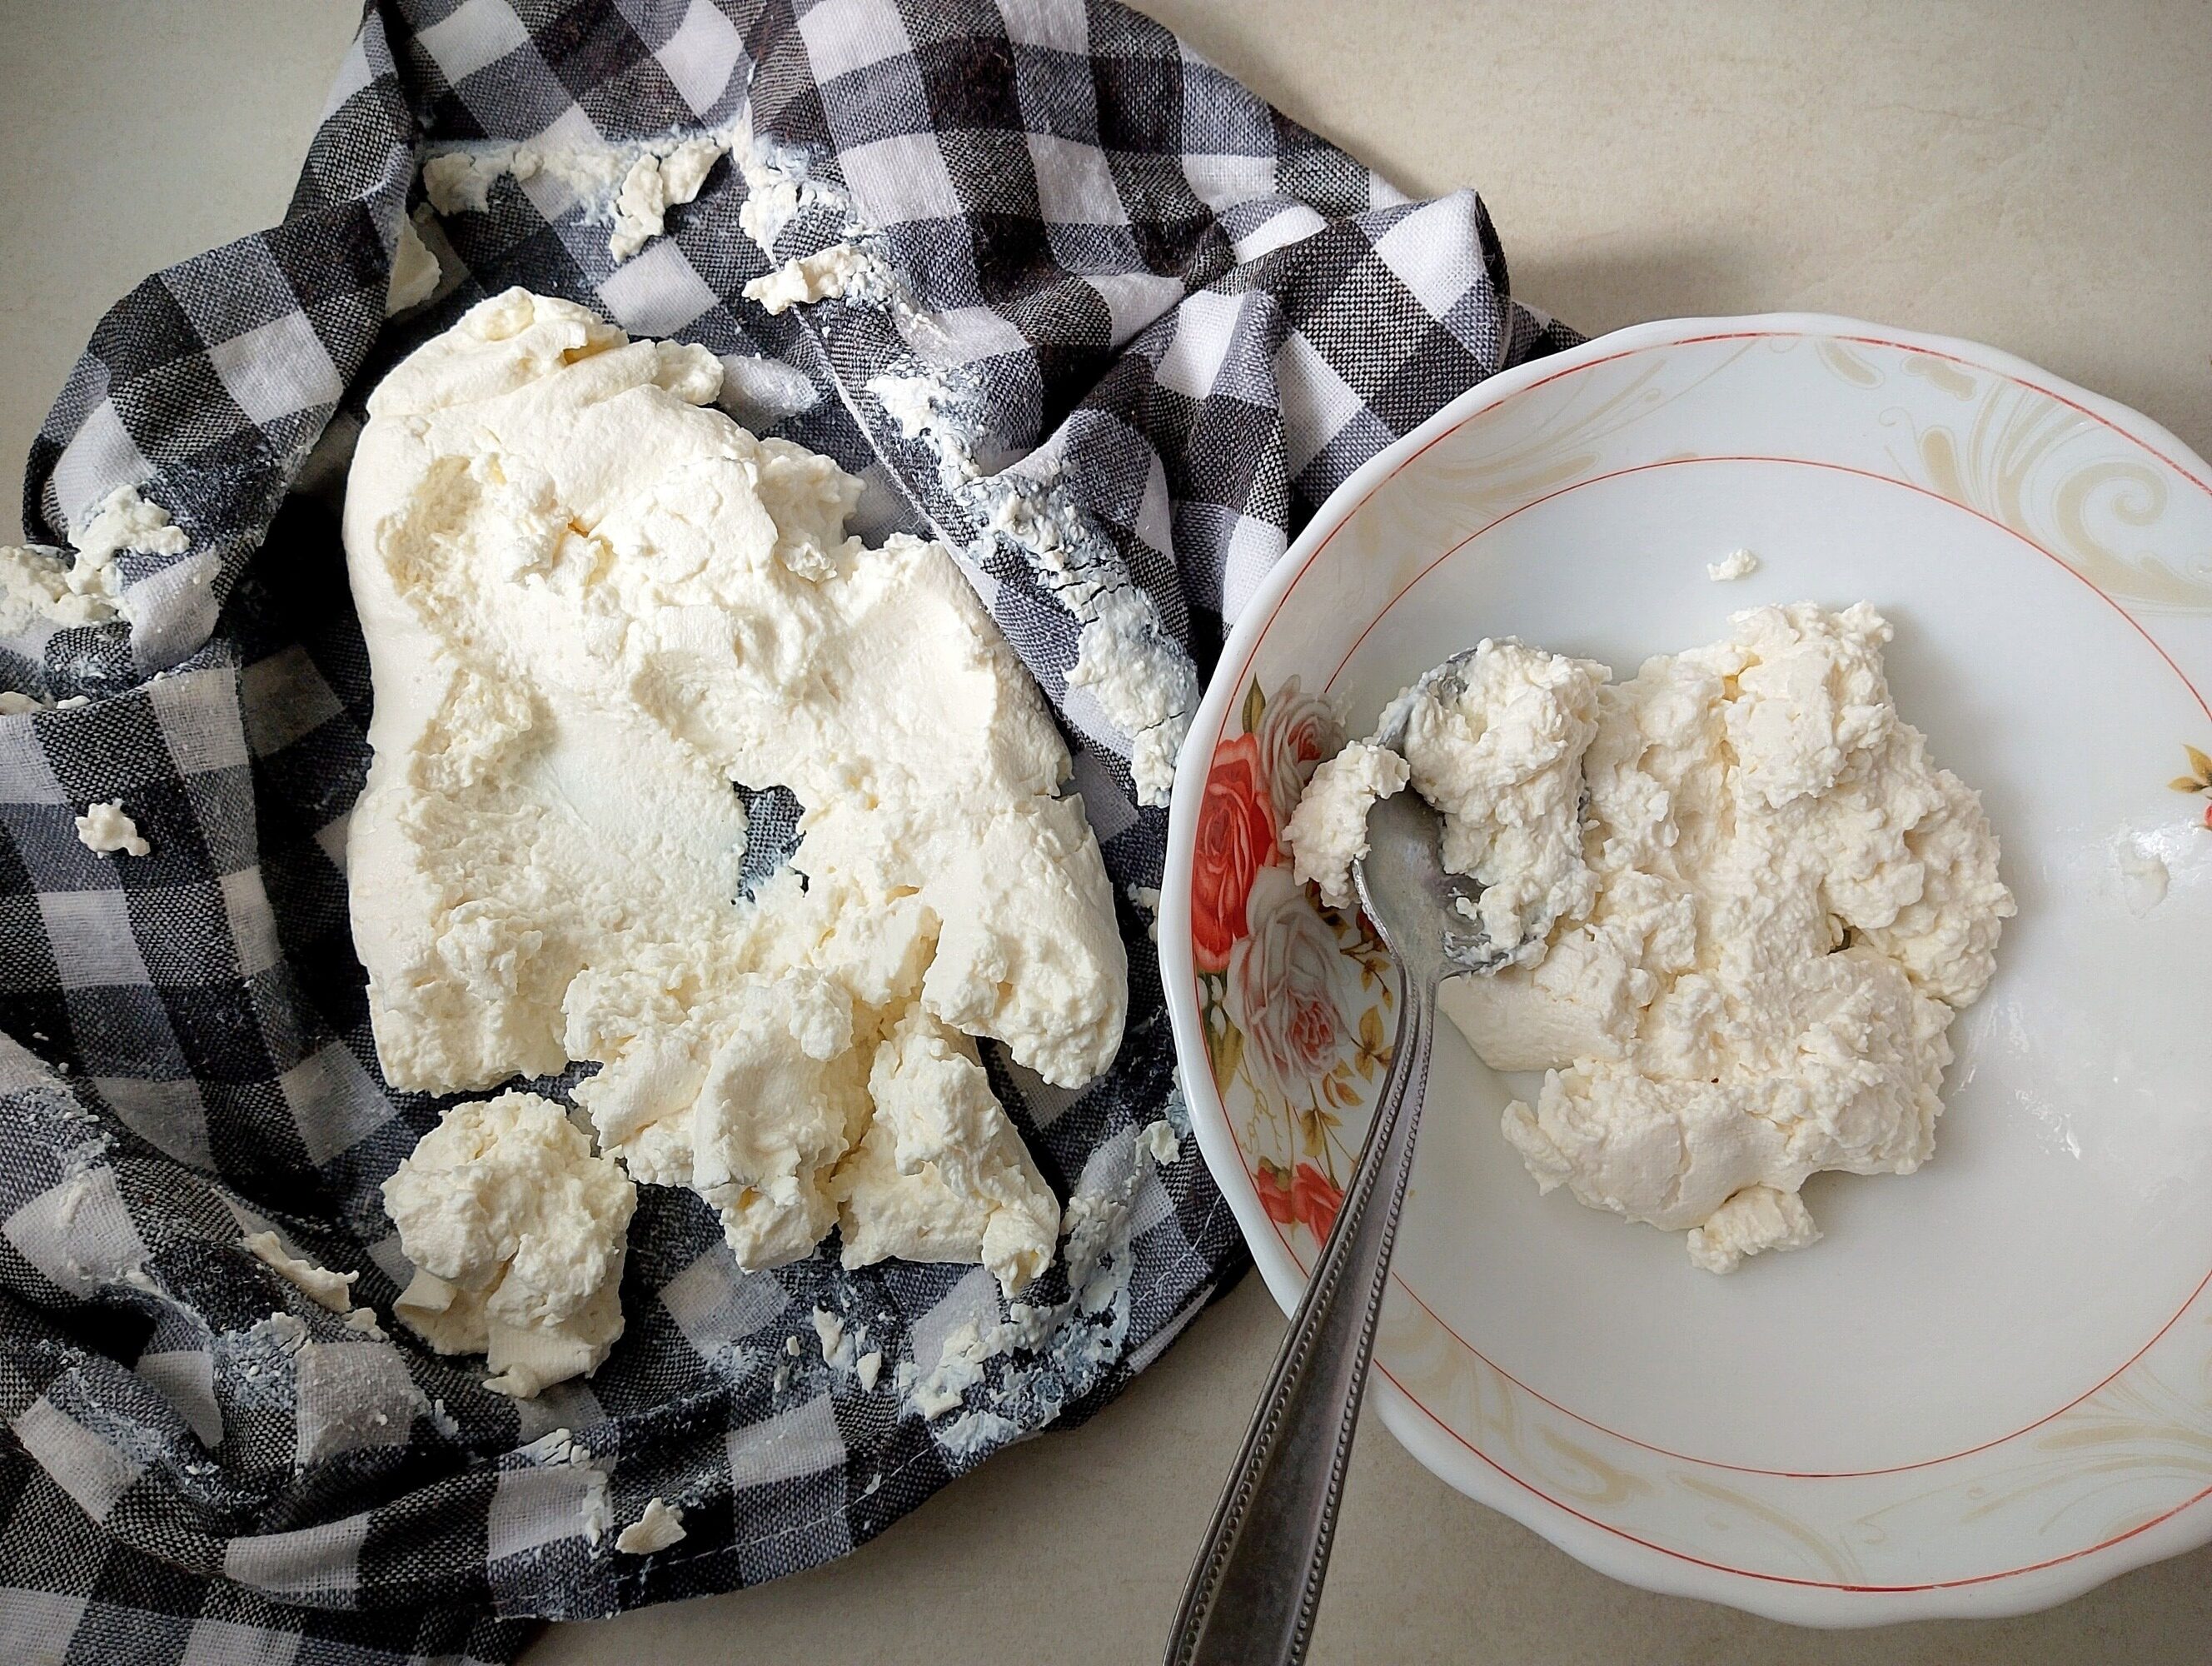
Step 3: Once your kefir cheese has reached your desired consistency, transfer it to a bowl and stir in salt to taste. If you plan to use it in baking or sweet recipes, you can skip the salt.
If you’re not serving it right away, store it covered in the refrigerator for up to 1–2 weeks.
Serving Ideas
Kefir cheese is very versatile, somewhere between cream cheese, cottage cheese, and farmer’s cheese depending on how long you drain it. Here are some great family-friendly ways to serve it:
- Spread it on a slice of sourdough toast and sprinkle with fresh chives.
- Stir it into scrambled eggs or omelets for extra creaminess.
- Blend it with garlic and fresh herbs for a quick dip (especially good with homemade crackers).
- Layer it into breakfast parfaits with fruit and granola.
- Use it as a filling for crepes or pastries.
- Let the kefir cheese hang until quite thick and dry, then roll it into small balls and coat them in herbs, paprika, or cracked black pepper.
How to Store Your Kefir Cheese
Homemade kefir cheese will store very well if you keep it cold and protected from air. Here’s the best way to store it:
- Store in a clean glass jar or airtight container in the fridge. Soft kefir cheese will keep for 1-2 weeks, while you can keep well-drained and fairly dry cheese for up to 3 weeks. Adding salt really helps to prolong its shelf life.
- You can also freeze for about 2–3 months. It will become a little more crumbly or grainy after thawing, so it works better in cooking or baking rather than being eaten fresh.
- If some whey separates during storage, pour it off or stir it back in, depending on how thick you like your cheese.
Recipe FAQ

Let’s Make Some Cheese
I hope you enjoy making kefir cheese. It truly is one of the easiest homemade cheeses you can make — no cultures, rennet, or special equipment needed. If you’d like to explore more simple homemade cheeses, I have several easy, no-rennet cheese recipes here on the blog for you to try.
Making cheese at home is such a rewarding skill. Not only is it fun and surprisingly simple, but it’s also a wonderful way to add more nourishing, nutrient-dense foods to your family’s diet.
And if you enjoy traditional cooking, homemade dairy, and old-fashioned kitchen skills, be sure to subscribe to my newsletter so you don’t miss new recipes, seasonal inspiration, and simple homemaking ideas delivered straight to your inbox.
More Cheese Recipes For Beginners

Kefir Cheese
Equipment
- Cheesecloth or cotton tea towel
- colander
- Large bowl to catch whey
Ingredients
- 2 liers (quarts) kefir
- Fine salt (optional)
Instructions
- Let kefir ferment until thick and just beginning to separate. Line a colander with 2 layers of cheesecloth (or a clean tea towel) and place it over a bowl to catch the whey. Gently pour in the kefir.
- Transfer to the refrigerator and let it drain for 4–6 hours for a soft, spreadable cheese, or up to 24 hours for a thicker texture. Draining in the fridge also gives a milder, less tangy flavor that’s more kid-friendly.
- Once it reaches your desired consistency, transfer to a bowl and stir in salt to taste (omit if using in baking or sweet recipes). Store covered in the refrigerator for up to 1–2 weeks.
Notes
- Your yield will depend on how long you let your kefir cheese drain. From 2 quarts of kefir, I usually get about 16 ounces of soft, spreadable cheese.