Sourdough Pumpkin Scones
I am not much of a pastry maker, and when I make pumpkin pie, it’s usually a crustless pumpkin pie. But next to crustless pumpkin pie, these sourdough pumpkin scones are my favorite pumpkin dessert ever. (Pumpkin muffins probably take third place.)
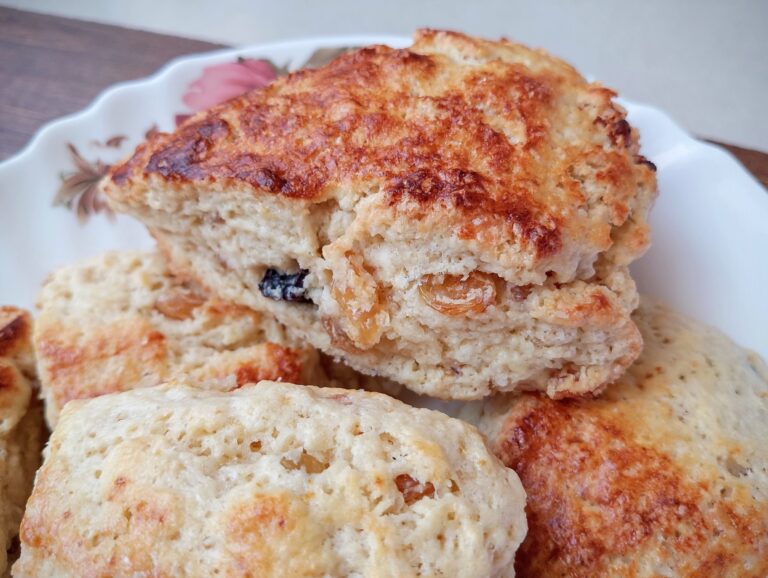
They are buttery, tender, and smell amazing while they bake. If you’re craving a pumpkin dessert, these scones won’t disappoint. They’re the perfect treat for a cold day, especially with a hot cup of tea or coffee.

Why You’ll Love This Recipe
- Full of pumpkin flavor. Pumpkin keeps these scones tender and moist, while warm spices make them perfect for fall.
- A great way to use sourdough discard. If you have a jar of discard in the refrigerator, this is an easy and yummy way to use it up.
- Simple from-scratch ingredients. Made with basic ingredients you probably already have in your kitchen.
- Easy to make. You don’t need any special equipment or techniques—just mix, shape, cut, and bake.
- Freezer-friendly. Make a batch now and freeze some for an easy treat later. (Make sure to freeze them unglazed!)
Ingredients
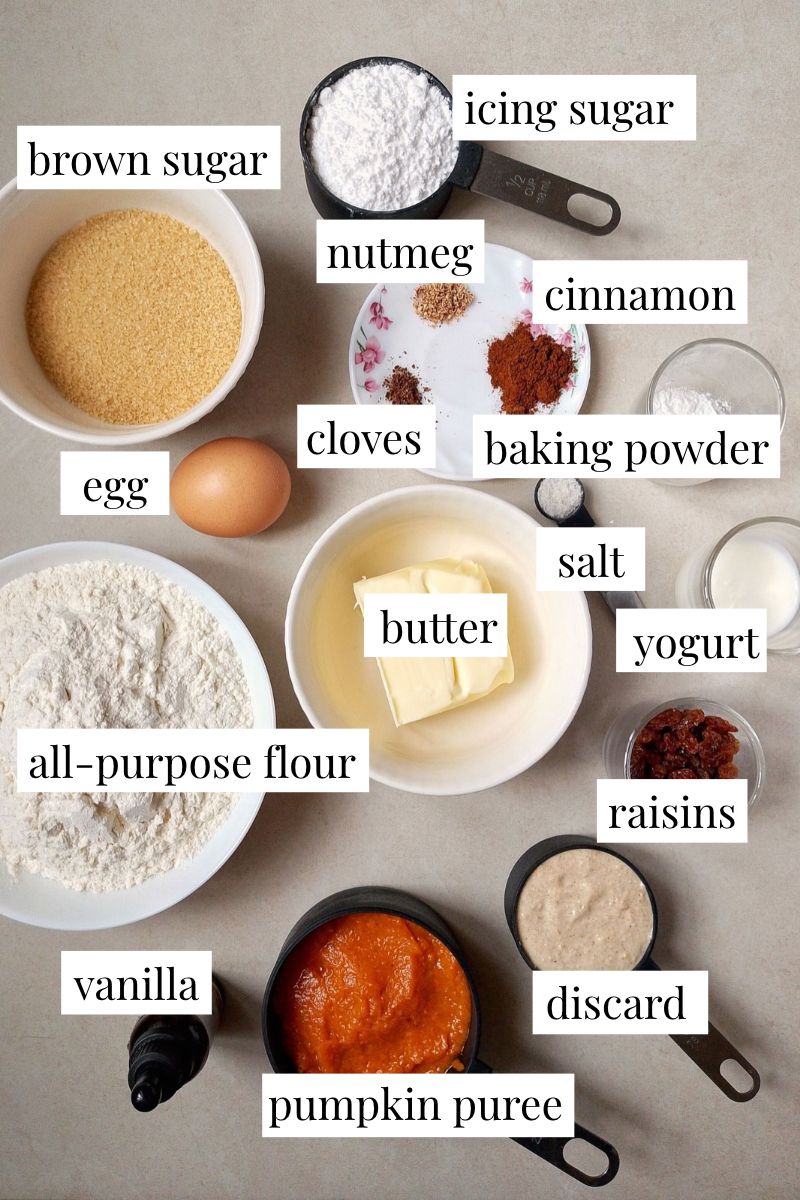
You’ll also need ground ginger, which I forgot to add on the photo!
- Sourdough discard: You can use unfed sourdough discard straight from the fridge. Active sourdough starter will also work fine here.
- Butter: Freeze your butter before making this recipe. Very cold butter is key to getting tall, tender scones.
- Pumpkin puree: Use a thick pumpkin puree for the best results. If your puree is watery, the dough may become too wet.
- Yogurt: I used thick homemade yogurt in the scone dough and in the glaze. You can also use thick kefir, sour milk, or buttermilk. These can generally be used interchangeably in baking.
- Spices: Instead of ground cinnamon, ginger, cloves, and nutmeg, you can use 2 teaspoons of pumpkin spice mix.
- Raisins: You can use chopped walnuts or pecans instead, or leave the raisins out altogether.
How to Make Sourdough Pumpkin Scones
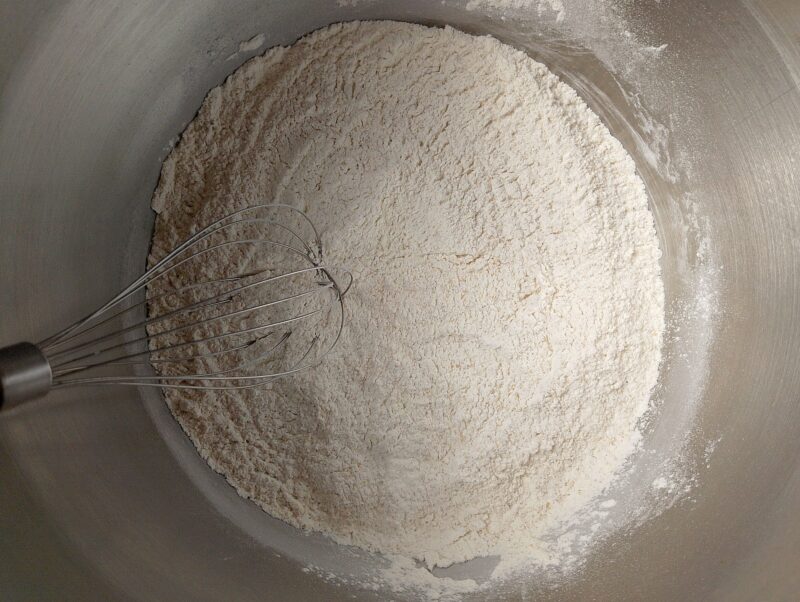
Step 1: In a large bowl, whisk together the flour, brown sugar, baking powder, salt, cinnamon, ginger, nutmeg, and cloves.
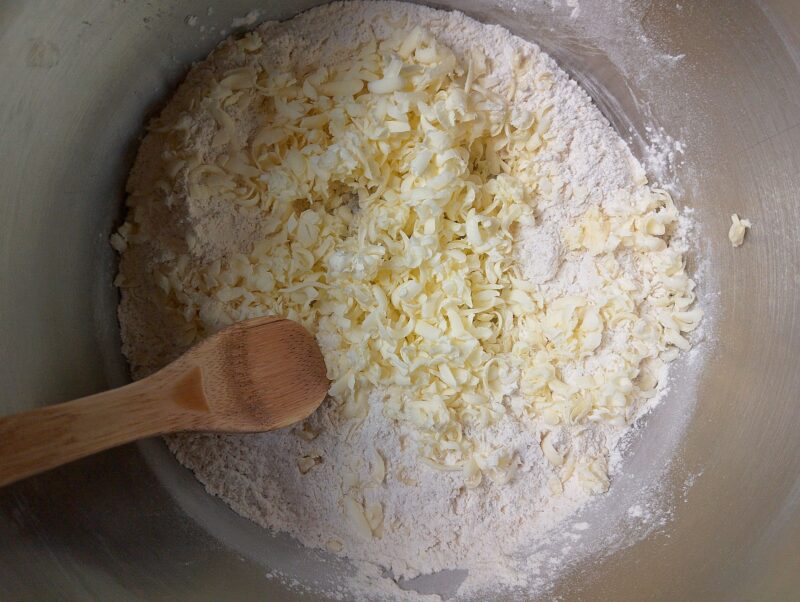
Step 2: Grate the frozen butter into the flour mixture. Use a pastry cutter or knife to cut the butter into the flour until the mixture resembles coarse crumbs, with a few pea-sized pieces of butter remaining.
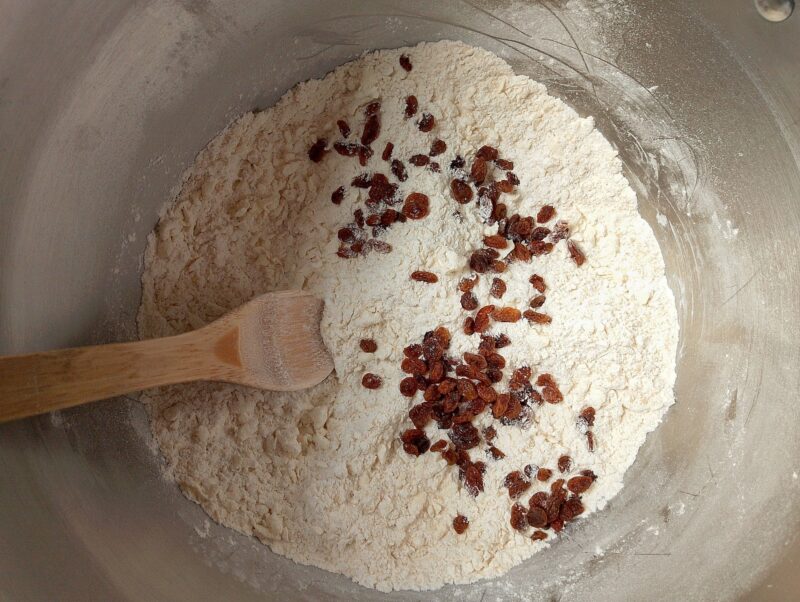
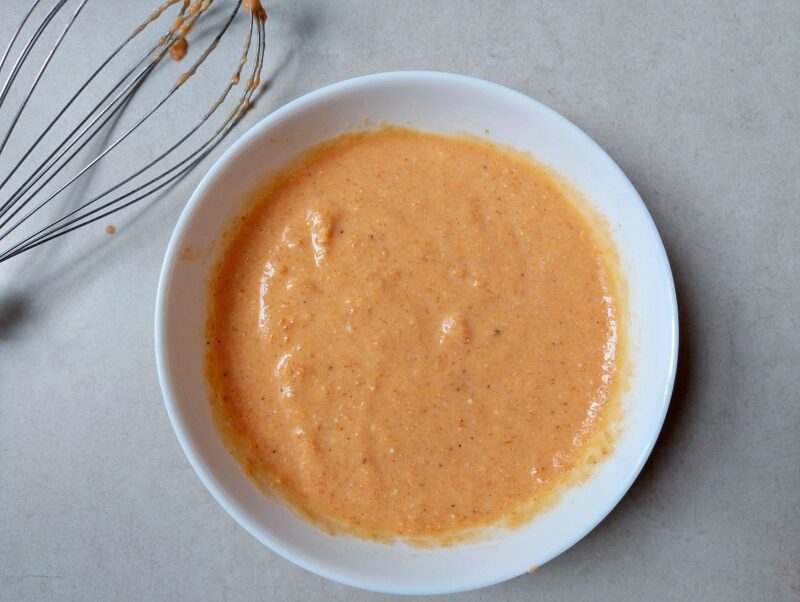
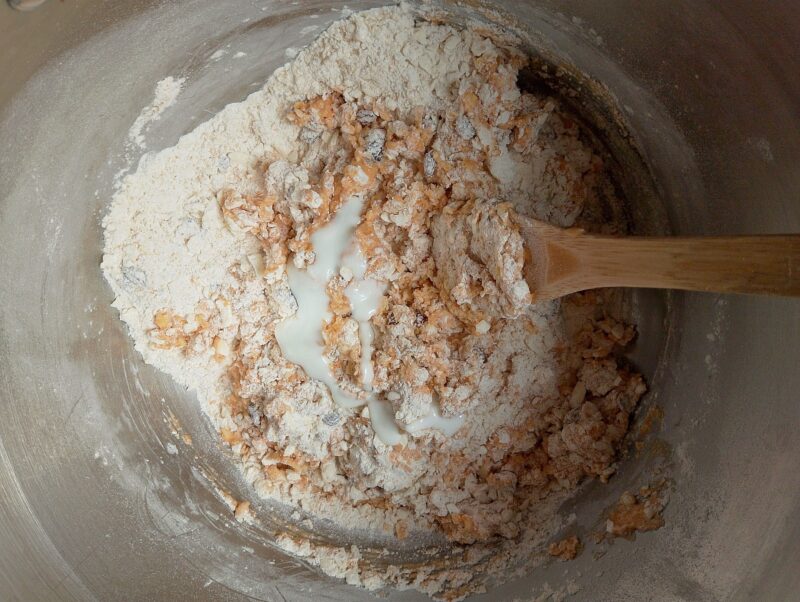
Step 5: Add the wet ingredients to the dry ingredients and mix with a spoon. Add the yogurt, one teaspoon at a time, mixing gently until the dough just comes together. You may not need all of the yogurt. The dough should be slightly sticky, but not wet.
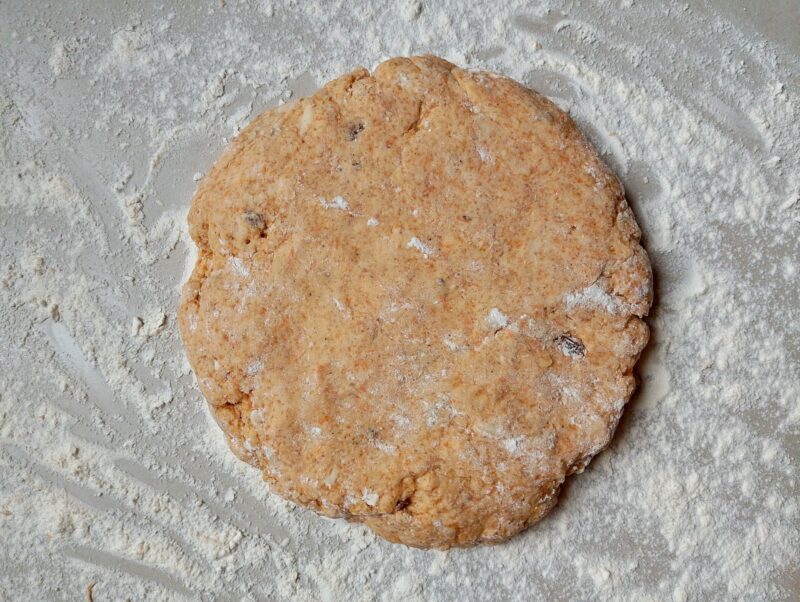
Step 6: Turn the dough onto a lightly floured counter and gently pat it into a circle about 1–1½ inches thick.
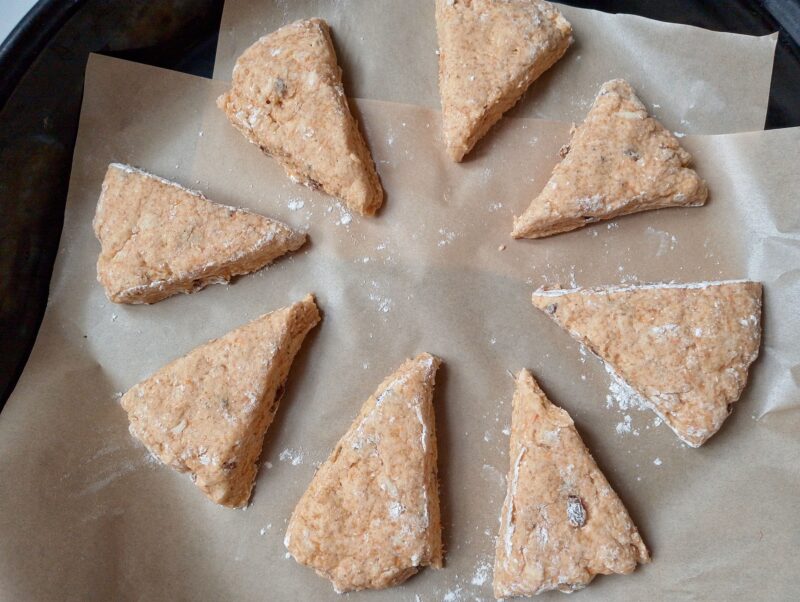
Step 7: Cut the dough into 8 wedges, then place them on a lined baking sheet and chill in the refrigerator for 15–20 minutes. If you’re in a hurry, you can also place the tray in the freezer for 10 minutes. That’s what I usually do because I can never find space for it in my fridge! While the scones are chilling, preheat your oven to 400°F (204°C).
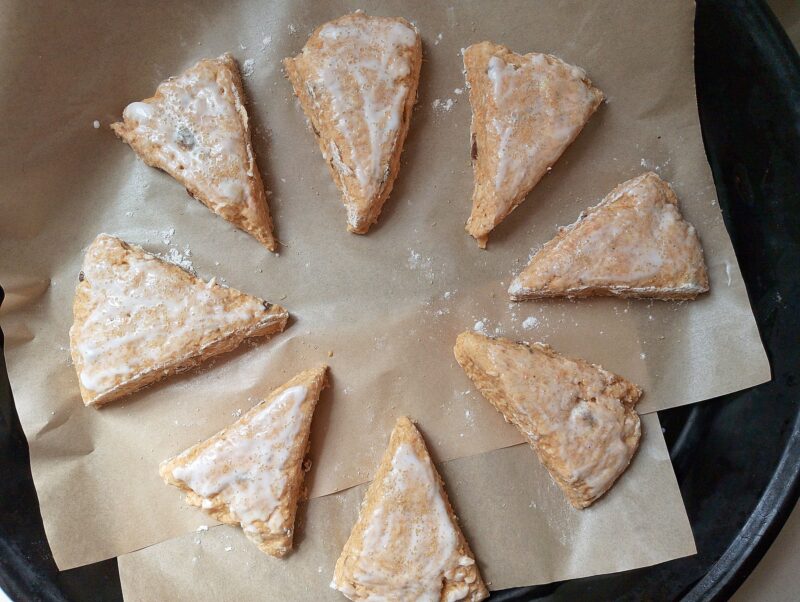
Step 8: Lightly brush the tops of the scones with yogurt or buttermilk, then sprinkle with brown sugar. Bake for about 15 minutes, until the scones are risen and golden brown and the centers are cooked through.
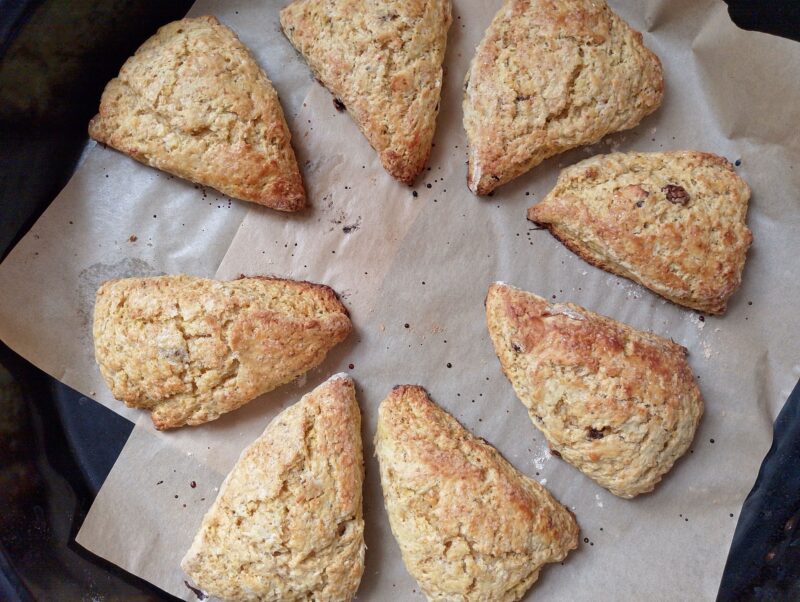
Step 9: Let the scones cool on the baking tray for 5-10 minutes, until they have firmed up a little. They can be quite fragile when hot, so wait a little before you transfer them carefully to a wire rack to finish cooling.
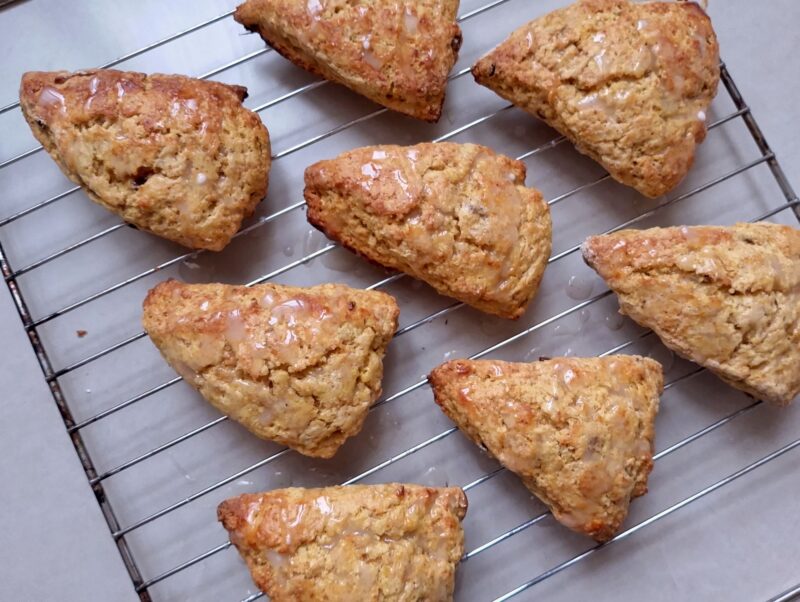
Step 10: Whisk together the powdered sugar, vanilla, cinnamon, and salt. Add the yogurt or buttermilk a little at a time, whisking until you have a fairly thick but drizzleable glaze.
Once the scones have cooled and are barely warm, drizzle the glaze over them with a spoon. Let the glaze set for a couple of minutes, then serve.
Tips for the Best Scones
Keep all ingredients cold. Cold butter is one of the secrets to flaky, tender scones. I also try to use cold buttermilk, cold discard, and a cold bowl for mixing the scones if my kitchen is really warm.
Don’t overwork the dough. You’ll overdevelop the gluten and get dense scones. Mix the dough gently until it just comes together into a rough ball. Then pat it into a circle rather than rolling it with a rolling pin.
Chill the shaped scones before baking. Place the shaped scones in the refrigerator for 15–30 minutes before baking. This helps the butter stay cold and can give you taller, flakier scones. If I’m in a rush, I place the scones into the freezer for 10 minutes instead.
Don’t overbake them. Pumpkin scones should be cooked through but still tender inside. Once the tops are lightly golden and the centers are set, they’re ready. Overbaking will dry them out.
Let them cool before glazing. Wait until they are only slightly warm. If you tried to glaze them while hot, the glaze would just melt off them.
Serving Ideas
Hands down, the best way to serve these scones is while they’re still warm. Cut them in half horizontally and spread with a generous layer of butter (salted butter is best!) or whipped cream.
For an extra treat, mix some softened butter with a little cinnamon, ginger, and honey to make a spiced butter for your scones. Don’t you just love fall spices? I do! I can never have enough of them.
How to Store Sourdough Pumpkin Scones
Scones taste best the day they are baked, and pumpkin scones are more moist than regular scones, so they are best enjoyed fresh. Let the scones cool completely, then store them in an airtight container at room temperature, lined with a paper towel.
For longer storage, it’s best to freeze the scones unglazed. Place the cooled scones on a tray and freeze for about 2 hours, then transfer them to a ziplock bag or freezer-safe container. Freeze for up to 2–3 months for the best quality.
Recipe FAQ

Enjoy Your Scones
I hope you enjoy these sourdough pumpkin scones! Autumn and winter are my favorite seasons for baking. There’s something so comforting about turning on the oven on a chilly day, warming the house and filling it with the delicious smell of pumpkin, cinnamon, ginger, and cloves.
I love using pumpkin in baking, so I always make plenty of pumpkin puree to keep in the freezer. That way, I have it ready whenever I want to make muffins, scones, pies, or another pumpkin treat.
Do you love old-fashioned cooking, baking, and homemaking? If so, subscribe to my weekly newsletter. I write every Sunday with recipes, practical tips, and inspiration to help you create a more nourished home.
More Fall Baking Recipes
Sourdough French Toast Bake (with Apples and Blackberries)

Sourdough Pumpkin Scones
Ingredients
- 2 cups all-purpose flour
- ½ brown sugar or rapadura
- 2½ tsp baking powder
- ½ tsp salt
- 1 tsp cinnamon
- ½ tsp ginger
- ¼ tsp nutmeg
- ⅛ tsp cloves
- ½ cup butter, frozen
- ½ cup raisins
- ¾ cup thick pumpkin puree
- ⅓ cup sourdough discard
- 1 large egg
- 1 tsp vanilla
- 2-4 Tbsp thick yogurt, buttermilk, or kefir
For the optional glaze
- 1-2 Tbsp yogurt, buttermilk, or kefir
- ½ tsp vanilla
- ⅛ tsp cinnamon
- Tiny pinch of salt
Instructions
- In a large bowl, whisk together the flour, brown sugar, baking powder, salt, cinnamon, ginger, nutmeg, and cloves.
- Grate the frozen butter into the flour mixture. Use a pastry cutter or knife to cut it in until the mixture resembles coarse crumbs, with a few pea-sized pieces of butter remaining.
- Stir in the raisins, if using.
- In a separate bowl, whisk together the pumpkin puree, sourdough discard, egg, and vanilla until smooth.
- Add the wet ingredients to the dry ingredients and mix gently with a spoon. Add the yogurt, one teaspoon at a time, until the dough just comes together. You may not need all the yogurt. The dough should be slightly sticky, but not wet.
- Turn the dough onto a lightly floured counter and gently pat it into a circle about 1–1½ inches thick. Cut into 8 wedges.
- Place the scones on a lined baking sheet and refrigerate for 15–20 minutes, or freeze for 10 minutes. Meanwhile, preheat the oven to 400°F (204°C).
- Lightly brush the tops with yogurt or buttermilk and sprinkle with brown sugar. Bake for about 15 minutes, until risen and golden brown and the centers are cooked through.
- Let the scones cool on the baking tray for 5-10 minutes, then carefully transfer them to a wire rack to finish cooling.
- Whisk together the powdered sugar, vanilla, cinnamon, and salt. Add yogurt or buttermilk a little at a time until you have a thick but drizzleable glaze.
- When the scones are barely warm, drizzle with the glaze. Let it set for a couple of minutes, then serve.
Notes
• Use thick pumpkin puree for the best texture.
• Add the yogurt gradually—you may not need all of it. The dough should be slightly sticky but not wet.
• Don’t overmix the dough, or the scones may become tough.
• For the best texture and flavor, enjoy the scones fresh. Unglazed scones can be frozen for up to 2–3 months.