How to Make Yogurt Cheese
I think yogurt cheese was the first cheese I ever made, back when I was young, inexperienced, and learning to cook from scratch. Making cheese from store-bought yogurt seemed like a good way to try making dairy products at home without investing much time or money. And it is!
If you have never made cheese at home, start with yogurt cheese. If you already make yogurt, it takes very little extra effort to make a large batch and turn some of it into a spreadable cheese – so make yogurt cheese!
I make about a gallon of yogurt every week, so making yogurt cheese is a no-brainer for me. When the kids get bored of eating yogurt, I just turn the rest into spreadable cheese and serve it as a dip with sourdough crackers.
Why You’ll Love This Recipe
- Super simple: Next to kefir cheese, yogurt cheese is one of the easiest cultured cheeses you can make. If you use raw milk yogurt, it’s also one of the easiest raw milk cheeses to make at home.
- No special cheesemaking equipment: You don’t need rennet, a starter culture, or cheese molds. All you need is a cheesecloth or tea towel and a colander.
- A great way to use homemade yogurt: If you already make yogurt at home, you can turn a large batch into thick, spreadable yogurt cheese with very little extra effort.
- Versatile: Use yogurt cheese instead of cream cheese on bread, in dips, or when making cheesecake.
What Is Yogurt Cheese?
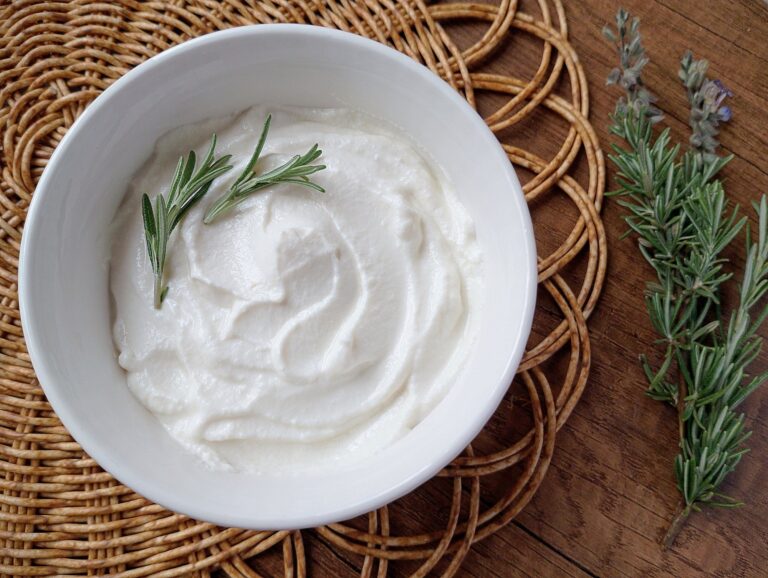
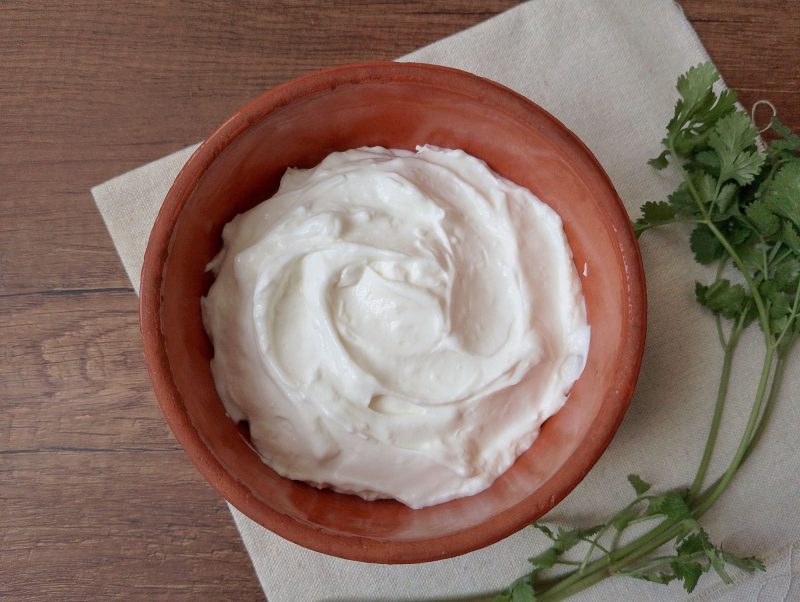
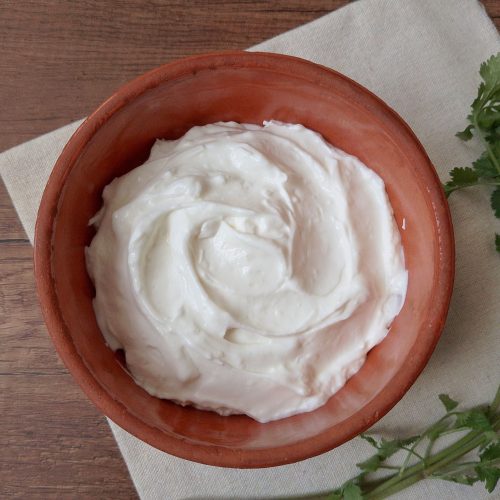
Yogurt cheese is a soft, spreadable cheese made by straining plain yogurt through cheesecloth until most of the whey drains away. The longer you strain it, the thicker your yogurt cheese will be. You can make it with either homemade yogurt or plain store-bought yogurt.
What You Need to Make Yogurt Cheese
- Yogurt: Both homemade and store-bought yogurt work well. I recommend using at least a quart of yogurt to make a decent amount of cheese.
- A straining cloth: Use cheesecloth if you have it, or a clean cotton tea towel.
- A strainer and a bowl: Line the strainer with your cheesecloth and set it over a bowl to catch the whey as it drains. You can also use a colander instead of a strainer and a cooking pot instead of a bowl. When I make a large batch of yogurt cheese, I sometimes use my jam pot to catch the larger volume of whey.
How to Make Yogurt Cheese
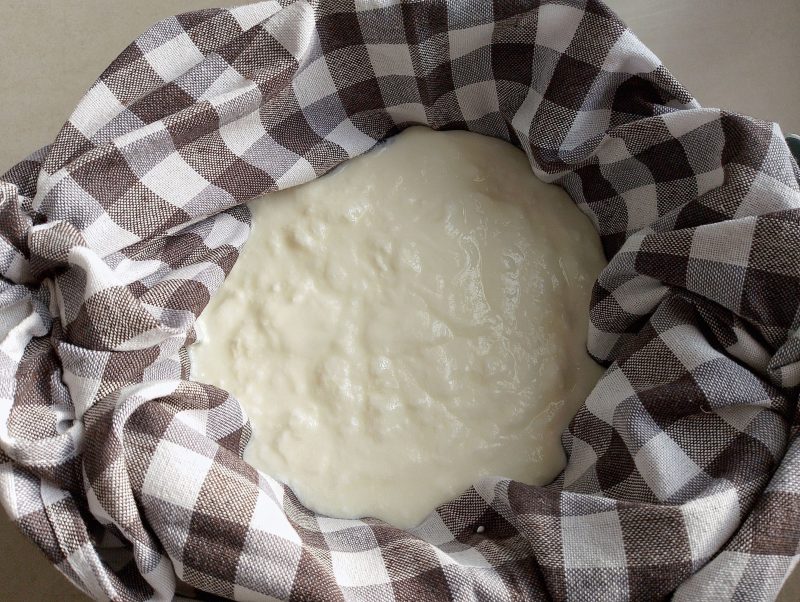
Step 1: Line your strainer or colander with cheesecloth (I’m using a clean tea towel here). Set it over a bowl or pot to catch the whey. Gently pour the yogurt into the lined strainer.
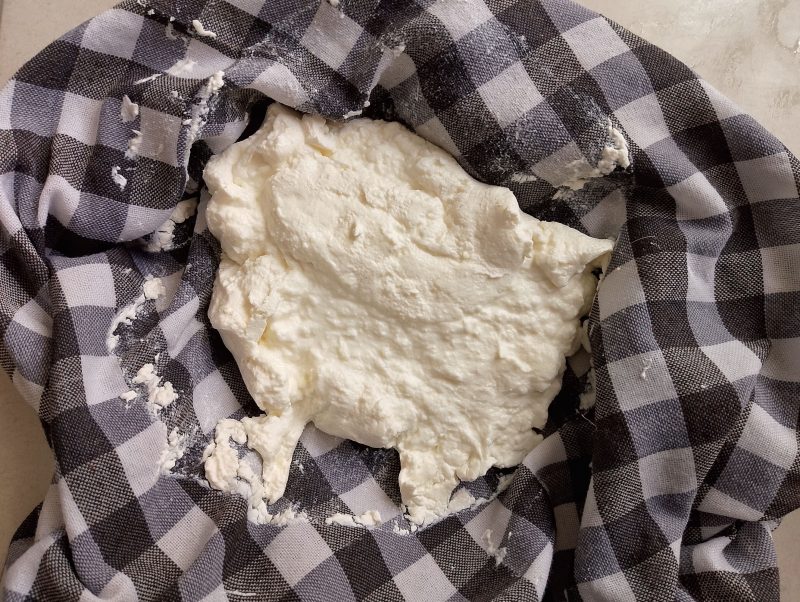
Step 2: Let the yogurt drain until it reaches your desired thickness. It will take about 1 hour to become very thick yogurt, or a few hours to turn into a thicker, spreadable cheese.
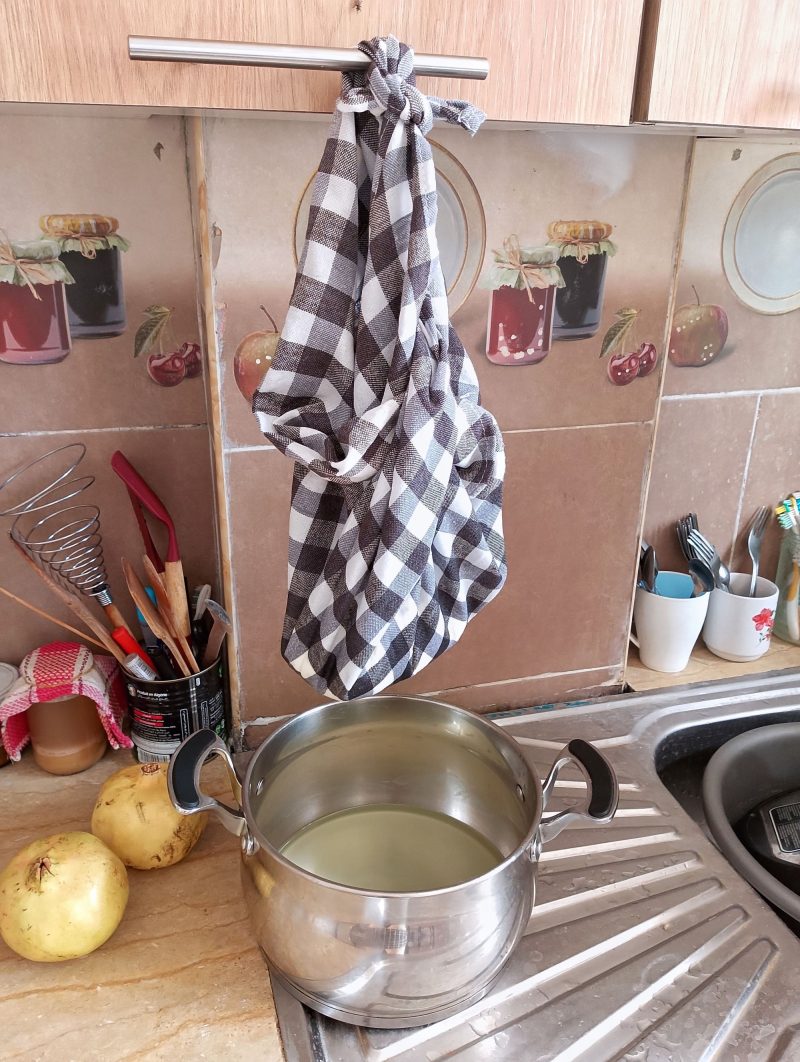
Step 3: To speed up the draining process, you can tie the cheesecloth and hang it from a spoon placed across a bowl. I hung mine from a kitchen cupboard because I was only making a small batch. I wouldn’t recommend doing this with a large batch, though, as the weight could damage or warp the cupboard door hinges.
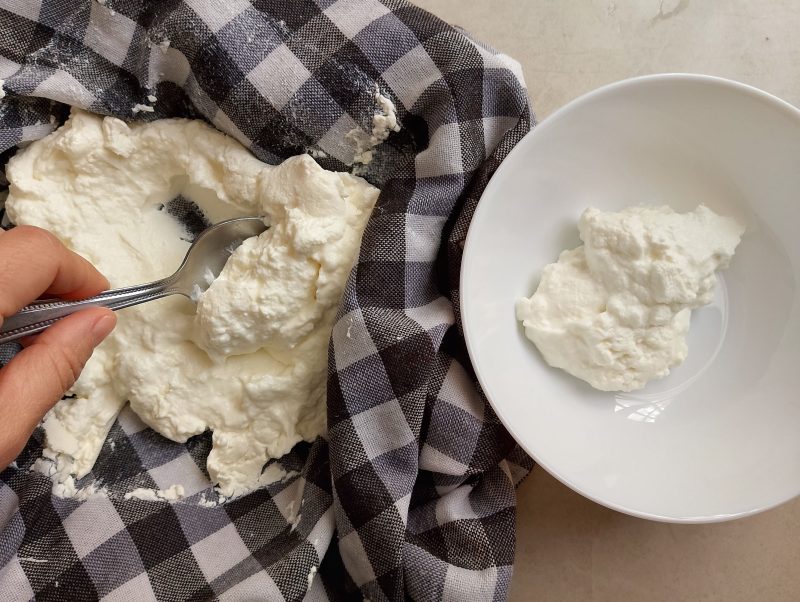
Step 4: Once the yogurt cheese is as thick as you like, use a spoon to transfer it to a bowl and add salt to taste. If you prefer unsalted yogurt cheese, you can transfer it straight into a storage container or jar. For the best flavor and texture, let it chill in the refrigerator before using.
How Long Should You Strain Yogurt for Yogurt Cheese?
The longer you strain your yogurt, the thicker and drier your cheese will become. If you accidentally leave it straining for too long and it becomes drier than you like, transfer it to a bowl and mix in a little of the whey, one teaspoon at a time, until it reaches your preferred consistency.
To speed up the draining process, tie the cheesecloth securely and hang it up to drain. This allows the whey to drain faster than when the cheesecloth sits in a colander.
The times in the chart below are approximate, as they depend largely on how much yogurt you are straining. A larger batch of yogurt will naturally take longer to drain.
| Straining time | Approximate consistency | Best for |
|---|---|---|
| 1–2 hours | Very thick yogurt | Dips, sauces |
| 2–4 hours | Soft yogurt cheese | Spreading, parfait |
| 4–12 hours | Thick, firm cheese | Shaping, recipes |
How to Use Yogurt Cheese
Like all fresh cheeses, yogurt cheese is very versatile and works well in both sweet and savory dishes. Here are a few of my favorite ways to use it:
Savory Uses
- Spread on sourdough bread and sprinkled with fresh chives.
- Served as a dip for veggie sticks or crackers.
- Mixed with herbs and garlic and served alongside roasted potatoes.
- Added to creamy salad dressings.
Sweet Uses
- Breakfast parfait: Layer it in cups with granola and fresh fruit.
- Fruit dip: Sweeten yogurt cheese to taste and serve it with fresh fruit.
- Sweet crepe filling: Spread it inside crepes for a simple, creamy filling.
- Pancake topping: Spoon over pancakes and add your favorite fruit or a drizzle of honey.
Storage Tips
- Store your cheese in a clean, airtight container in the refrigerator. I like to keep mine in mason jars.
- Always use a clean, dry spoon when scooping some out.
- For the best quality, use it within 5–7 days.
- Salted cheese may keep a little longer than unsalted cheese.
What Can You Do With the Whey?
The liquid left behind after straining yogurt is called whey. You can use it in all sorts of ways in cooking, baking, and even in the garden. For my favorite ideas, check out my post on 20 Ways to Use Up Whey.
Recipe FAQ
Final Thoughts
Making cheese at home can feel overwhelming when you’ve never done it before. That’s why the best way to dip your toes into cheesemaking is to start with simple cheeses like kefir cheese, paneer, or this yogurt cheese. They take just a few simple steps, don’t require any special cheesemaking equipment, and can be made in small batches. That means there’s less to worry about if you do something wrong and less food to waste while you’re learning.
If you’d like to learn more old-fashioned kitchen skills, from simple cheesemaking and sourdough baking to frugal cooking, subscribe to my weekly newsletter. I write it every Sunday with love for real food moms like you.
More Easy Cheeses You Can Make at Home
Yogurt Cheese
Equipment
- Cheesecloth or clean tea towel
- Strainer or colander
- Bowl to catch the whey
Ingredients
- 1 quart (liter) plain yogurt, homemade or store bought
- Salt (optional)
Instructions
- Line a strainer or colander with cheesecloth or a clean cotton tea towel. Set it over a bowl or pot to catch the whey.
- Gently pour the yogurt into the lined strainer and let it drain until it reaches your desired thickness. This can take about 1 hour for very thick yogurt or a few hours for thicker, spreadable yogurt cheese.
- To speed up draining, you can tie the cheesecloth and hang it from a spoon placed across a bowl.
- Once the yogurt cheese is as thick as you like, transfer it to a bowl and add salt to taste, if desired. Alternatively, transfer it directly to a clean storage container or jar.
- Refrigerate until chilled before serving for the best flavor and texture.
Notes
- 1 Quart (Liter) of milk will give you about 360 grams (12.6 oz) of yogurt cheese and 2 cups of whey.