How to Make Banana & Coconut Cake with Sourdough Discard
This soft and moist banana and coconut cake with a buttery crumb topping is the perfect way to use up your sourdough discard. If you bake sourdough bread, you know the routine—feeding your starter often leaves you with extra discard. Instead of tossing it, add it to this cake for a gentle tang and depth of flavor that balances beautifully with the sweetness of ripe bananas and the tropical notes of coconut. In this post, I’ll walk you through the recipe step by step, share storage tips, and answer some of the most common questions about baking with sourdough discard.

Why You’ll Love This Cake Recipe
This cake turns out wonderfully fluffy and moist thanks to the creaming of butter and sugar, along with the natural sweetness and softness of ripe bananas. The coconut crumb topping adds a golden, crunchy finish that’s as beautiful as it is delicious. Made entirely with real food ingredients, this dessert feels wholesome and nourishing. It is something you can feel good about sharing with your family.
Difference Between Banana Bread and Banana Cake
Banana bread is usually denser and less sweet, while banana cake is lighter, fluffier, and a touch more indulgent. In this recipe, I’ve kept the sugar moderate. However, the creamed butter gives the cake its soft, airy texture and rich flavor. Instead of the traditional frosting you’ll often see on banana cakes, I’ve topped mine with a buttery coconut crumb for a simple yet irresistible twist.
Tips for making this recipe
- To make this cake more nutrient dense, you could replace up to half of the white flour with whole wheat flour. I did that once and no-one noticed the difference.
- You can use frozen bananas for this recipe. Let them defrost fully before adding to batter.
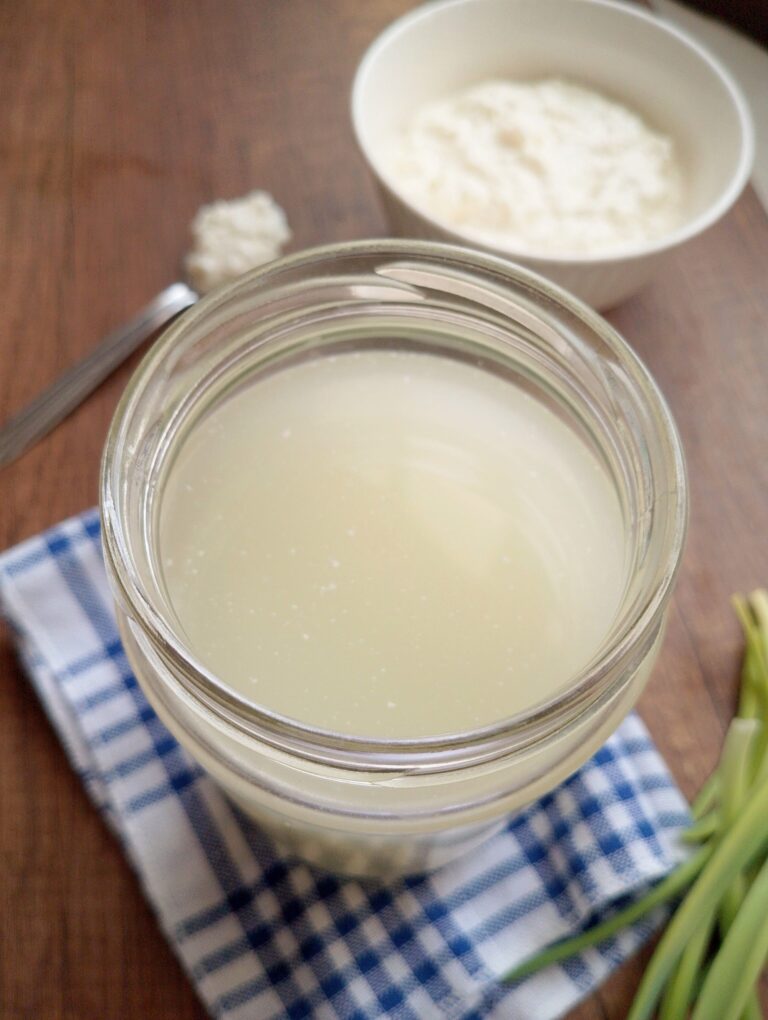
- Clabbered milk, kefir, or buttermilk will all work here, so use whichever you have on hand.
- Instead of the crumb topping, you could make a buttercream or cream cheese frosting for this cake. The cake will have to be stored in the fridge if you do.
- This cake can be made ahead of time and frozen, either as a whole or cut into slices.
Ingredients You’ll Need
For the cake

For the crumb topping

How to Make Sourdough Discard Banana & Coconut Cake
Step 1

First you need to make the crumb topping so it can chill in the fridge while you prepare the cake. To make it, combine the flour, sugar and shredded coconut in a bowl. Then add in the cubed cold butter.
Step 2

Using a pastry cutter or your hands mix in the butter until it resembles coarse crumbs. Place this mixture in the fridge for 10-15 minutes so it can chill while you mix the cake batter.


Step 9

Pour the cake batter into a well-greased round or rectangular cake pan and spread it evenly with the back of a spoon. I used an 10.5 inch pie dish because that’s what I had on hand, but anything of similar size will work (I give you some suggestions for the cake tin to use in the recipe card).
Step 10

Take the crumb topping mix out of the refrigerator and sprinkle it evenly over the surface of the cake. My little helper did this job for me!
Step 11

Place the cake in the preheated oven and bake for 25-30 minutes until risen and golden brown and a skewer inserted into the center comes out clean. Check on your cake after it’s been baking for about 20 minutes to make sure it is not getting too dark on top – if it is, cover the top of the cake gently with a piece of aluminium foil.
Step 12

Let the cake cool completely before slicing. If you’d like extra neat slices, you can even bake it a day ahead and refrigerate it overnight—chilled cakes are much easier to cut cleanly.
FAQ & Helpful Tips

Serving Suggestions
This cake is delicious served with some hot tea or coffee. If you like, you could serve it drizzled with some raw cream. In my opinion it is rich enough to be served just by itself!
More Delicious Dessert Recipes:
Easy Crustless Pumpkin Pie From Scratch
Fluffy Sourdough Discard Scones
Warm and Rich Sourdough Pumpkin Muffins
I would love to hear if you liked this easy and delicious sourdough discard cake! Let me know in the comments or email me at marta@heritagemama.com with any comments or questions you may have. For updates about my newest recipes and tutorials, subscribe to my newsletter or follow me on Pinterest.

Banana and Coconut Sourdough Discard Cake with Crumb Topping
Equipment
- 10.5 inch wide pie dish or similar (see notes)
Ingredients
For the cake
- ½ cup butter, softened
- 1 cup brown sugar or rapadura
- 2 eggs
- 1 cup ripe bananas, mashed (2 medium bananas)
- ½ cup sourdough discard
- ¼ cup clabbered milk or kefir
- 1⅔ cups flour
- 1 tsp baking soda
- 1 tsp unrefined salt
- ½ cup shredded coconut
For the crumb topping
- ¼ cup flour
- ¼ cup shredded coconut
- 2 tbsp brown sugar
- ⅛ cup cold butter, cubed
Instructions
- First you need to make the crumb topping so it can chill in the fridge while you prepare the cake. To make it, combine the flour, sugar and coconut in a bowl. Then add in the cubed cold butter.
- Using a pastry cutter or just your own hands mix in the butter until it resembles coarse crumbs. Place this mixture in the fridge for 10-15 minutes so it can chill while you mix the cake batter.
- Preheat your oven to 180°C/350°F. In a bowl, cream together the butter and sugar.
- Add the eggs and whisk them in well.
- With a fork, mash the bananas and then stir them into the cake batter.
- Mix in the sourdough discard and the clabbered milk (or kefir).
- In a separate bowl, combine the flour, baking soda and salt, then add into the cake batter a few spoons at a time, stirring well after each addition.
- Finally stir in the shredded coconut.
- Pour the cake batter into a well-greased round or rectangular cake pan and spread it evenly with the back of a spoon. I used an 10.5 inch round pie pan because that's what I had on hand, but anything of similar size will work (see notes below).
- Take the crumb topping mix out of the refrigerator and sprinkle it evenly over the surface of the cake.
- Place the cake in the preheated oven and bake for 25-30 minutes until risen and golden brown and a skewer inserted into the center comes out clean. Check on your cake after it's been baking for about 20 minutes to make sure it is not getting too dark on top – if it is, cover the top of the cake gently with a piece of aluminium foil.
- Be sure to let the cake cool completely before slicing. If you’d like extra neat slices, you can even bake it a day ahead and refrigerate it overnight—chilled cakes are much easier to cut cleanly.
- Serve it on its own or drizzled with some thick raw cream, with a nice hot cup of tea or coffee.