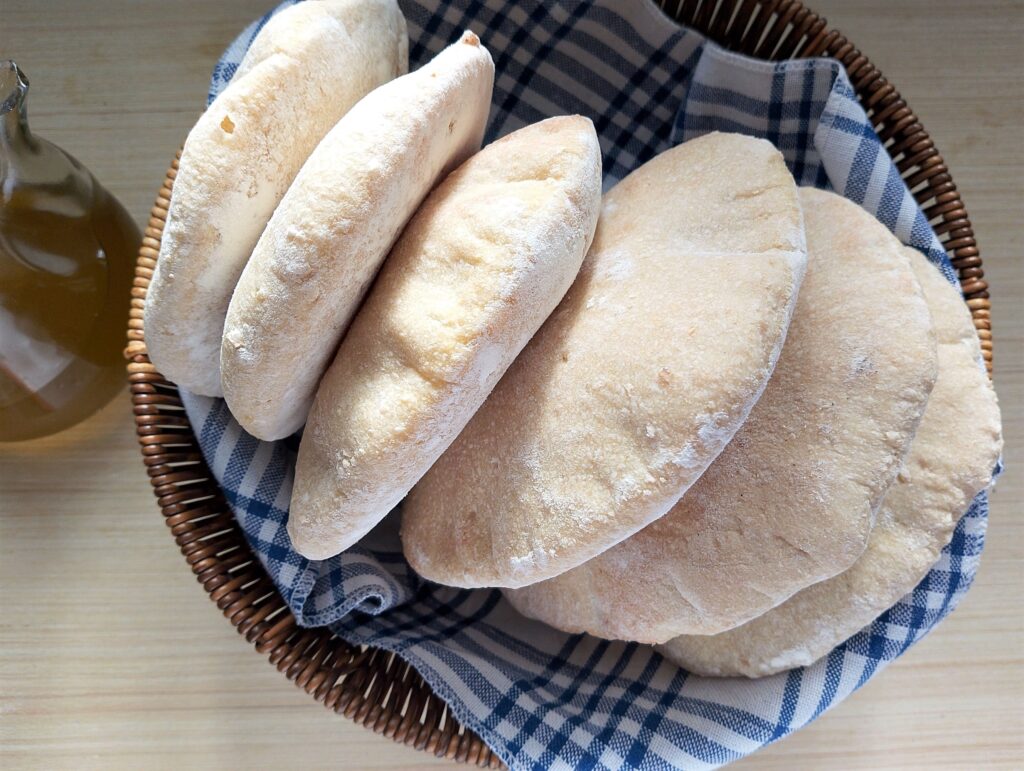
How to Make Easy Sourdough Pita Bread at Home
This sourdough pita bread is a staple recipe for any real food kitchen. While sourdough baking can sometimes feel slow, complicated, or easy to mess up, this recipe is very simple and approachable.
These pitas are same-day friendly — perfect when you want fresh bread for dinner tonight. The dough is also flexible with timing and can be adjusted for overnight proofing if that suits your schedule better. Best of all, they cook in just minutes in a hot oven, making homemade bread feel completely doable even on busy days.
Because sourdough pita bread freezes beautifully and defrosts quickly, it’s ideal for fast, nourishing meals. Just pull a pita from the freezer, warm it in the toaster, and fill it with leftover meat, veggies, and cheese for an easy, satisfying dinner the whole family will love.
Why You’ll Love This Recipe
- Soft, fluffy pita made with active starter – no commercial yeast.
- Dough is flexible and forgiving if timing shifts, making it great for us busy moms who are always juggling lots of tasks.
- Easy to cook – they only take a few minutes to bake in a preheated oven.
- Great for simple, nourishing family meals, such as wraps, dips, and sandwiches.
- Builds sourdough confidence without complicated shaping or scoring.
- A reliable “real food convenience” recipe – these pitas freeze well and are quick to defrost. They make great last minute meals.
Ingredients

- Active sourdough starter: use starter that you have recently fed and is bubbly, having just doubled in size.
- Flour: I recommend bread flour and a small addition of whole wheat flour. Don’t add all the bread flour at once – only enough to get shaggy dough to form. You can add some more flour later when kneading if the dough still feels sticky.
- Water: use warm water to help kickstart the fermentation process.
- Salt adds flavor as well as strengthens the dough.
- Olive oil makes the dough softer, more flexible.
- In the recipe I give both gram measurements and cup measurements. If you are a beginner baker I recommend you use gram measurements because they are more accurate.
Tools & Equipment
- Mixing bowl
- Wooden spoon
- Rolling pin (or bottle as backup)
- Large baking tray or baking stone
- Pizza peel or baking parchment
How to Make Sourdough Pita Bread Step-by-Step
Step 1
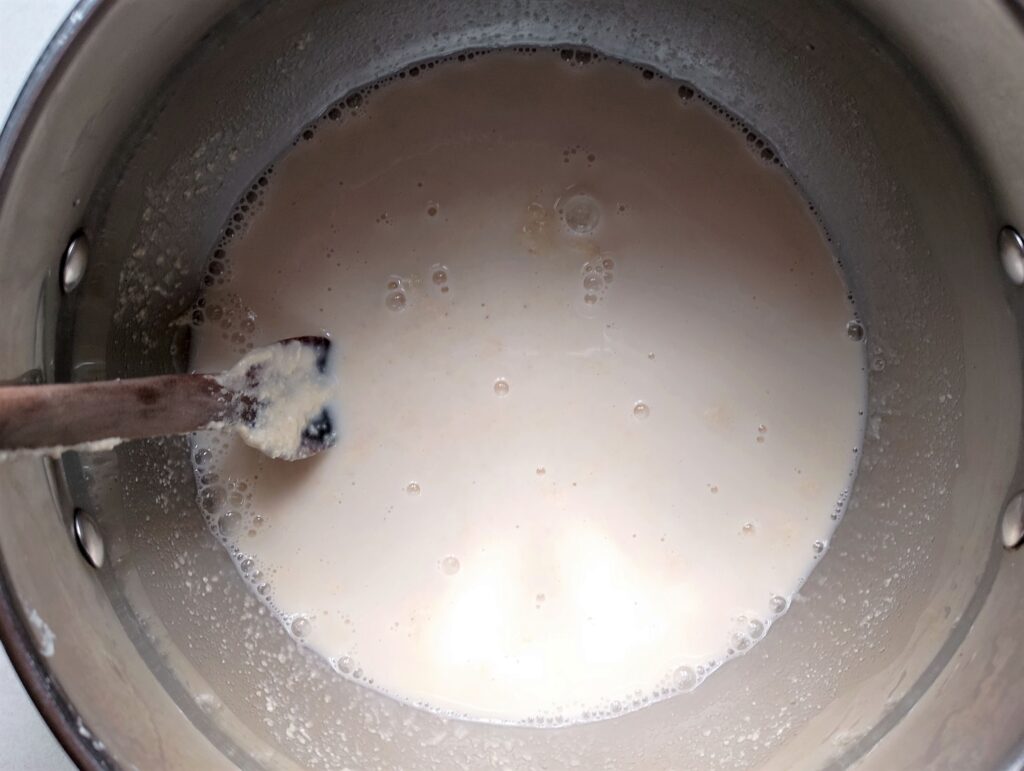
In a large mixing bowl, stir together the active sourdough starter, warm water, and sugar or honey until mostly dissolved.
Step 2
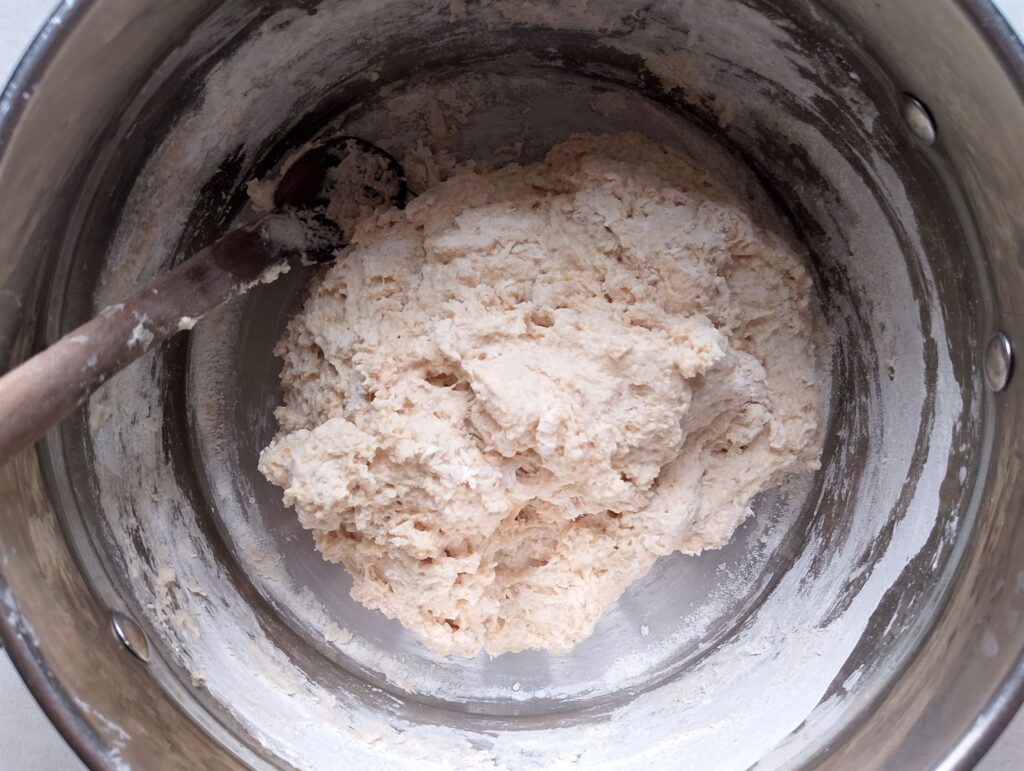
Add the whole wheat flour, bread flour, and salt. Mix until a shaggy dough forms, adding only enough bread flour to bring the dough together — you may not need it all.
Step 4
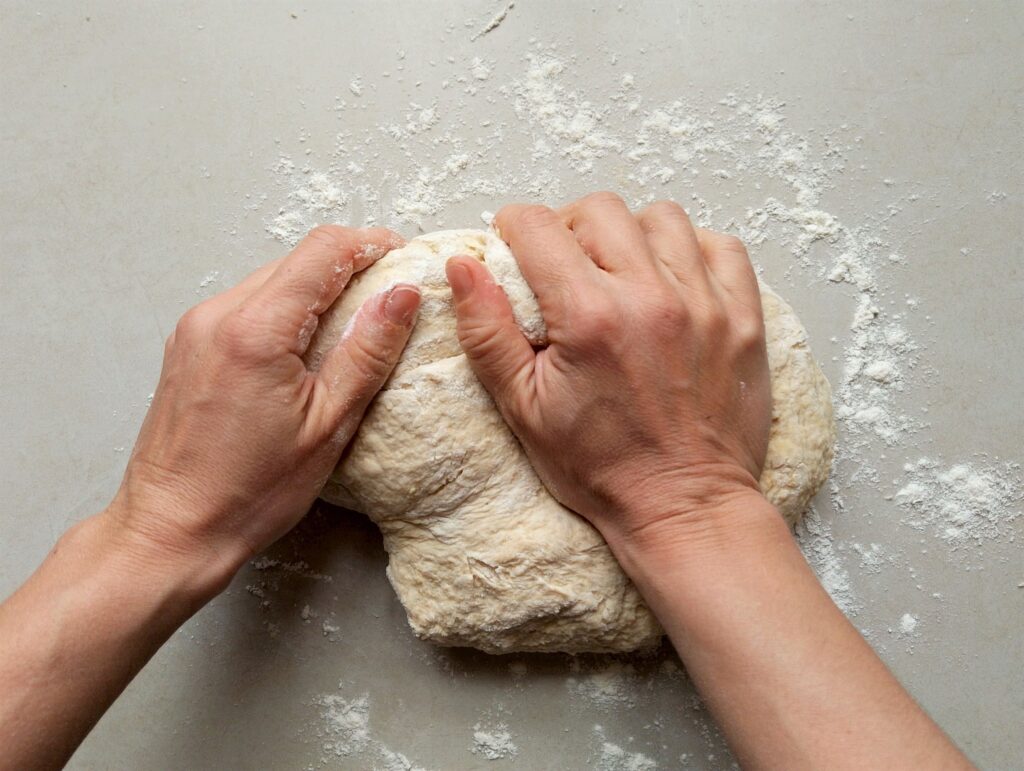
Knead the dough for about 5 minutes, until it becomes smooth, elastic, and slightly tacky to the touch. There’s no need for long kneading here — the dough will continue to strengthen with the stretch and folds in the next step. Once kneaded, cover the dough and let it rest for 30 minutes.
Step 5
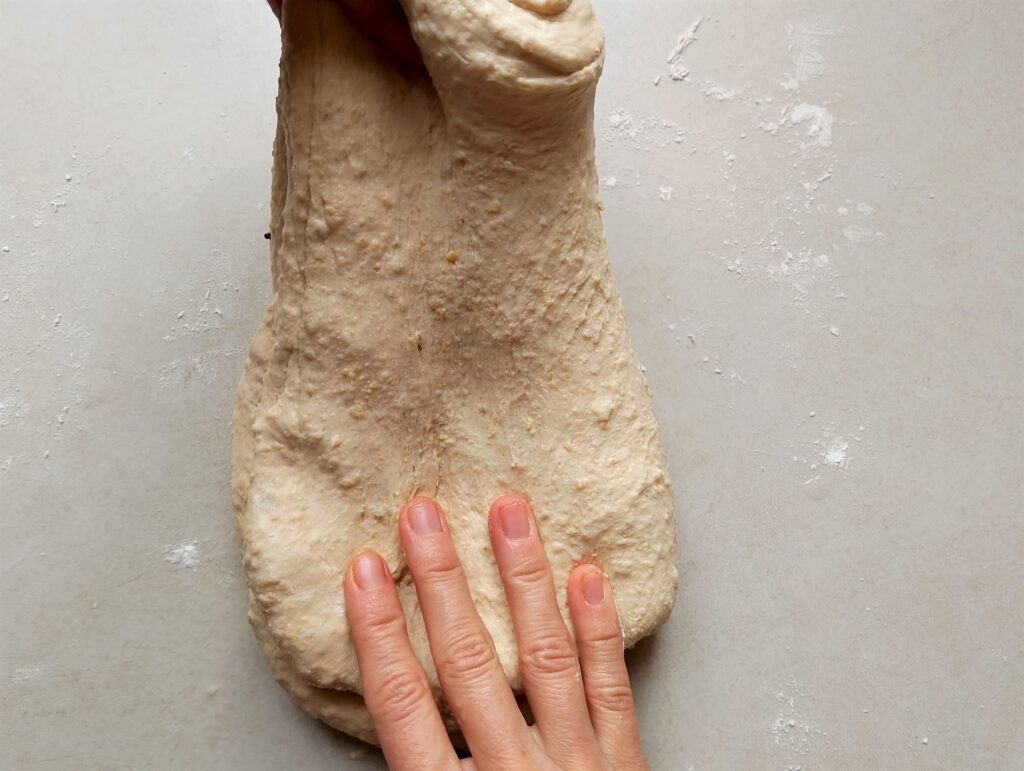
After the 30-minute rest, begin the stretch and fold process. Over the next 90 minutes, you will complete 3 sets of stretch and folds, spaced about 30 minutes apart.
To perform a stretch and fold: grab one side of the dough, gently stretch it upward, and fold it over the center. Turn the bowl a quarter turn and repeat until you’ve completed 4 folds (one on each side of the dough). Cover the dough and let it rest until the next set.
Step 6
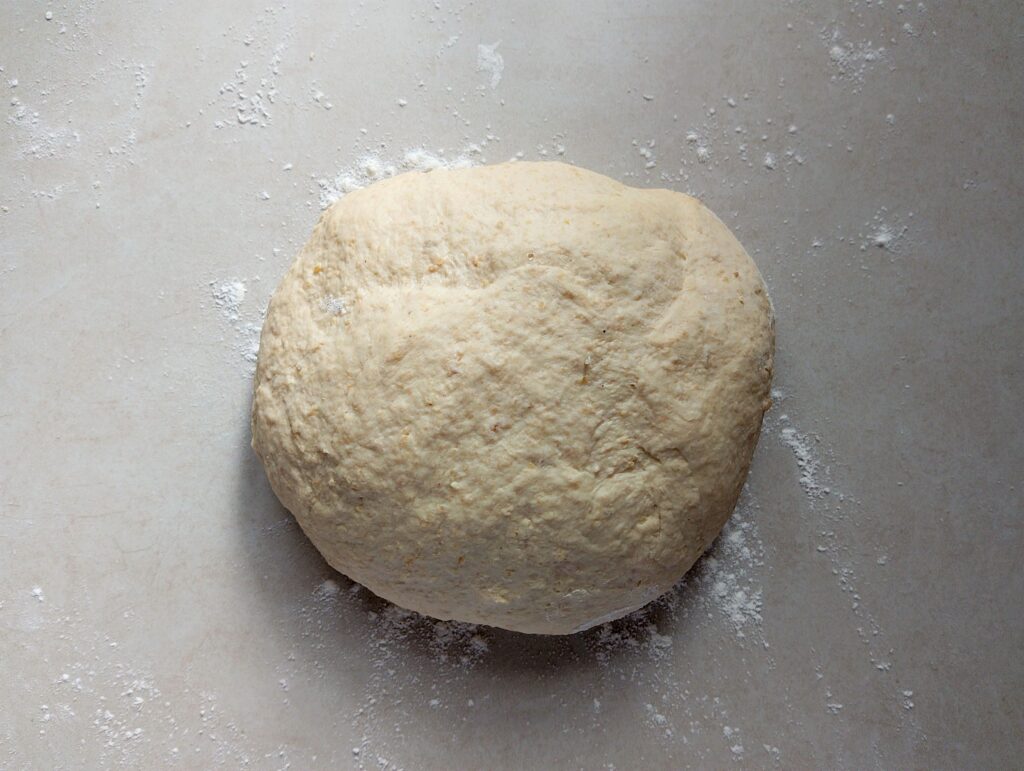
After completing the stretch-and-folds, return the dough to the bowl and cover it. Let it rise until it has increased by about 30–50%, looks slightly puffy, and shows small bubbles on the surface — this usually takes 1–3 hours, depending on the temperature of your kitchen.
Step 7
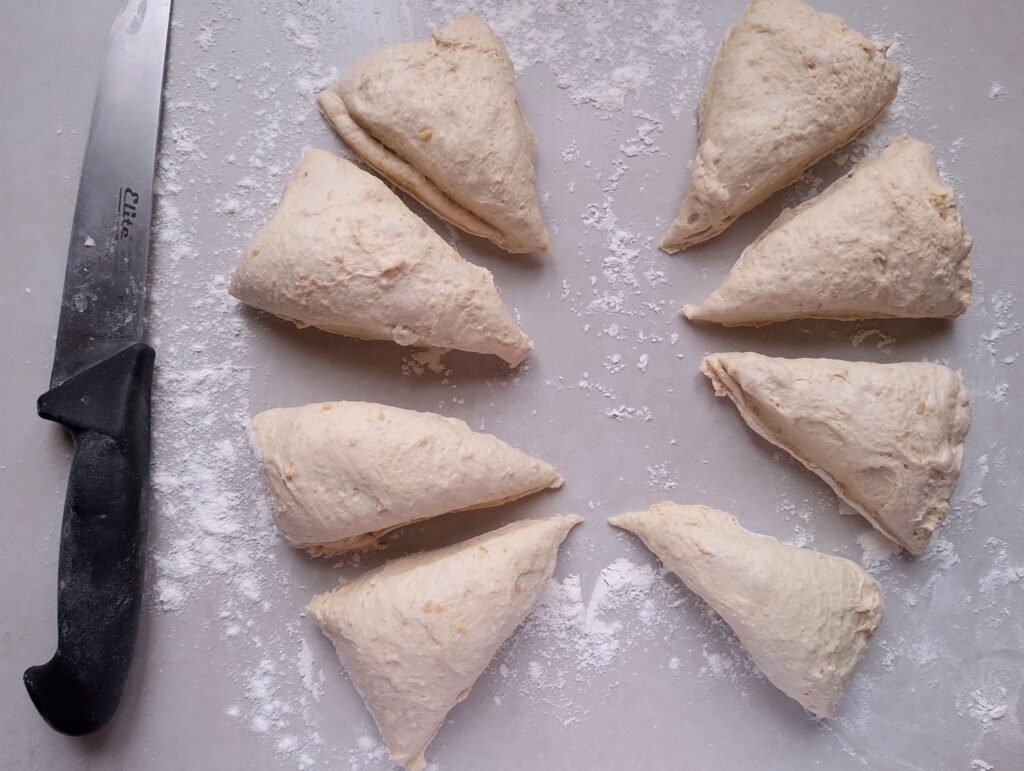
Gently press down on the dough to deflate it, then divide it into 8 equal pieces. For even pitas, you can weigh each piece (about 90–100 g / 3–3.5 oz) or simply eye them so they are roughly the same size — this helps them cook evenly.
Step 8
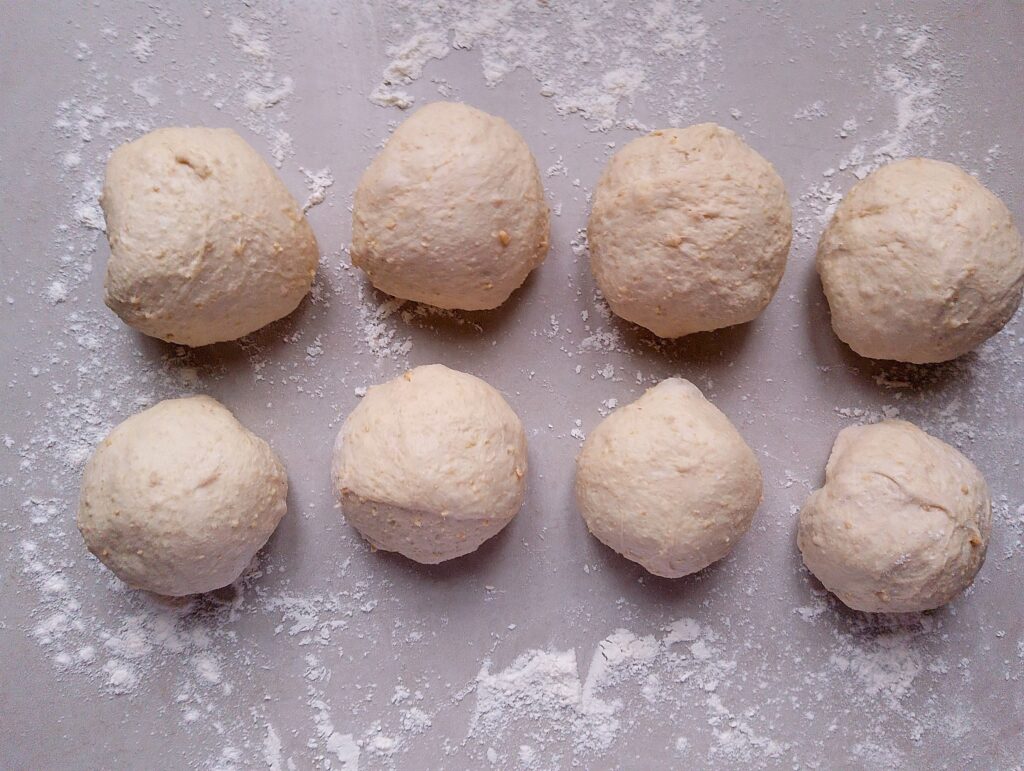
Shape each piece into a smooth ball by gently tucking the edges underneath. This creates a taut top, which helps the pita puff up nicely while baking.
Step 9

Flatten each dough ball with a rolling pin into a 6–8‑inch circle, about ¼ inch thick. Place the rounds on a lightly floured surface or on baking parchment, cover, and let them rest for 20–30 minutes.
While the dough rests, preheat your oven to 475–500 °F (245–260 °C) with a baking stone or heavy tray inside for at least 30 minutes. Don’t worry if your oven doesn’t reach this high — just set it to the maximum temperature it allows. The pitas may take a little longer to bake, but they will still puff beautifully. (For example, my oven only goes to 446 °F, and my pitas still turn out perfectly — they just need around 7 minutes instead of 4.)
Step 10
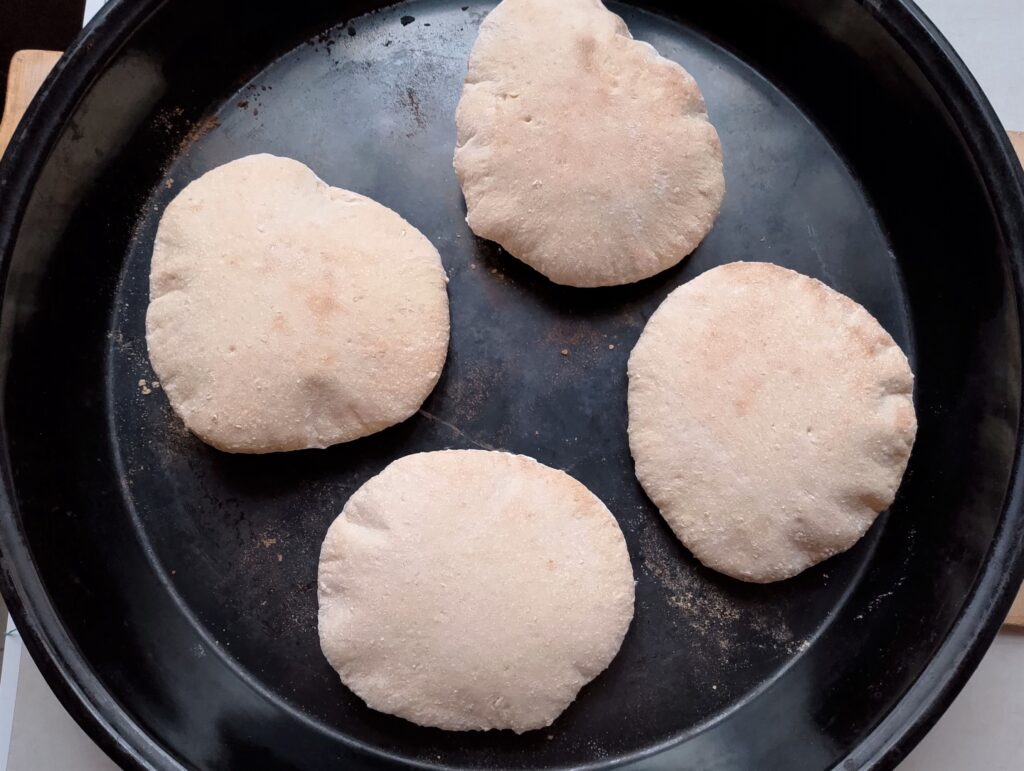
Using a pizza peel or the edge of your baking parchment, carefully slide 2–3 pitas onto the preheated stone or tray (my tray can fit 4 pitas). Bake for 3–5 minutes, or until the pitas have fully puffed and are lightly golden.
Remove from the oven and immediately cover with a clean kitchen towel to keep them soft and tender while you bake the remaining pitas.
Serving Ideas
- Mini sandwich pockets: Fill with deli meats, cheese, and veggies for easy lunchboxes.
- Breakfast pita: Scrambled eggs, sautéed veggies, and a sprinkle of cheese.
- Kid-friendly wraps: Nut butter and banana or hummus and cucumber slices.
- Snack with dips: Cut into wedges and serve with hummus, tzatziki, or guacamole.
- Falafel or meatball pockets: Add small meatballs or falafel with salad and sauce for a handheld meal.
Overnight Option
- Bulk ferment adjustment: After mixing and kneading, cover the dough with plastic (so it doesn’t dry out) and place it in the fridge instead of leaving at room temperature.
- Timing: Let it ferment 8–12 hours overnight. The cold slows yeast activity, so it won’t over-proof.
- Next day: Remove from fridge, let it warm to room temperature for 30–60 minutes, then divide, shape, rest briefly, and bake as usual.
Tips for The Best Pitas
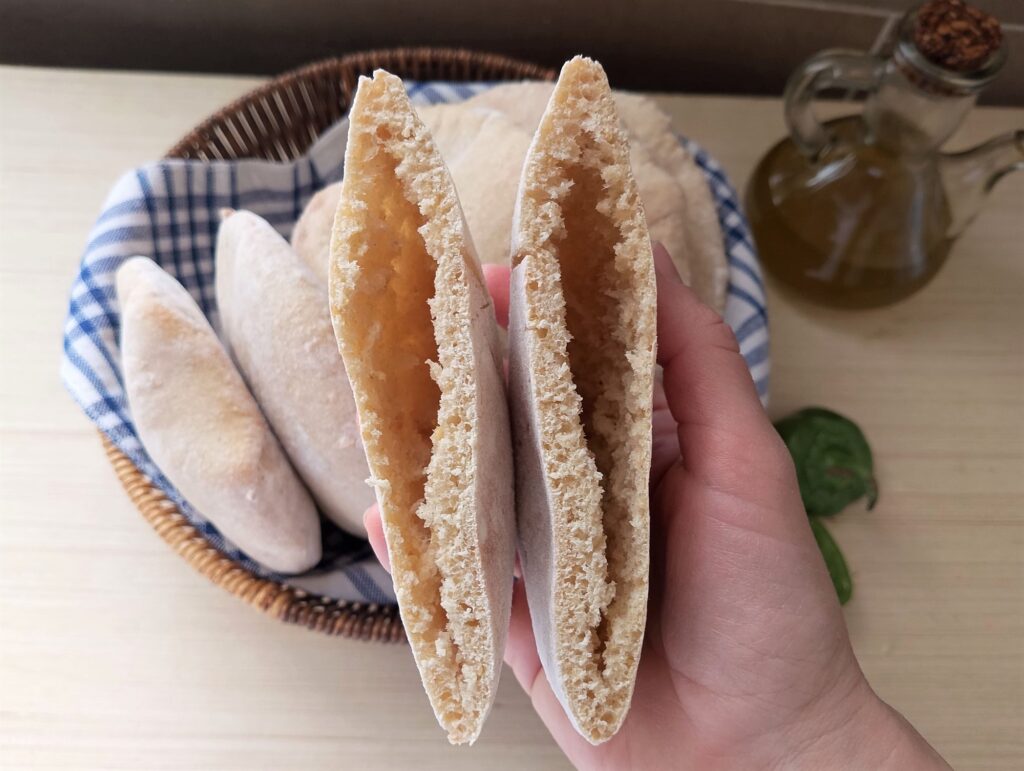
- Thickness: ~¼ inch is ideal. Too thick = no pocket, too thin = tears.
- Under-proof slightly: Dough that’s slightly under-proofed puffs better.
- Don’t over-flour the surface when rolling out pitas: too much flour can prevent puffing.
- High heat: The hotter the oven, the better the puff. If your oven doesn’t go up to 475–500°F (245–260°C), don’t worry. Set the highest temp you can and expect the pitas to take a little longer to bake.
Common Mistakes to Avoid
- Dough feels too sticky: add in more bread flour (a little at a time) when kneading the pita. Once it is kneaded, wet your hands and the counter when doing stretch and folds to prevent the pita dough from sticking.
- Dough feels stiff: you probably added a little too much bread flour. Wet your hands and knead in just a little water.
- Pita didn’t puff: your oven wasn’t hot enough or you let the pita rest for too long before baking. It will still be delicious used as a flatbread!
- Pita too crisp: you probably baked the pita too long. Wrap it in a clean tea towel to soften it.
Storage, Freezing & Leftovers
- Short-term storage: Keep cooled pitas stacked in an airtight bag at room temperature for 2–3 days, covered with a clean towel to stay soft.
- Freezing: Layer parchment between each pita, seal in a freezer bag, and freeze for up to 3 months.
- Reheating: Thaw at room temp or straight from frozen, then warm in a hot skillet, oven, or toaster. Wrap in a towel after heating to keep soft.
Variations
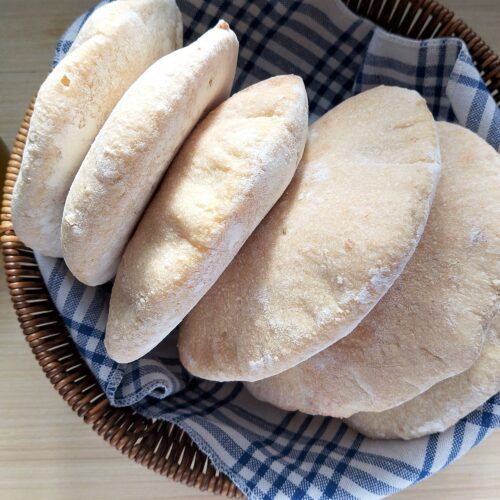
- This recipe makes 8 large pitas for hearty fillings.
- If you have younger children and want to make smaller pitas instead, divide the dough into 12 pieces instead of 8. Smaller pitas may puff even faster—check after 2–4 minutes, then remove when lightly golden.
Recipe FAQ
Keep Baking, Keep Learning
I hope you enjoy making this easy sourdough pita bread and that it becomes one of those reliable recipes that makes your lunch and dinner prep feel simpler. This is such a forgiving, beginner-friendly way to build real sourdough skills — no complicated shaping, no scoring — just practical success that helps you grow more confident with every batch.
If this kind of simple, traditional cooking speaks to you, I’d love to invite you to join my weekly newsletter. I share approachable sourdough recipes, old-fashioned family meals, and step-by-step kitchen tutorials to help you feed your family well and build lasting real food skills.
More Sourdough Bread Recipes
Soft Whole Wheat Sourdough Dinner Rolls
Rich Whole Wheat Sourdough Sandwich Bread
Easy Sourdough Pita Bread
Equipment
- mixing bowl
- rolling pin (or bottle as a backup)
- pizza peel or baking parchment
- large baking tray or pizza stone
Ingredients
- 250 g (1 cup) active sourdough starter (100% hydration, fed and bubbly)
- 250 g (1 cup + 2 tbsp) warm water
- 1 tsp sugar or honey
- 175 g (1 cup) whole wheat flour
- 300 g (2½ cups) bread flour
- 10 g (2 tsp) salt
- 15 g (1 tbsp) olive oil
Instructions
- Mix starter and water: In a large bowl, stir together the active sourdough starter, warm water, and sugar or honey until mostly dissolved.
- Add flours and salt: Stir in whole wheat flour, bread flour, and salt until a shaggy dough forms, adding only enough bread flour to bring it together — you may not need it all.
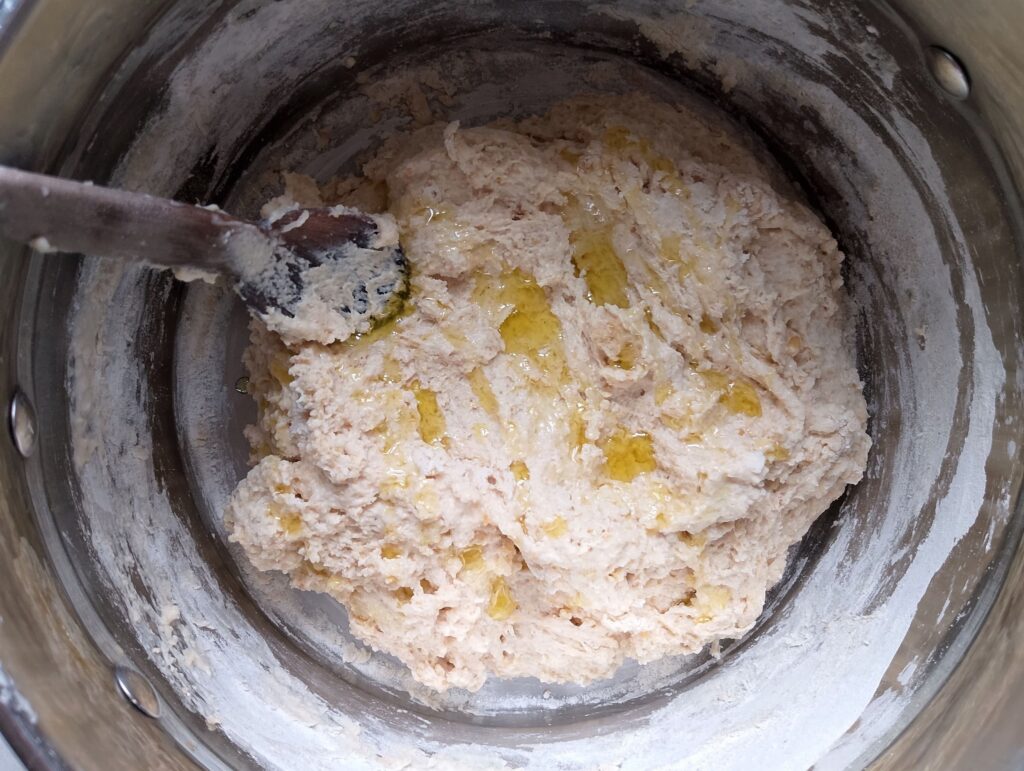
- Incorporate oil: Drizzle in olive oil and mix until mostly incorporated.
- Knead the dough: Knead for 5 minutes until smooth and slightly tacky. Cover and rest 30 minutes.
- Stretch and fold: Do 3 sets of stretch-and-folds, 30 minutes apart. For each set: stretch one side over the center, turn a quarter, repeat on all 4 sides. Cover between sets.
- Bulk rise: Place the dough in a bowl, cover, and let it rise until increased by 30–50%, slightly puffy, with small bubbles (1–3 hours).
- Divide and shape: Gently deflate the dough and divide into 8 equal pieces. Shape each into a smooth ball by tucking edges underneath.
- Roll out: Flatten each ball with a rolling pin into a 6–8 inch circle, about ¼ inch thick. Place on a lightly floured surface or baking parchment, cover, and rest 20–30 minutes. Preheat oven to 475–500 °F (245–260 °C) with a baking stone or heavy tray inside for at least 30 minutes. (If your oven can’t reach this high, set it to the maximum temperature. Your pitas may take a little longer to bake.)
- Bake: Using a pizza peel or the edge of the parchment, slide 2–3 pitas onto the hot stone or tray. Bake 3–5 minutes until fully puffed and lightly golden.
- Keep soft: Remove from oven and immediately cover with a clean towel. Repeat with remaining pitas.
Notes
Tips & Serving Ideas
- Make smaller pitas for kids: Divide dough into more pieces for mini pitas.
- Overnight option: After kneading, stretching, and folding, refrigerate dough for 8–12 hours for a slow ferment. Bring to room temperature before shaping.
- Freeze for later: Cool completely, then freeze stacked with parchment between. Reheat in a toaster or oven for a quick meal.
- Family-friendly fillings: Use leftover meats, roasted veggies, cheese, hummus, or nut butter for quick lunches or dinners.
- Keep pitas soft: Always cover with a clean towel after baking.


Hi there! Is the dough supposed to sit and rise for a set time before starting the stretch and folds? Or do you go straight from blending/kneading the flour to the stretch and folds?
Thanks, I am new to sourdough!
Hi Maggie, once you have finished kneading you let the dough rest 30 min, stretch and fold, rest 30 min, stretch and fold again, rest 30 min, last stretch and fold. Then you let the dough rise covered in the bowl until 30–50% increased in size. I’ll edit this part of the recipe instructions so it becomes clearer:)